Flow Navigation & Organization
Understanding Organizations, Projects, and Access Control»
Spacelift Flows uses a hierarchical structure for access control and project management:
1 2 3 4 5 6 7 8 | |
Organizations»
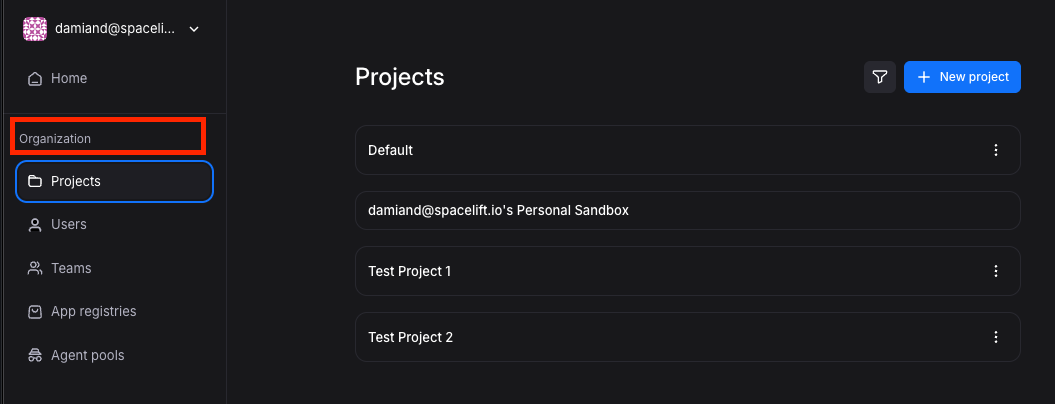
The top-level entity containing all projects, users, and teams.
Projects»
Containers within organizations that group related flows and app installations:
- Users get access on per-project basis
- Each project contains multiple flows
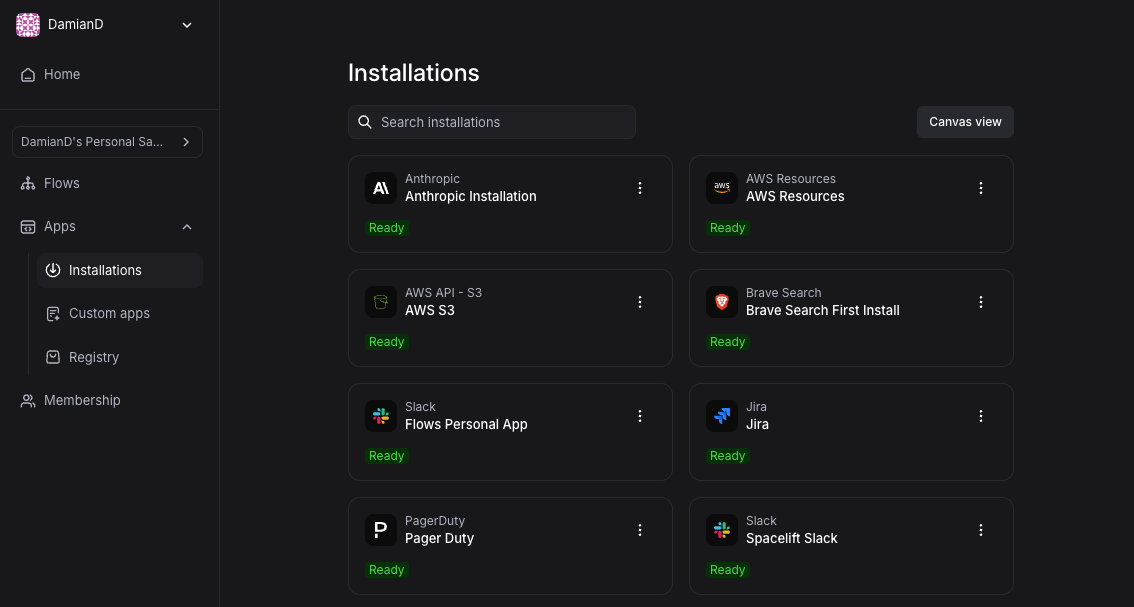
- Projects have their own app installations
- You can have multiple app installations for the same app (e.g., separate AWS installations for different regions)
Projects Overview»
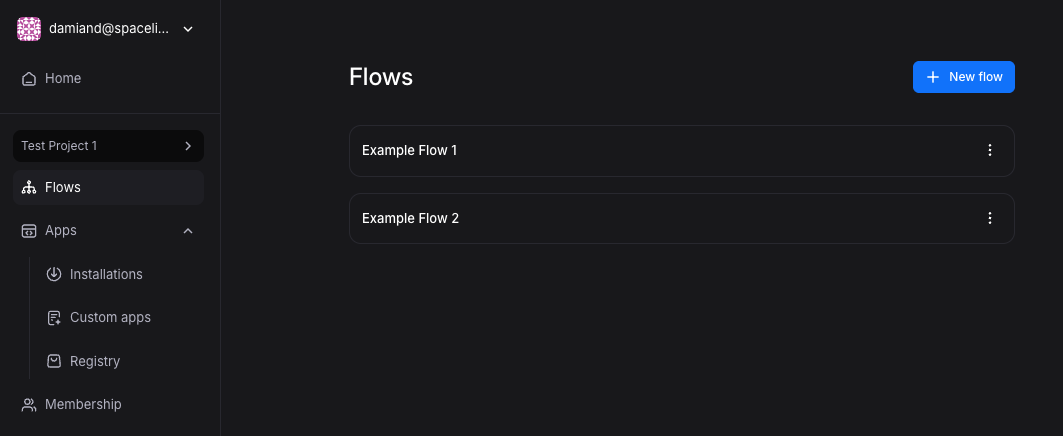
Installations Overview»
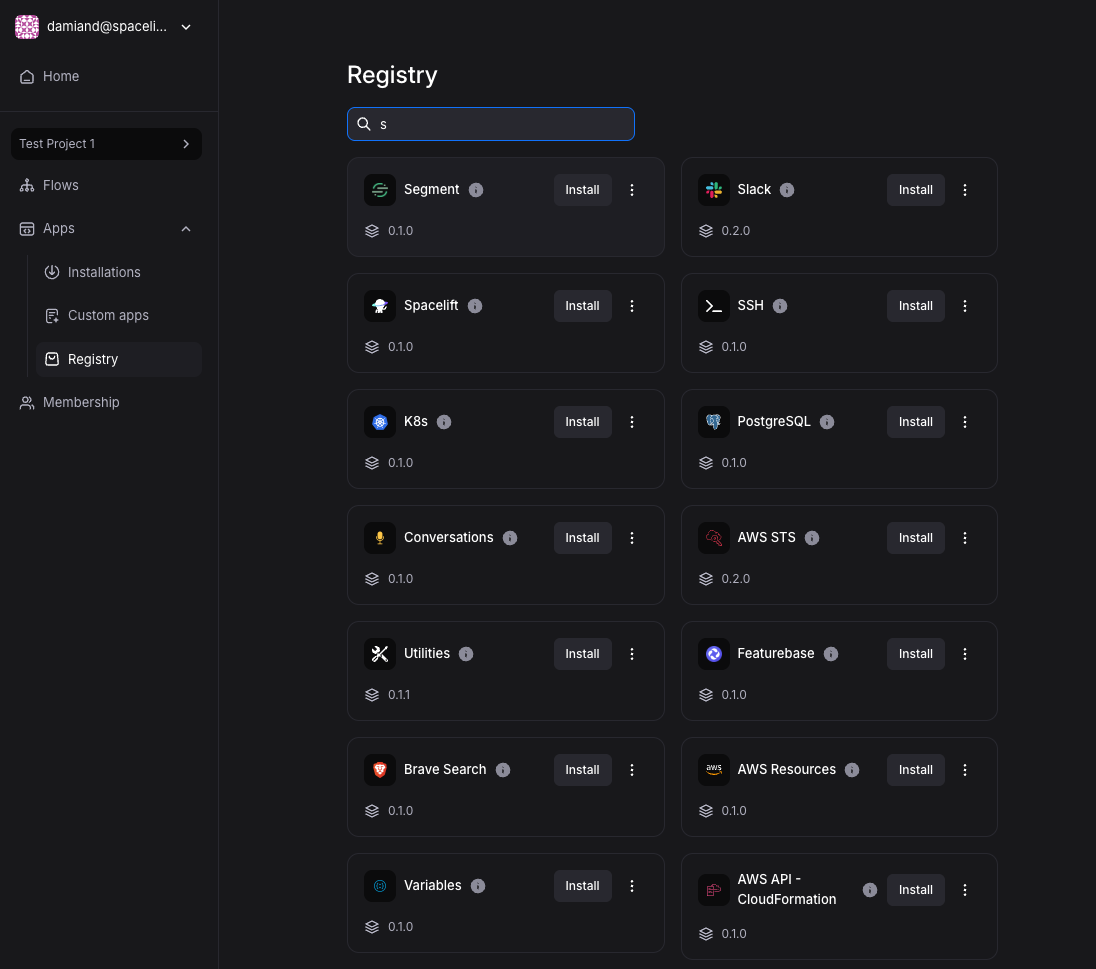
Registry Overview»
Access Control»
Spacelift Flows uses two-tier access control:
Organization-Level Access»
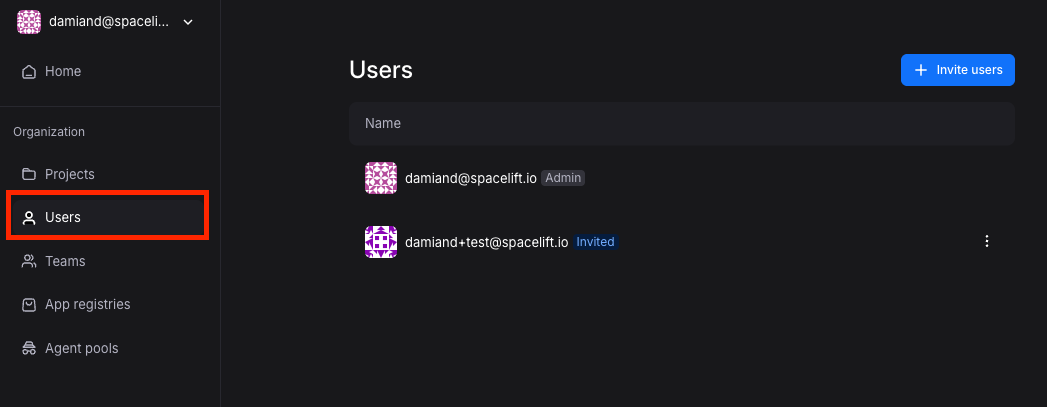
Users must first be added to the organization:
- Organization membership is required for platform access
- Users receive invitations to join
- No access to any resources without organization membership
Project-Level Permissions»
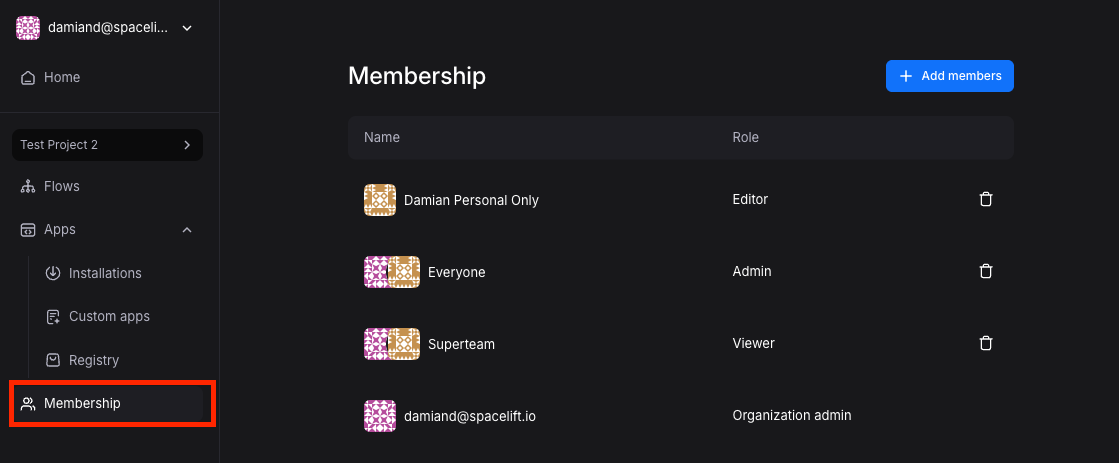
Once in the organization, users get specific project permissions:
- Control which team members access specific projects
- Isolate different environments or business units
- Manage permissions granularly across automation workflows
Role Descriptions»
- Consumer: Can use Flow HTTP endpoints, MCP servers, and forms (typically through the Service Catalog), but cannot view a flow's configuration
- Viewer: Can view flows in a project
- Editor: Can edit flows in a project and manage app installations
- Admin: Can manage users in a project and create custom apps
- Organization Admin: Can manage the entire organization including projects, registry subscriptions, and agent pools
Adding New Users»
Step 1: Ensure Organization Membership If user doesn't exist in your organization:
- Click the avatar in the top-left corner, then click 'Organization'
- Go to 'Users' and click '+ Invite Users'
- Enter user's email address to send invitation
Step 2: Grant Project Access Once user is in the organization:
- Navigate to the specific project
- Click 'Membership' in left panel
- Click '+ Add members'
- Select user(s) and assign role
- Confirm changes
Team Access»
After users are added to the organization, you can organize them into teams for easier project access management:
- Click the avatar in the top-left corner, then click 'Organization'
- Go to 'Teams' tab and click '+ New team'
- Name the team and assign team users
- Once the team is created, you can add the entire team to any project the same way you would add individual users