Create and manage repos»
Creating a repo»
Navigate to Repos in the left sidebar, then click Create repo.

Fill in the following fields:
- Name: A unique, descriptive name for the repo.
- Space: The space to create the repo in.
- Description (optional): A free-form description of the repo's purpose.
- Labels (optional): Labels to help sort and filter your repos.
Browsing files»
Click a repo name to open it. The Files tab shows the current directory contents.

Use the file tree to navigate between folders. Click a file name to view its contents, or use the Add file dropdown to create or upload files.
Uploading files»
Click Add file > Upload files to open the upload page. Drag and drop files into the upload area, or click browse files to select them from your computer. When ready, click Commit changes to commit the uploaded files.

Creating and editing files»
Click Add file > Create file to open the built-in code editor.

Enter the file name (including folder path if needed, e.g. modules/vpc/main.tf), write your code, then click Commit changes.

Fill in the commit details:
- Commit message: A short summary of the change (required).
- Commit description (optional): Additional context about the change.
To edit an existing file, click the Edit action from the file row. To delete a file, click Delete — the same commit dialog appears with the file path shown.
Viewing commit history»
Click the Commits tab to see the repo's commit history, grouped by date.

Click a commit to see its detail view, which includes the list of changed files and a diff for each.

Use the file tree sidebar to navigate between changed files. The diff view highlights additions and deletions. Click Details to open a drawer with the full commit metadata, including the SHA, author, and number of files changed.

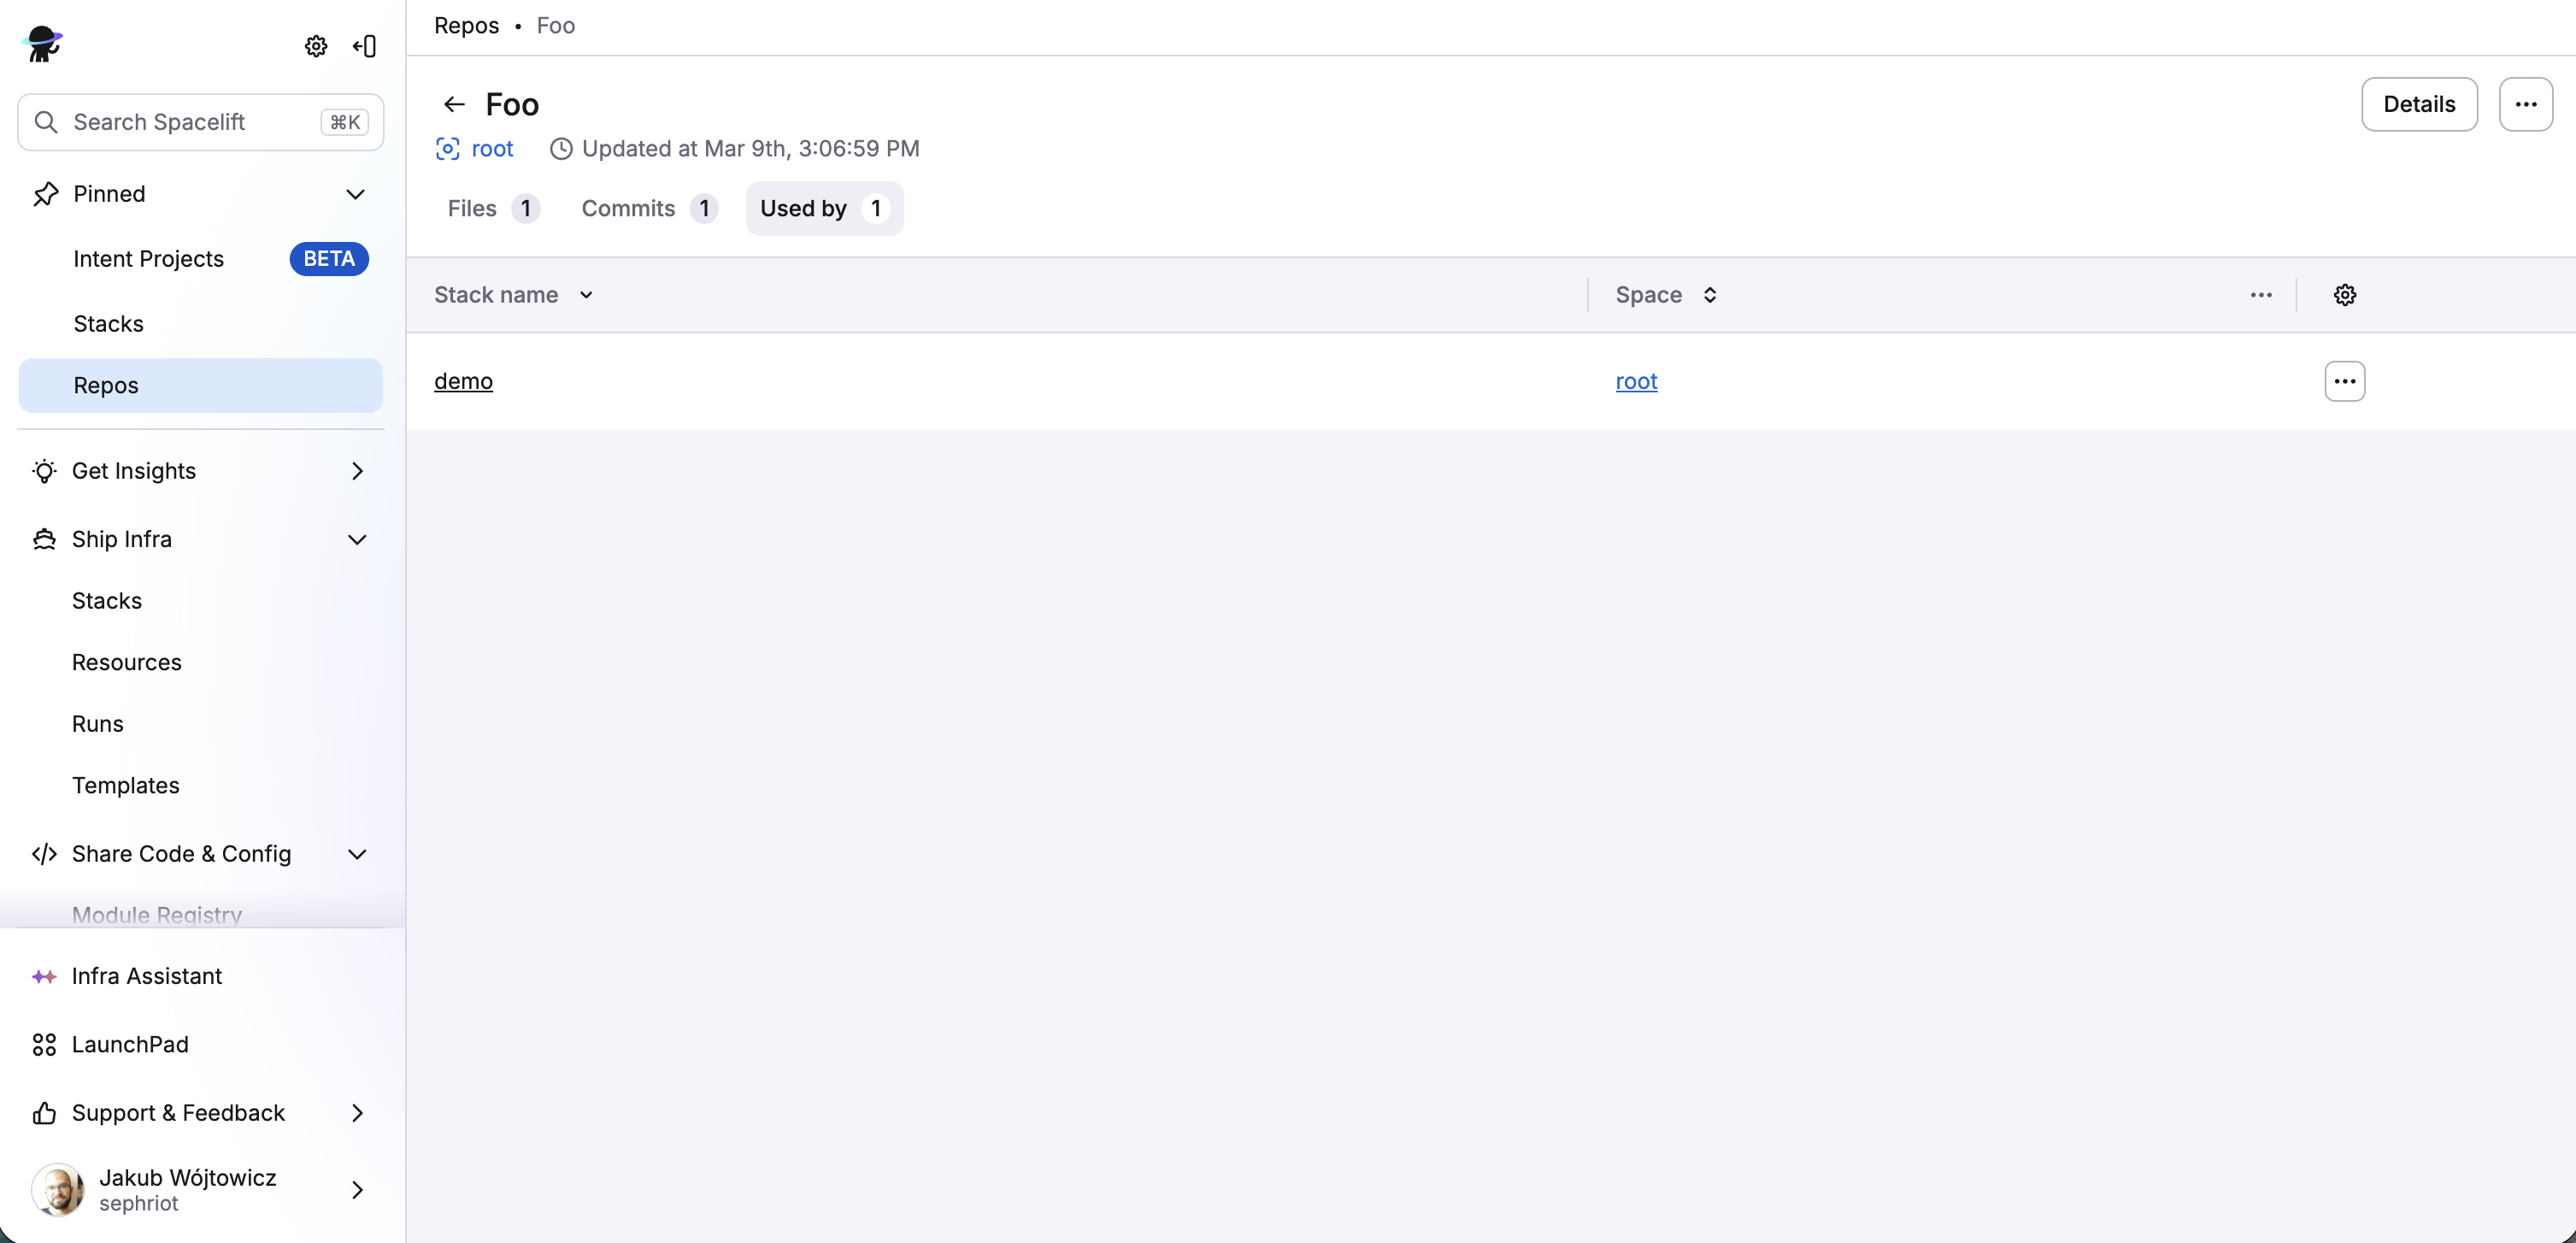
Viewing connected stacks»
Click the Used by tab to see which stacks are using this repo as their source code provider.