Microsoft Azure»
Hint
This feature is only available to paid Spacelift accounts. Please check out our pricing page for more information.
Configure workload identity federation»
Set up Spacelift as a valid identity provider for your account to allow Spacelift runs access to Azure resources. This is done using workload identity federation.
The setup process involves creating an App Registration, and then adding federated credentials that tell Azure which Spacelift runs should be able to use which App Registrations. This process can be completed via the Azure Portal, Azure CLI or Terraform. For illustrative purposes we will use the Azure Portal.
Info
These instructions show you how to setup federation using a Microsoft Entra App, but the same approach can also be used with a user-assigned managed identity.
Create an App registration»
- Navigate to the Azure AD section of the Azure Portal.
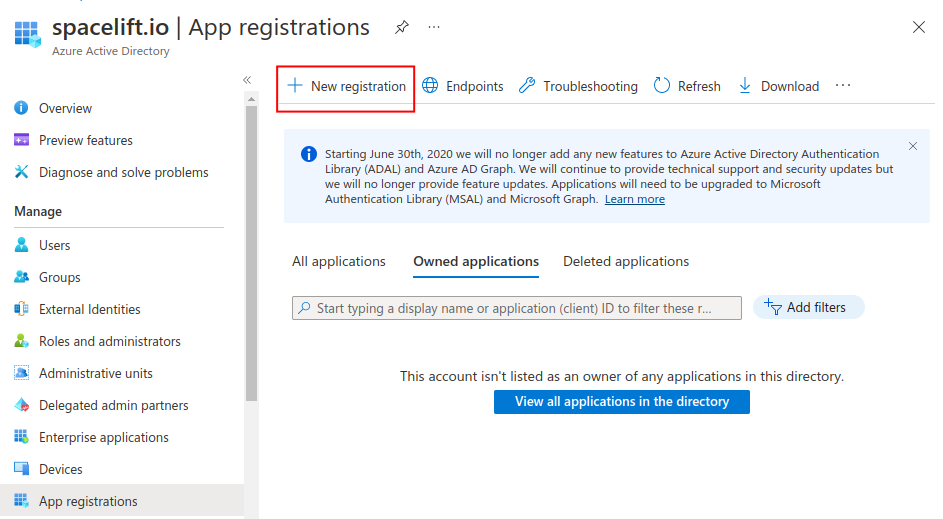
- Go to App registrations, then click New registration.
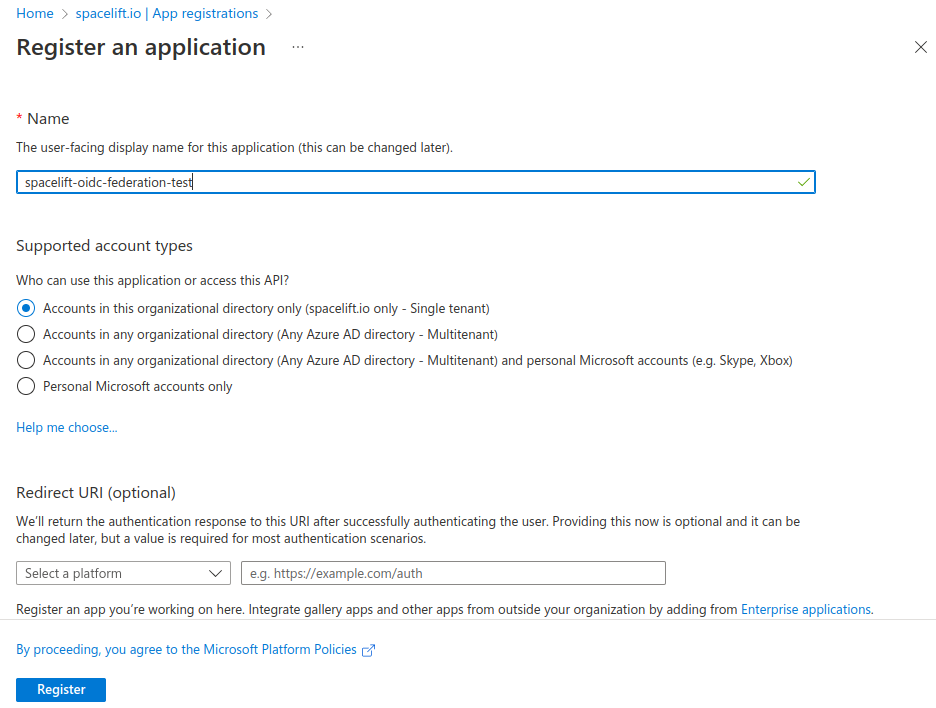
- Enter a name for your registration, select the Accounts in this organizational directory only option, and click Register.
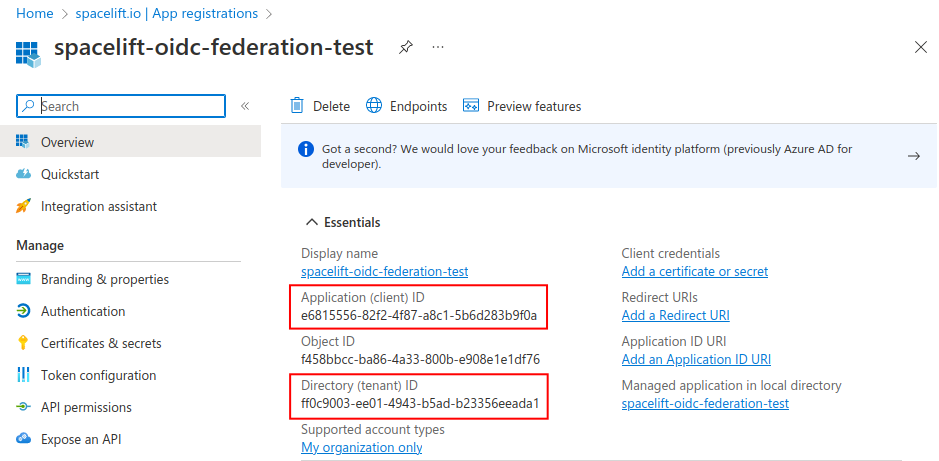
- On the overview page, take note of the Application (client) ID and Directory (tenant) ID for configuring the Terraform provider later.
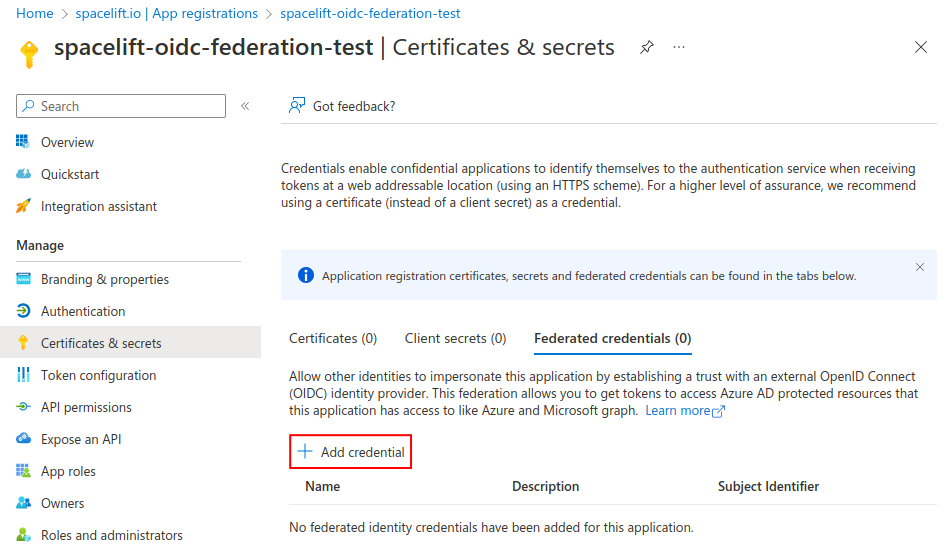
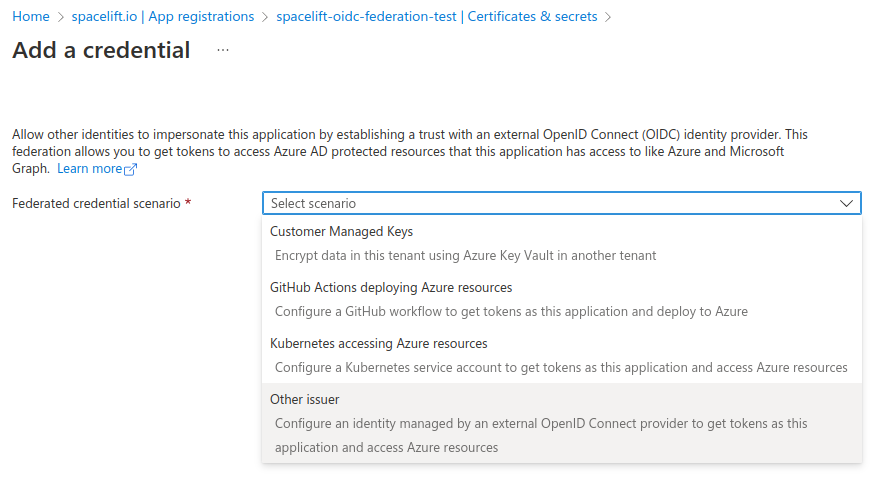
- Go to the Certificates & secrets section, select the Federated credentials tab and click Add credential.
- Federated credential scenario: Select Other issuer.
Configure the trust relationship»
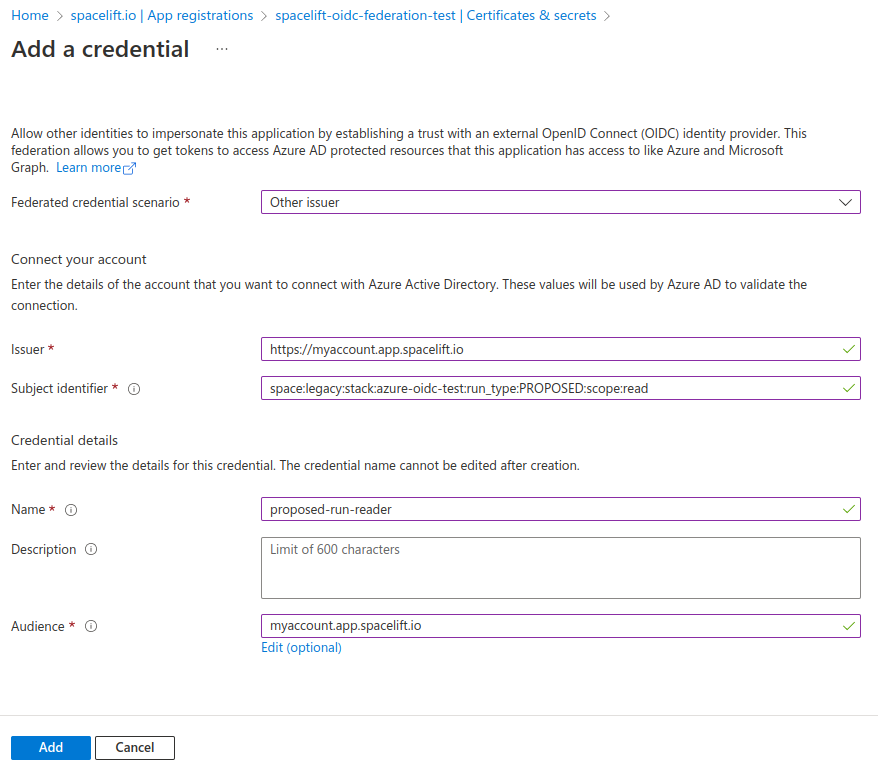
The next step is to configure the trust relationship between Spacelift and Azure. Fill out the following pieces of information:
- Issuer: The URL of your Spacelift account, for example
https://myaccount.app.spacelift.io. - Subject identifier: The subject that a token must contain to be able to get credentials for your App. This uses the format mentioned in the standard claims section.
- Name: A name for this credential.
- Audience: The hostname of your Spacelift account, for example
myaccount.app.spacelift.io.
Take a look at the following screenshot for an example allowing a proposed run to use our App:
Workload federation in Azure requires the subject claim of the OIDC token to exactly match the federated credential, and doesn't allow wildcards. Because of this you will need to repeat the same process and add a number of different federated credentials in order to support all the different types of runs for your Stack or module.
For example, for a stack called azure-oidc-test in the legacy space (with space ID legacy-01KJMM56VS4W3AL9YZWVCXBX8D) you need to add credentials for the following subjects:
1 2 3 4 5 | |
And for a module called my-module in the development space (with space ID development-01JS2ABCDEFGHIJK123456789) you need to add the following:
1 2 | |
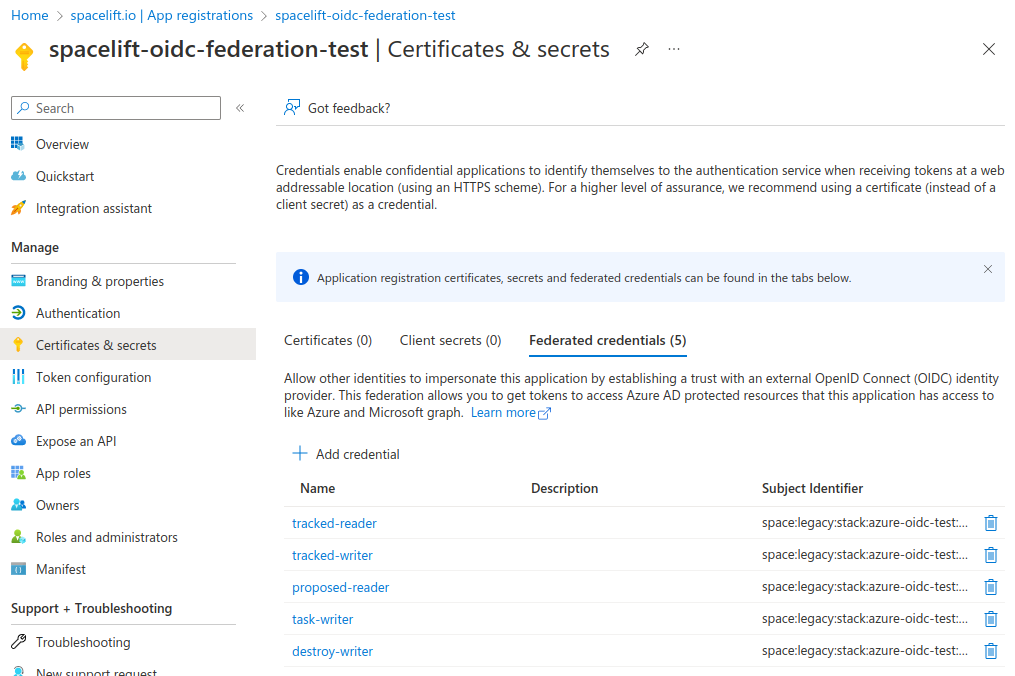
After adding all the credentials for a stack, it should look something like this:
Info
Please see the Standard claims section for more information about the subject format.
Configure the Terraform provider»
Once workload identity federation is set up, the AzureRM provider can be configured without the need for any static credentials.
- Enable the
use_oidcfeature of the provider. -
Use the
oidc_token_file_pathsetting to tell the provider where to find the token:1 2 3 4 5
provider "azurerm" { features {} use_oidc = true oidc_token_file_path = "/mnt/workspace/spacelift.oidc" } -
Next, add the following environment variables to your stack:
ARM_CLIENT_ID: The client ID of the App registration created in the previous section.ARM_TENANT_ID: The tenant ID of the App registration created in the previous section.ARM_SUBSCRIPTION_ID: The ID of the Azure subscription you want to use.
Before you can use your App registration to manage Azure resources, you need to assign the correct RBAC permissions to it.