C#»
In order to follow along with this article, you'll need an AWS account.
Start with forking the Pulumi examples repo, we'll be setting up an example directory from there, namely aws-cs-webserver.
In the root of the repository (not the aws-cs-webserver directory), add a new file:
| .spacelift/config.yml | |
|---|---|
1 2 3 4 5 6 7 | |
before_apply is not yet exposed through the interface like before_init, so you have to set it through the config file. When compiling, the dotnet CLI creates global state which is lost after confirmation. This will mostly clean the workspace before applying, so everything will be cleanly recompiled. Why mostly? This you will see in a sec.
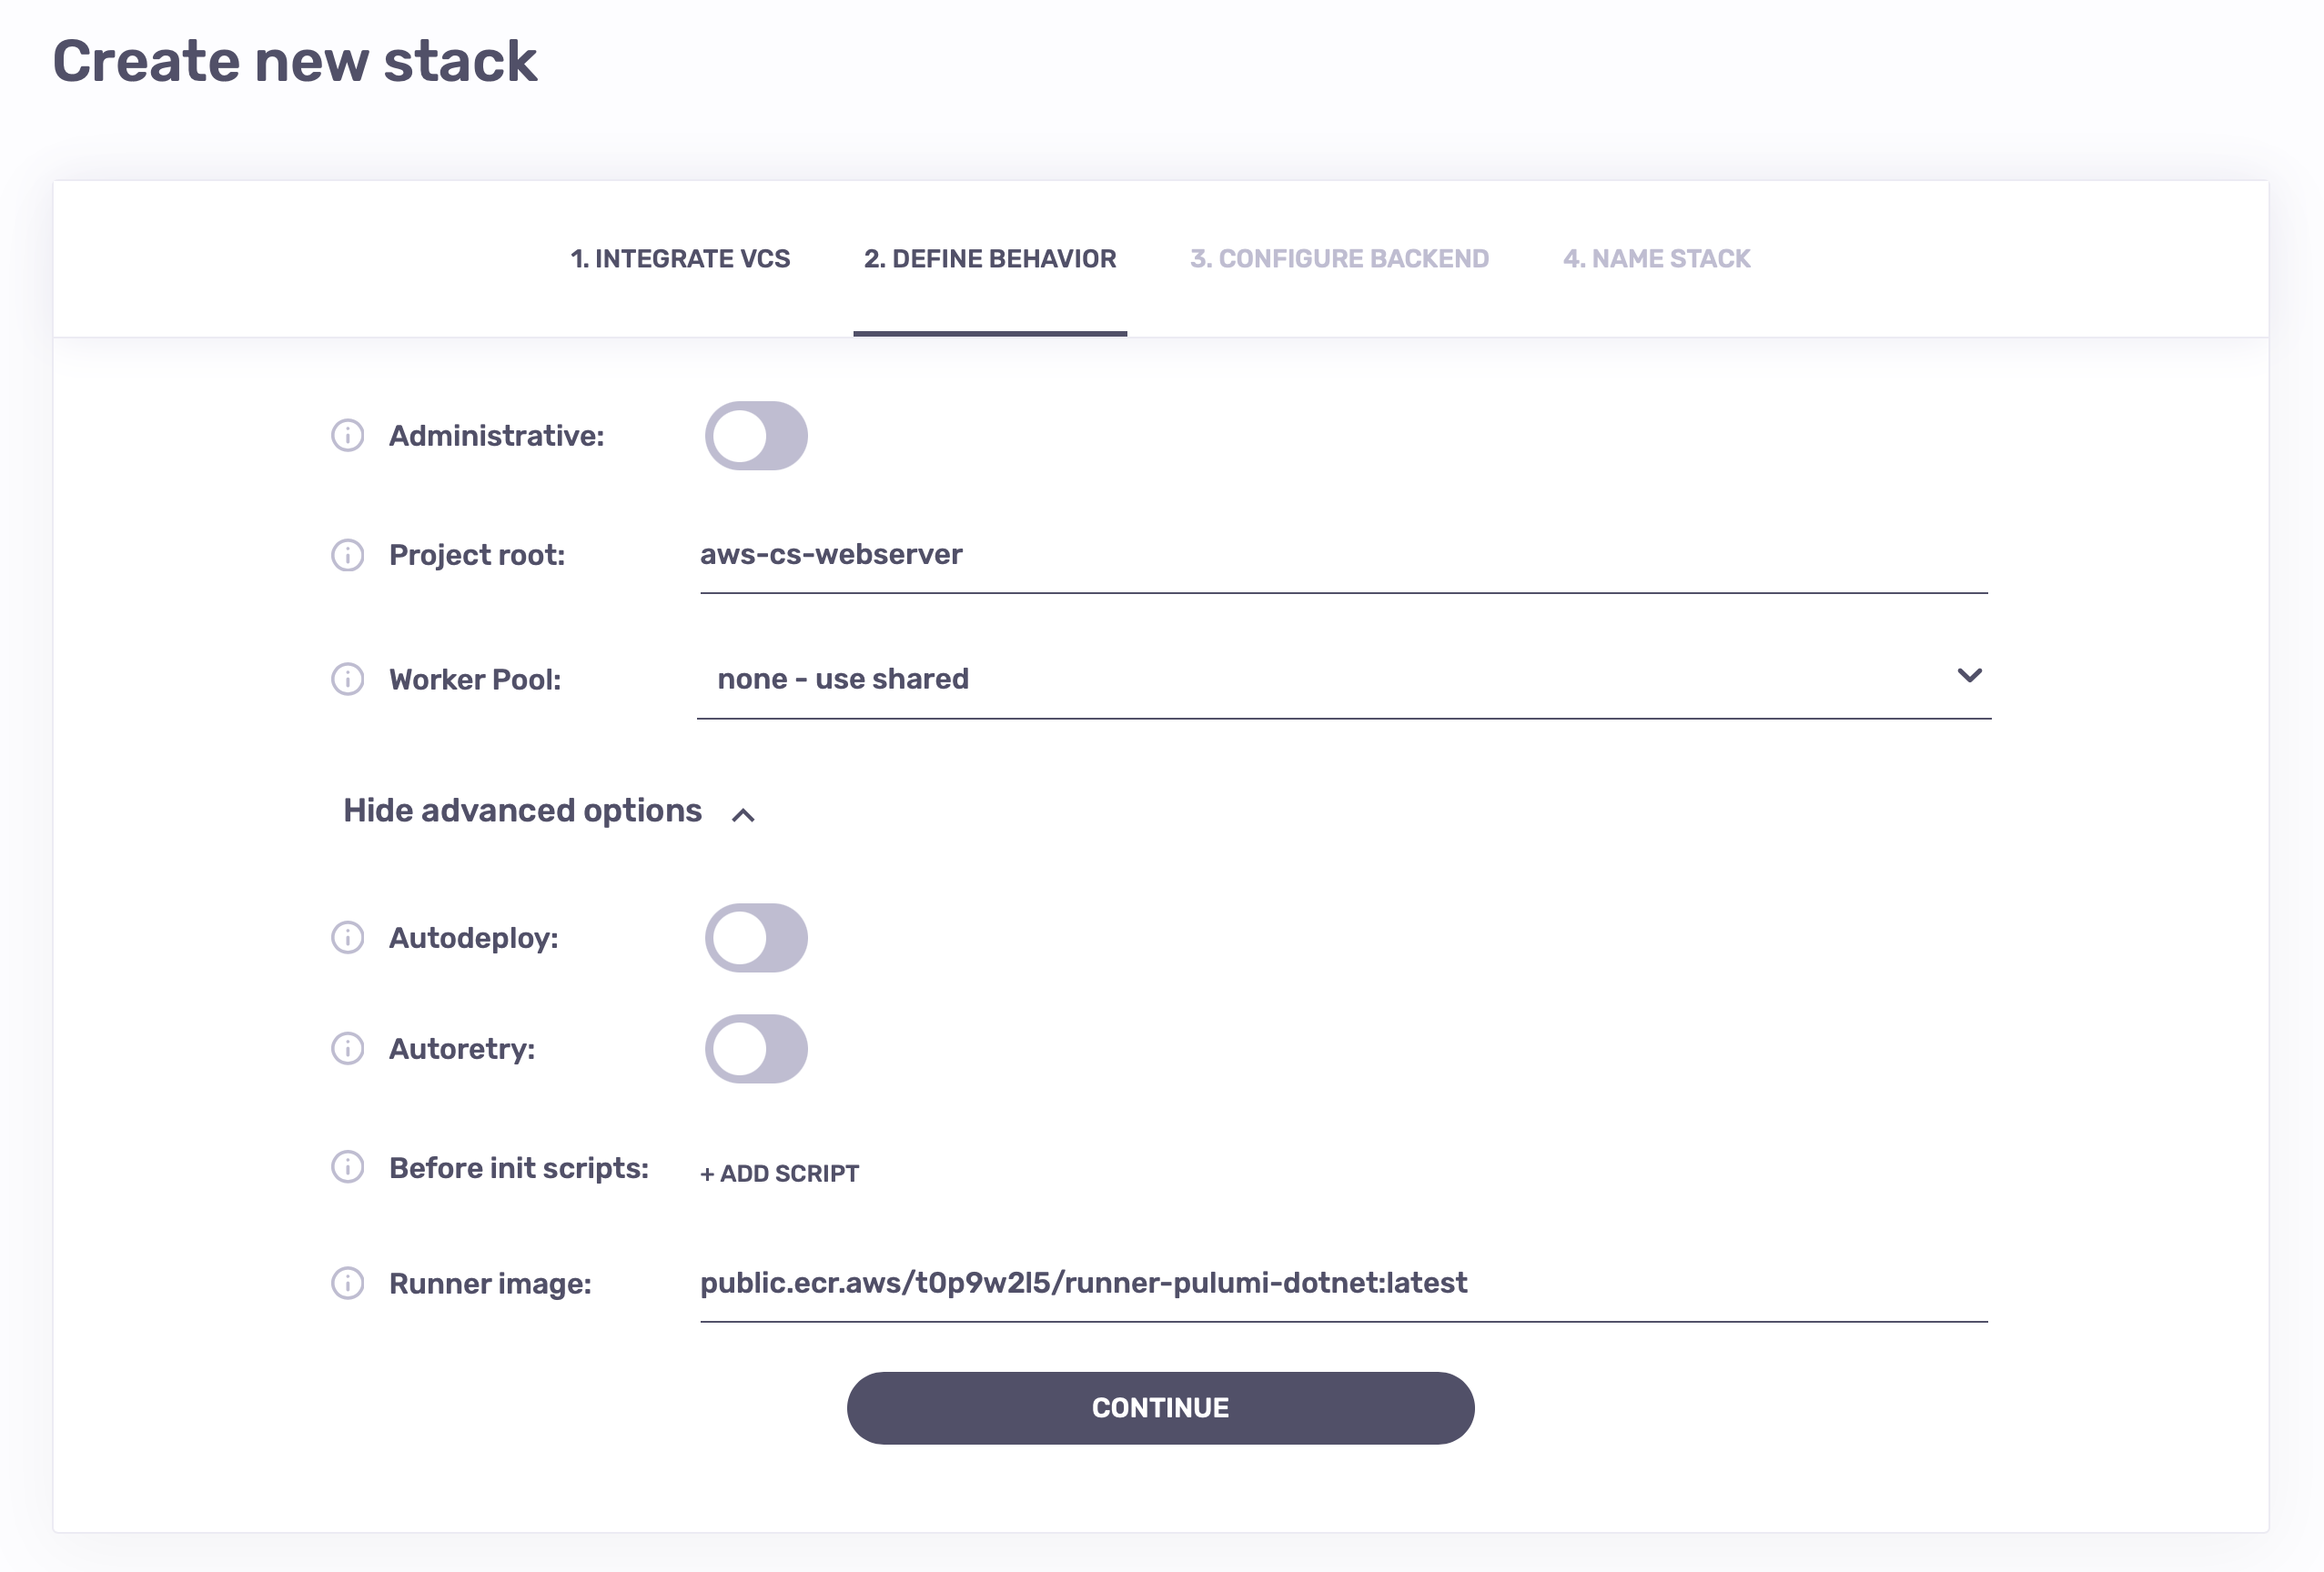
Now let's open Spacelift and create a new Stack, choose the examples repo you just forked. In the second step you'll have to change multiple default values:
- Set the project root to
aws-cs-webserver, as we want to run Pulumi in this subdirectory only. - Set the runner image to
public.ecr.aws/spacelift/runner-pulumi-dotnet:latest - Pinning to a specific Pulumi version is possible too, using a tag like
v2.15.4- you can see the available versions here.
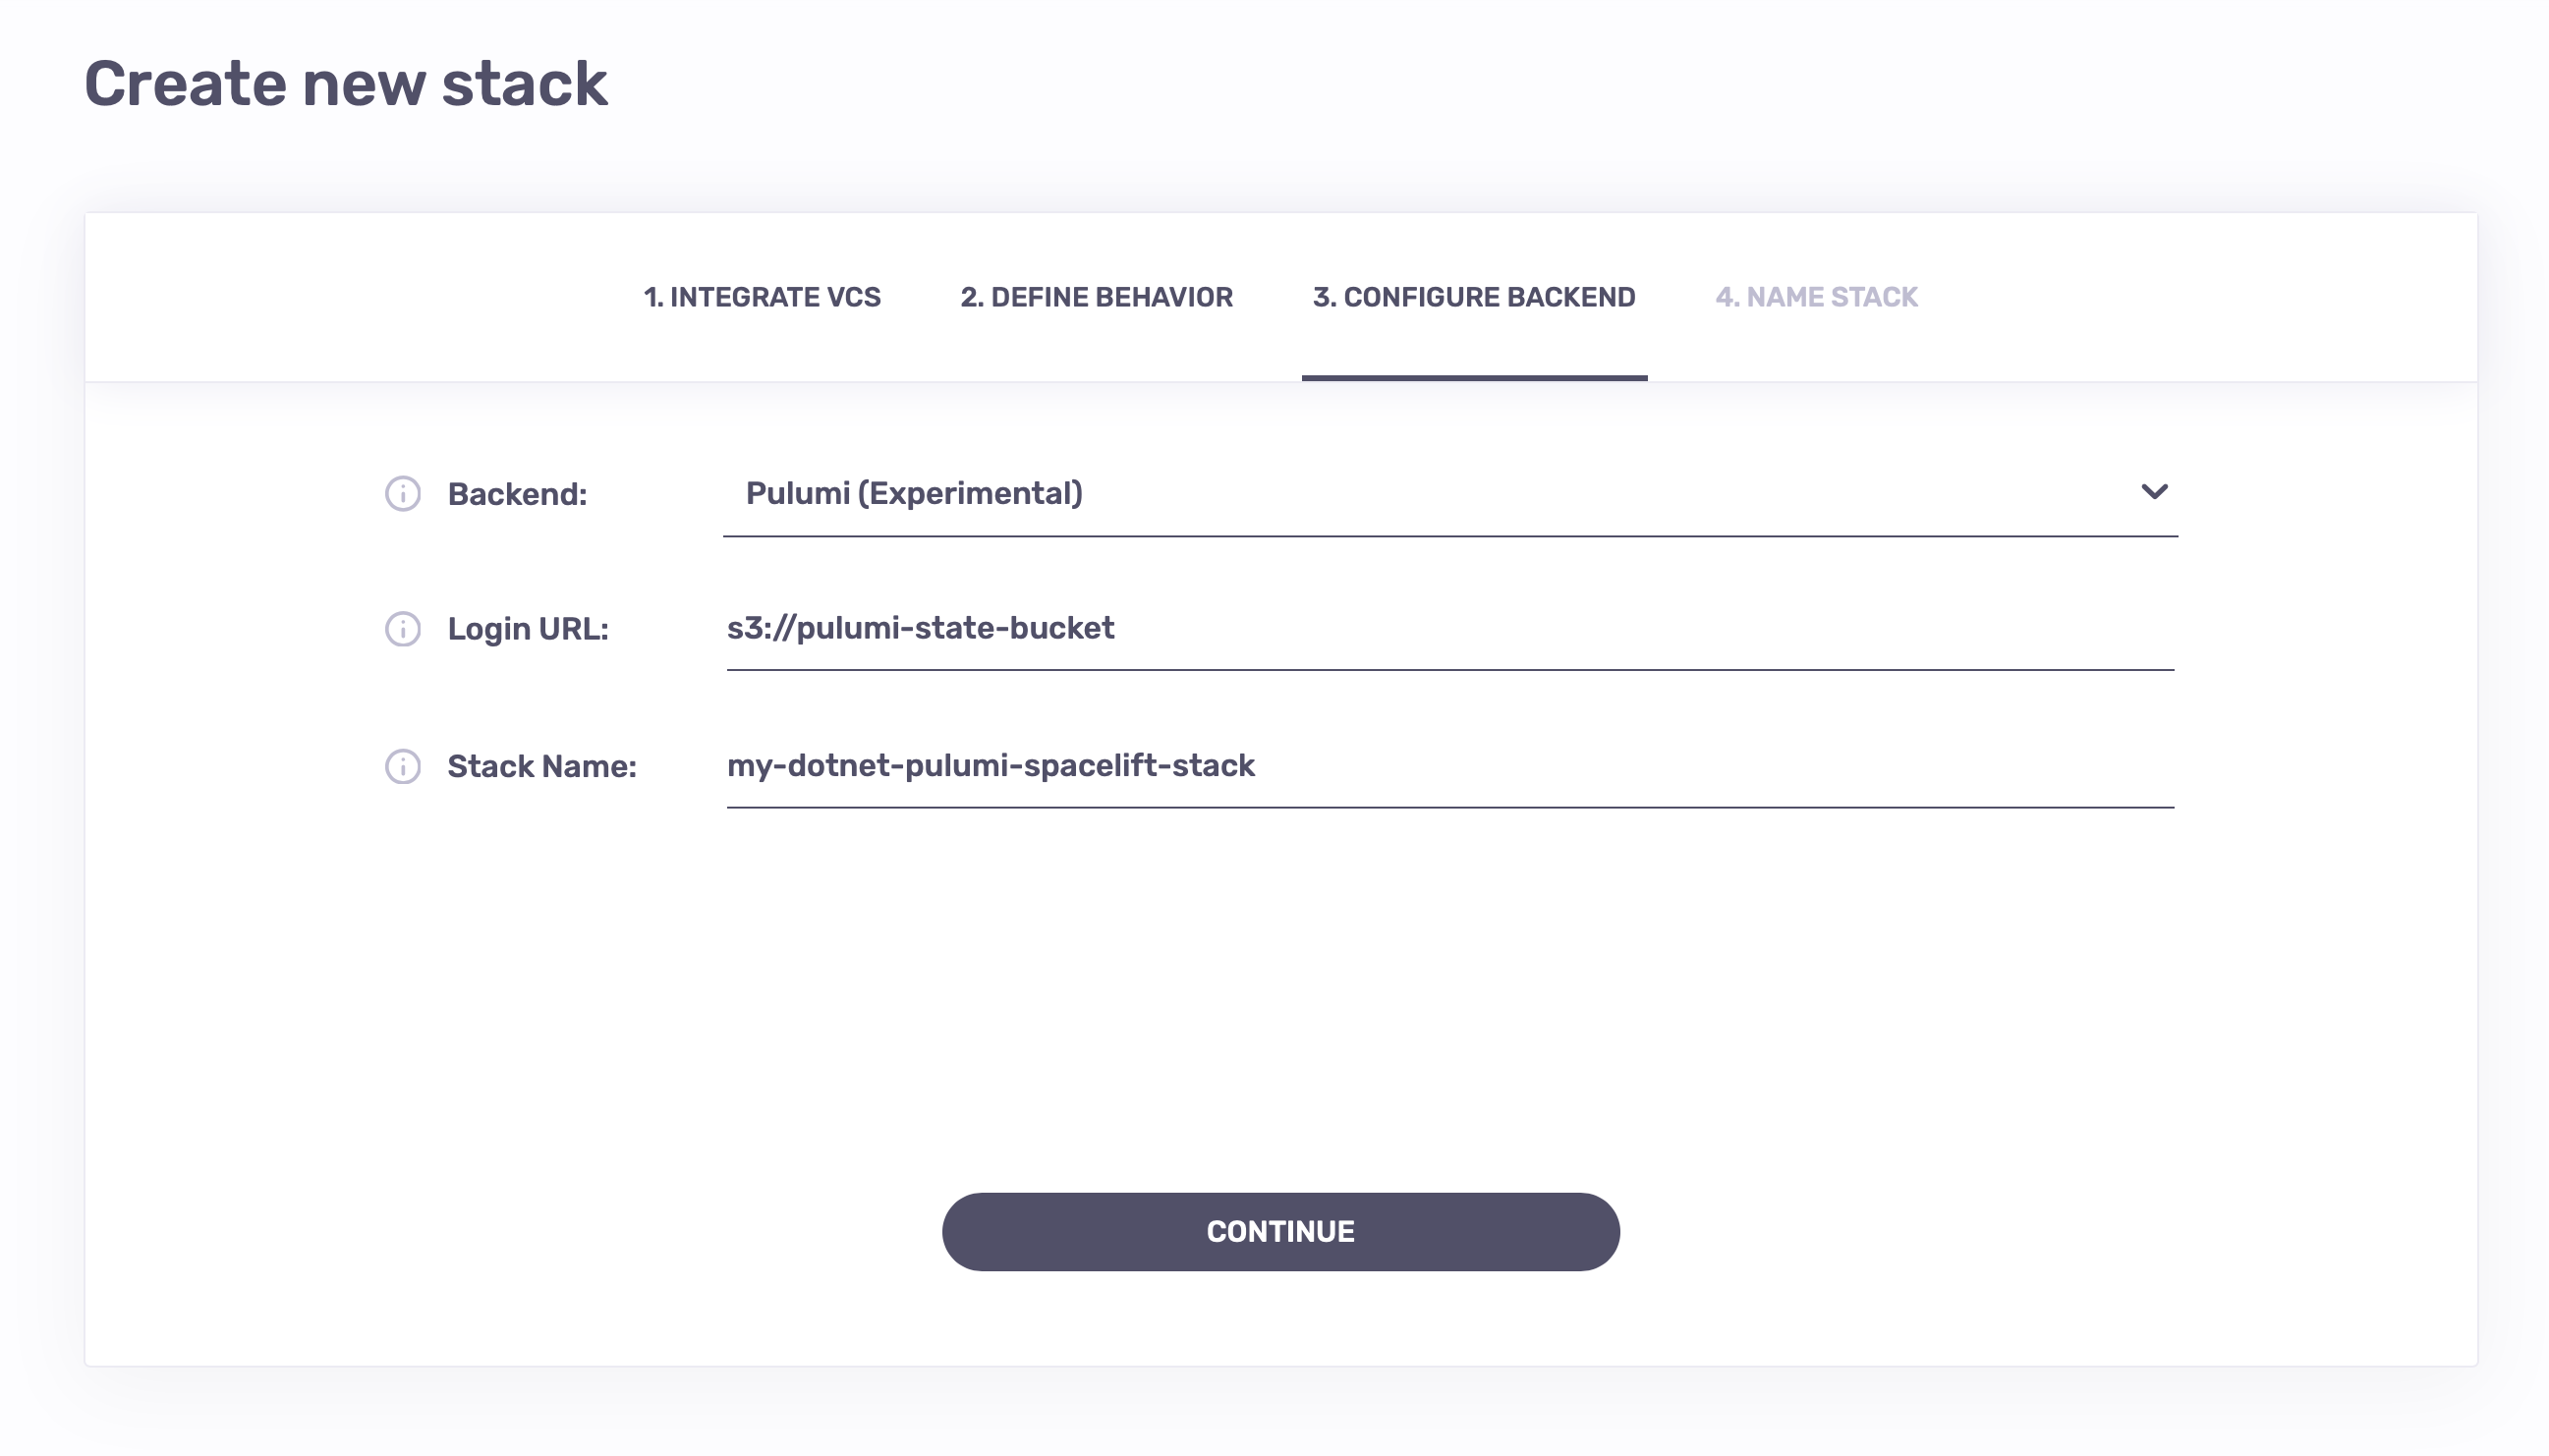
In the third step, choose Pulumi as your Infrastructure as Code vendor. You'll have to choose:
- A state backend, aka login URL. This can be a cloud storage bucket, like
s3://pulumi-state-bucket, but it can also be a Pulumi Service endpoint. - A stack name, which is how the state for this stack will be namespaced in the state backend. Best to write something close to your stack name, like
my-dotnet-pulumi-spacelift-stack.
Info
You can use https://api.pulumi.com as the Login URL to use the official Pulumi state backend. You'll also need to provide your Pulumi access token through the PULUMI_ACCESS_TOKEN environment variable.
You'll now have to set up the AWS integration for the Stack, as is described in AWS.
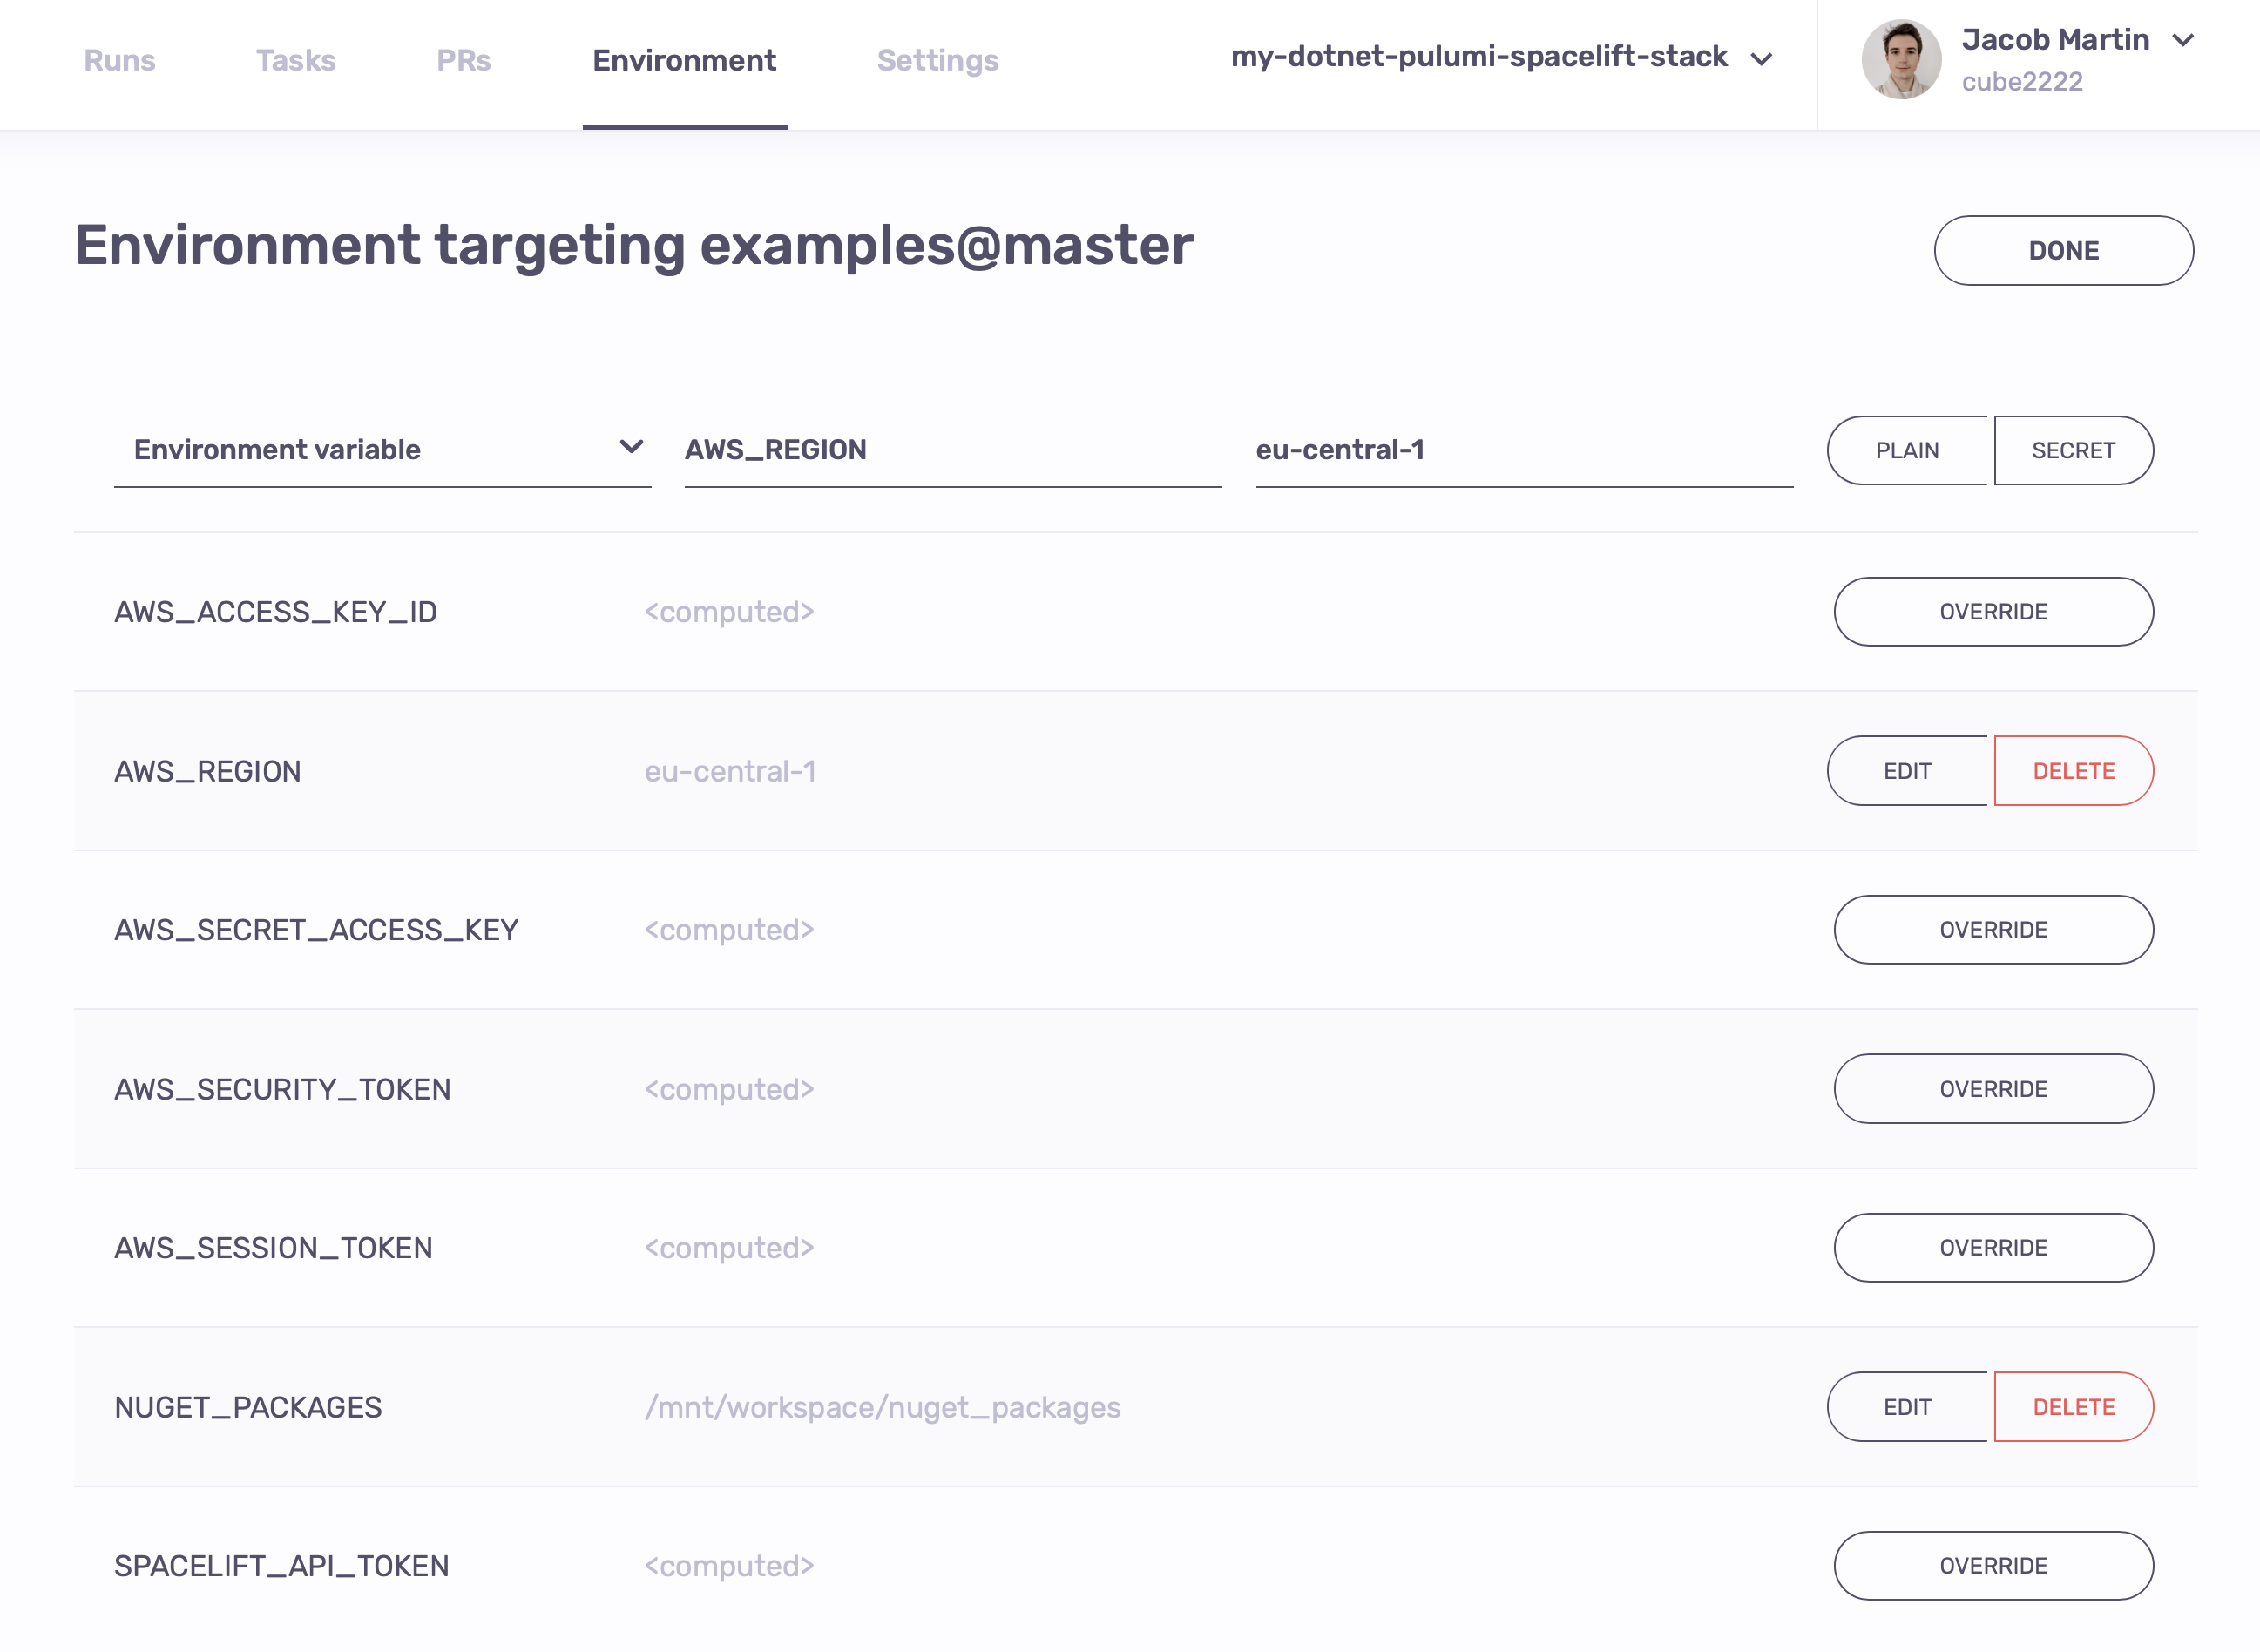
Go into the Environment tab in your screen, add an AWS_REGION environment variable and set it to your region of choice, i.e. eu-central-1.
Previously I said dotnet clean mostly clears the state, this is because you'll also have to add the NUGET_PACKAGES environment variable, and set it to a directory persisted with the workspace, i.e. /mnt/workspace/nuget_packages.
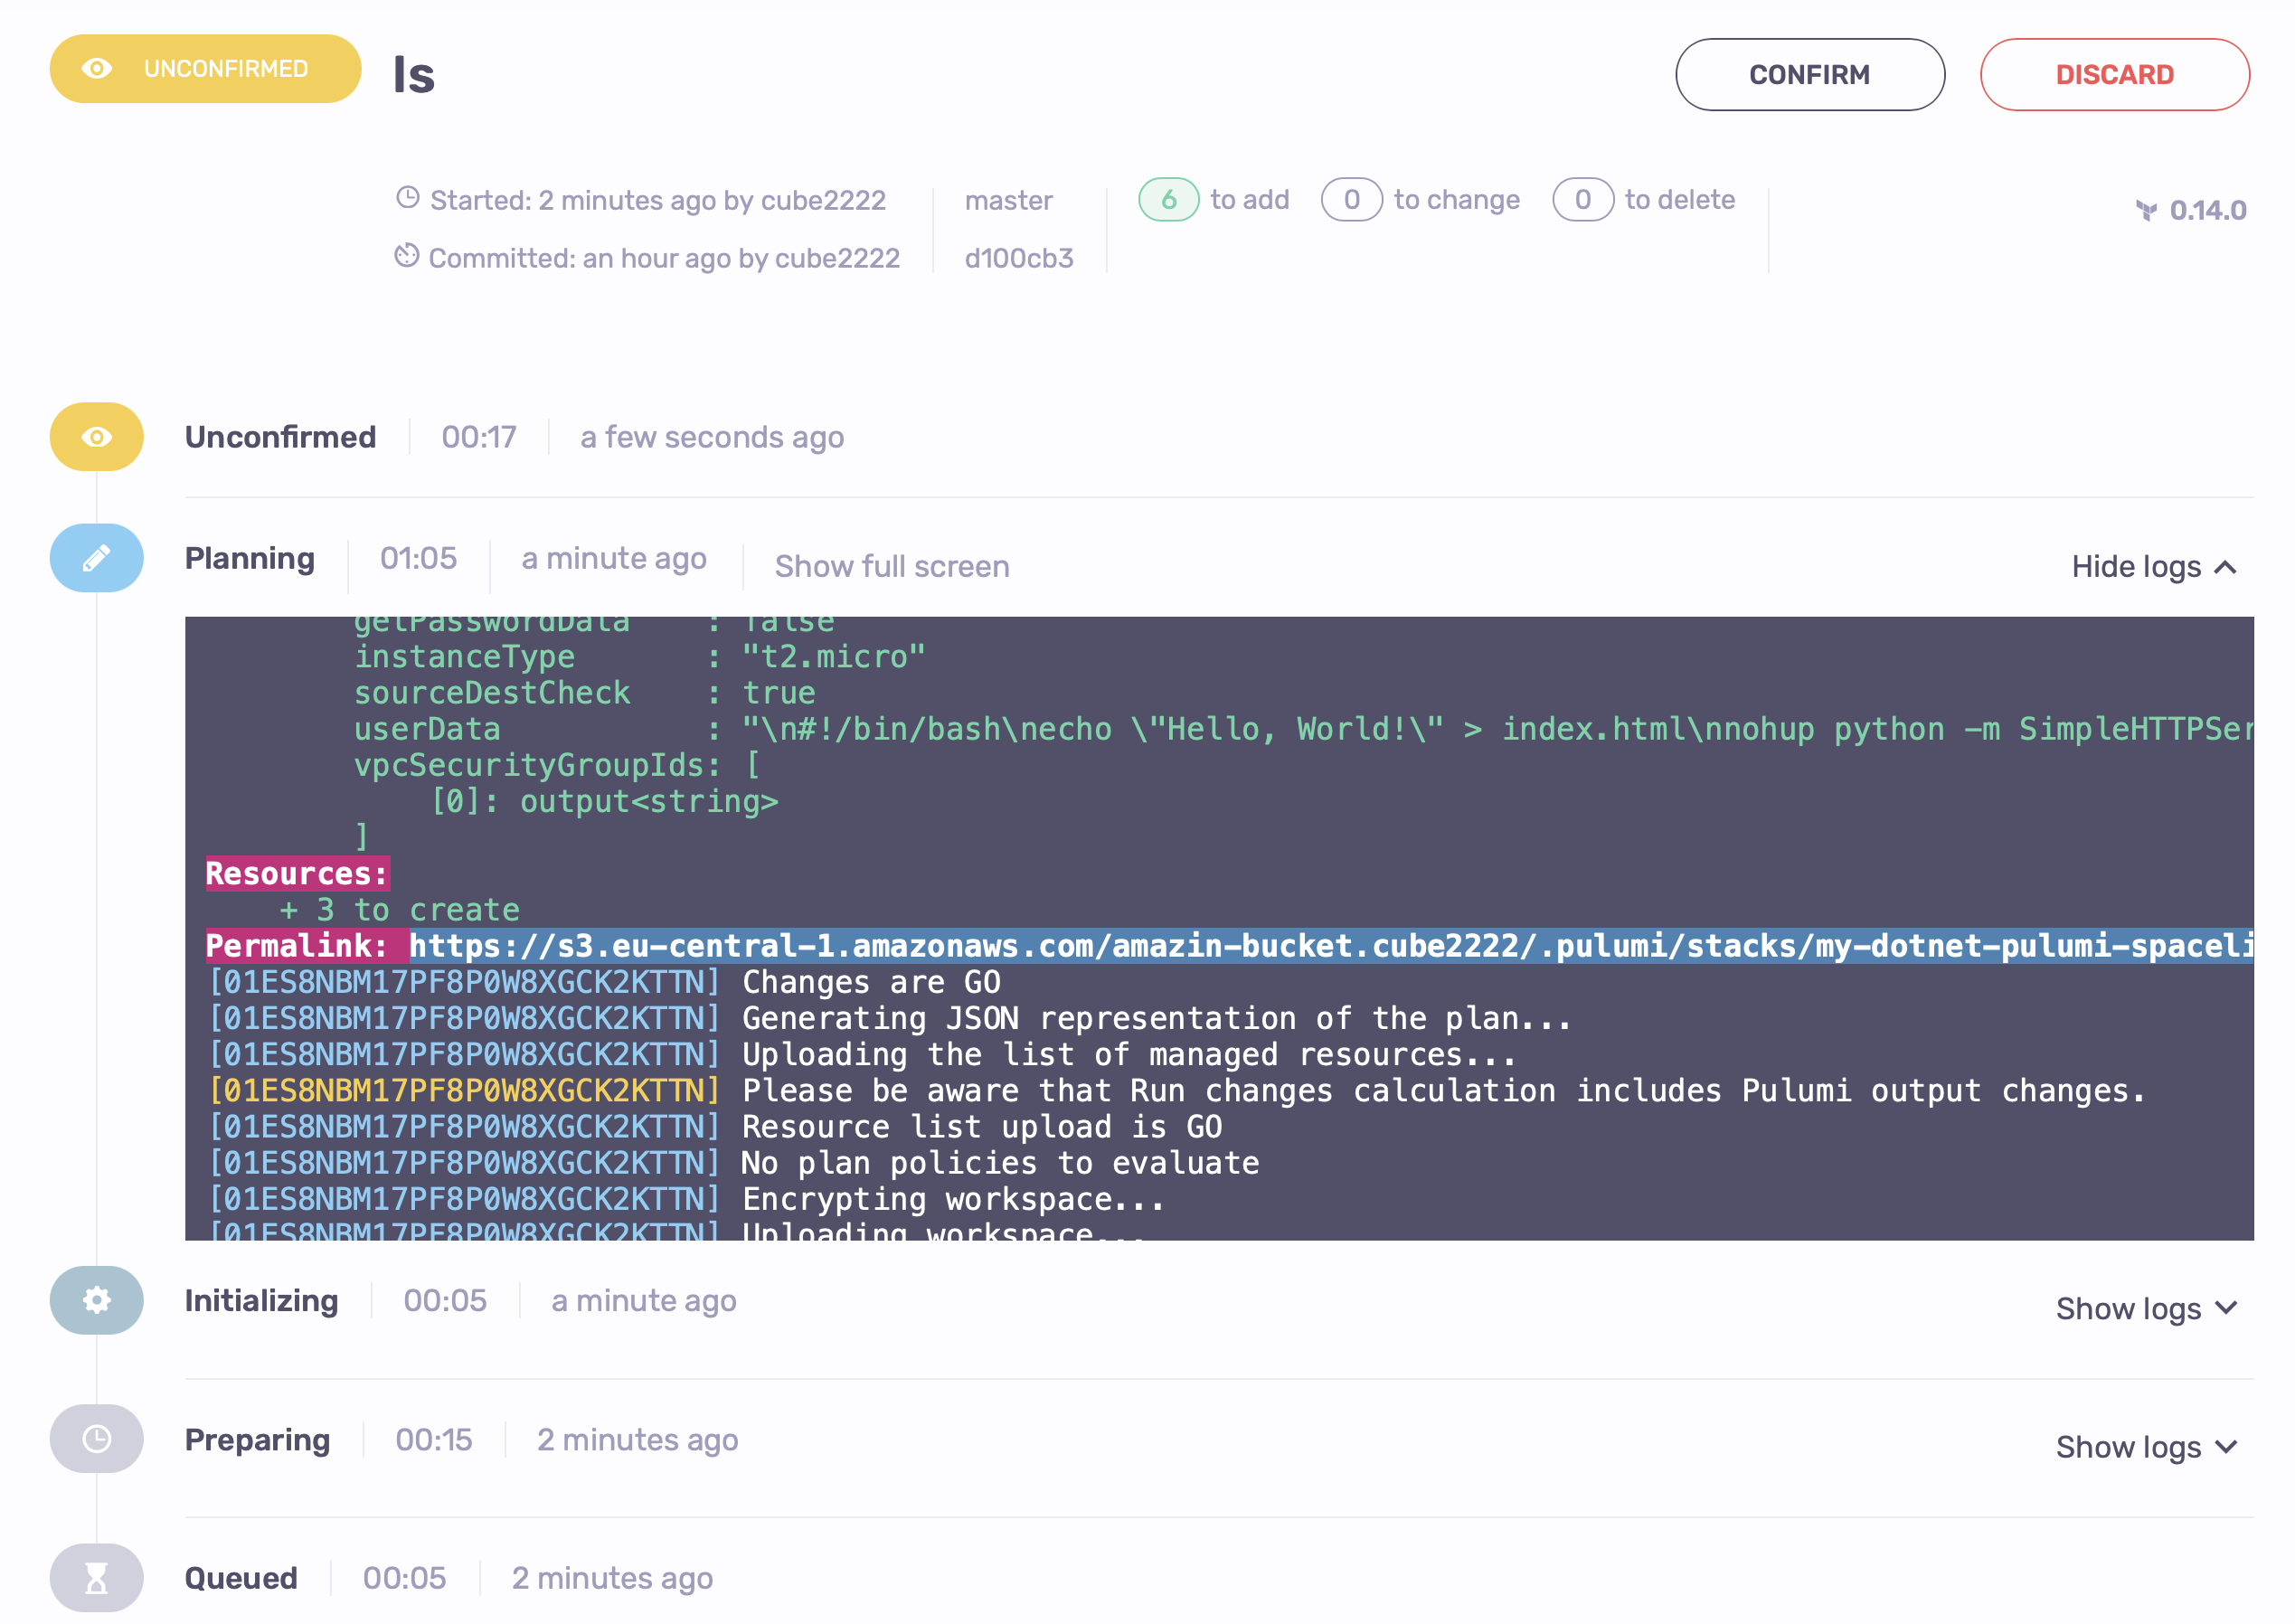
You can now trigger the Run manually in the Stack view, after the planning phase is over, you can check the log to see the planned changes.
Confirm the run to let it apply the changes, after applying it should look like this:
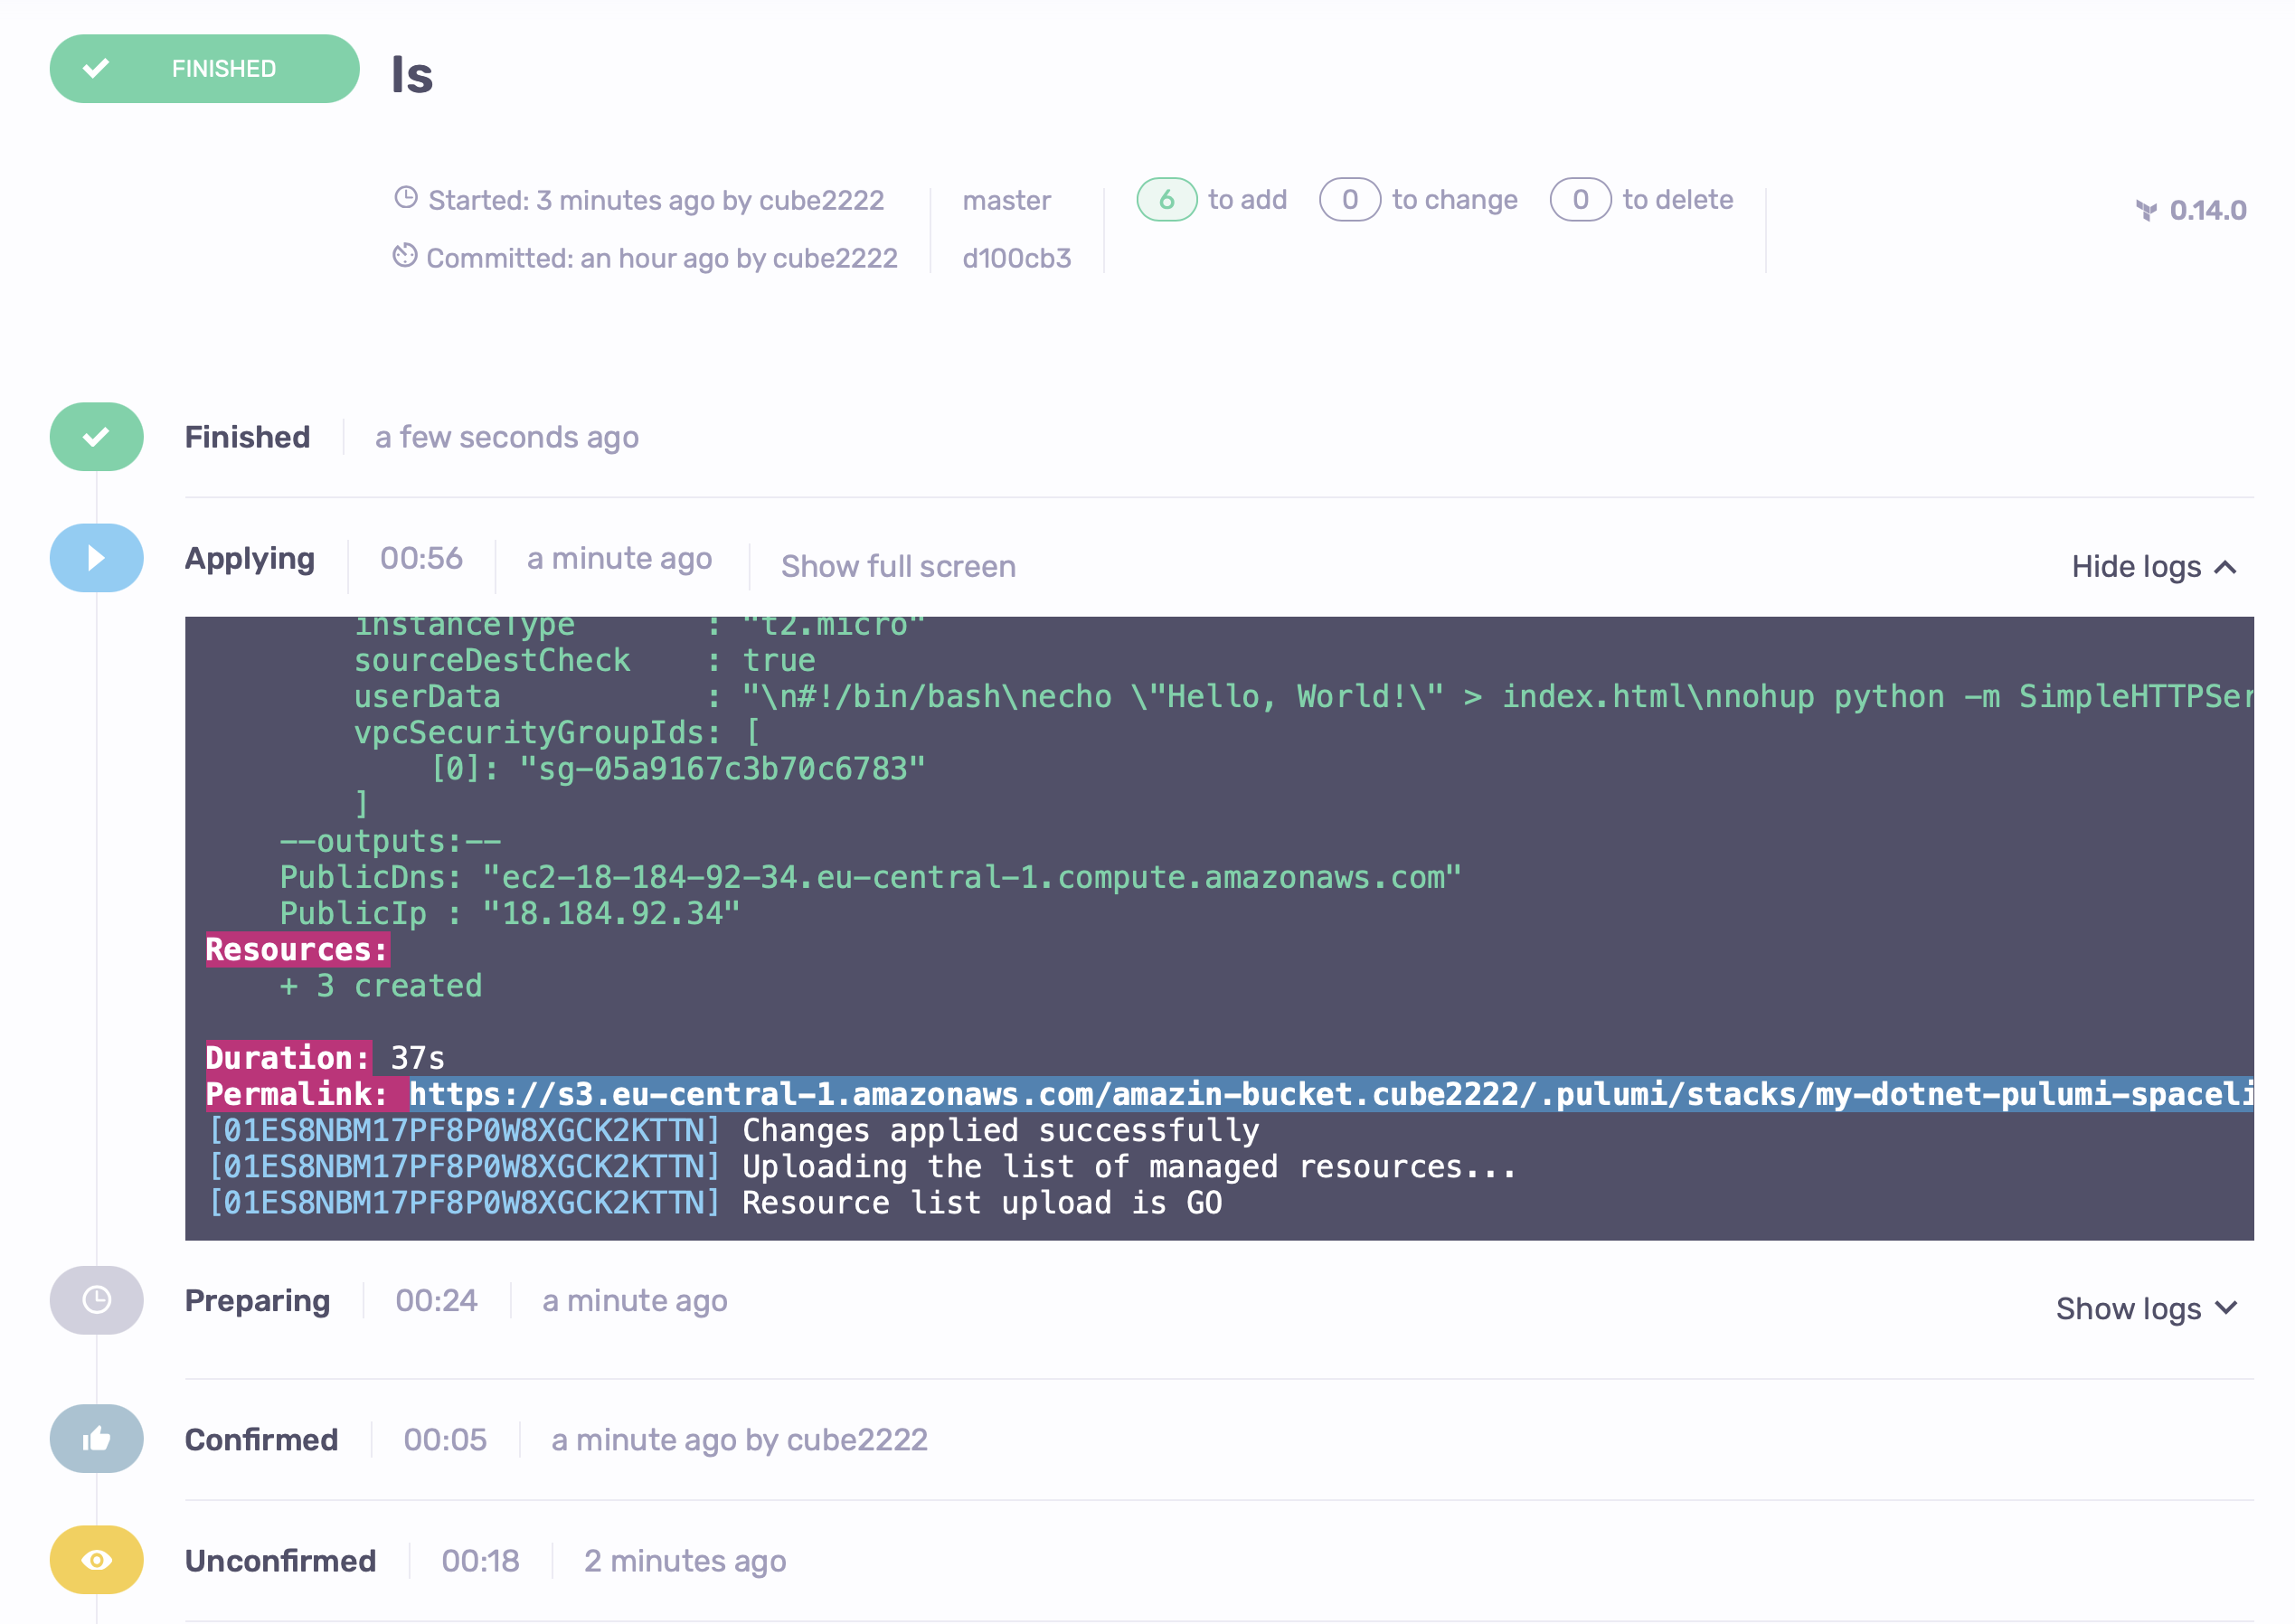
We can see the PublicDns stack output. If we try to curl it, lo and behold:
1 2 | |
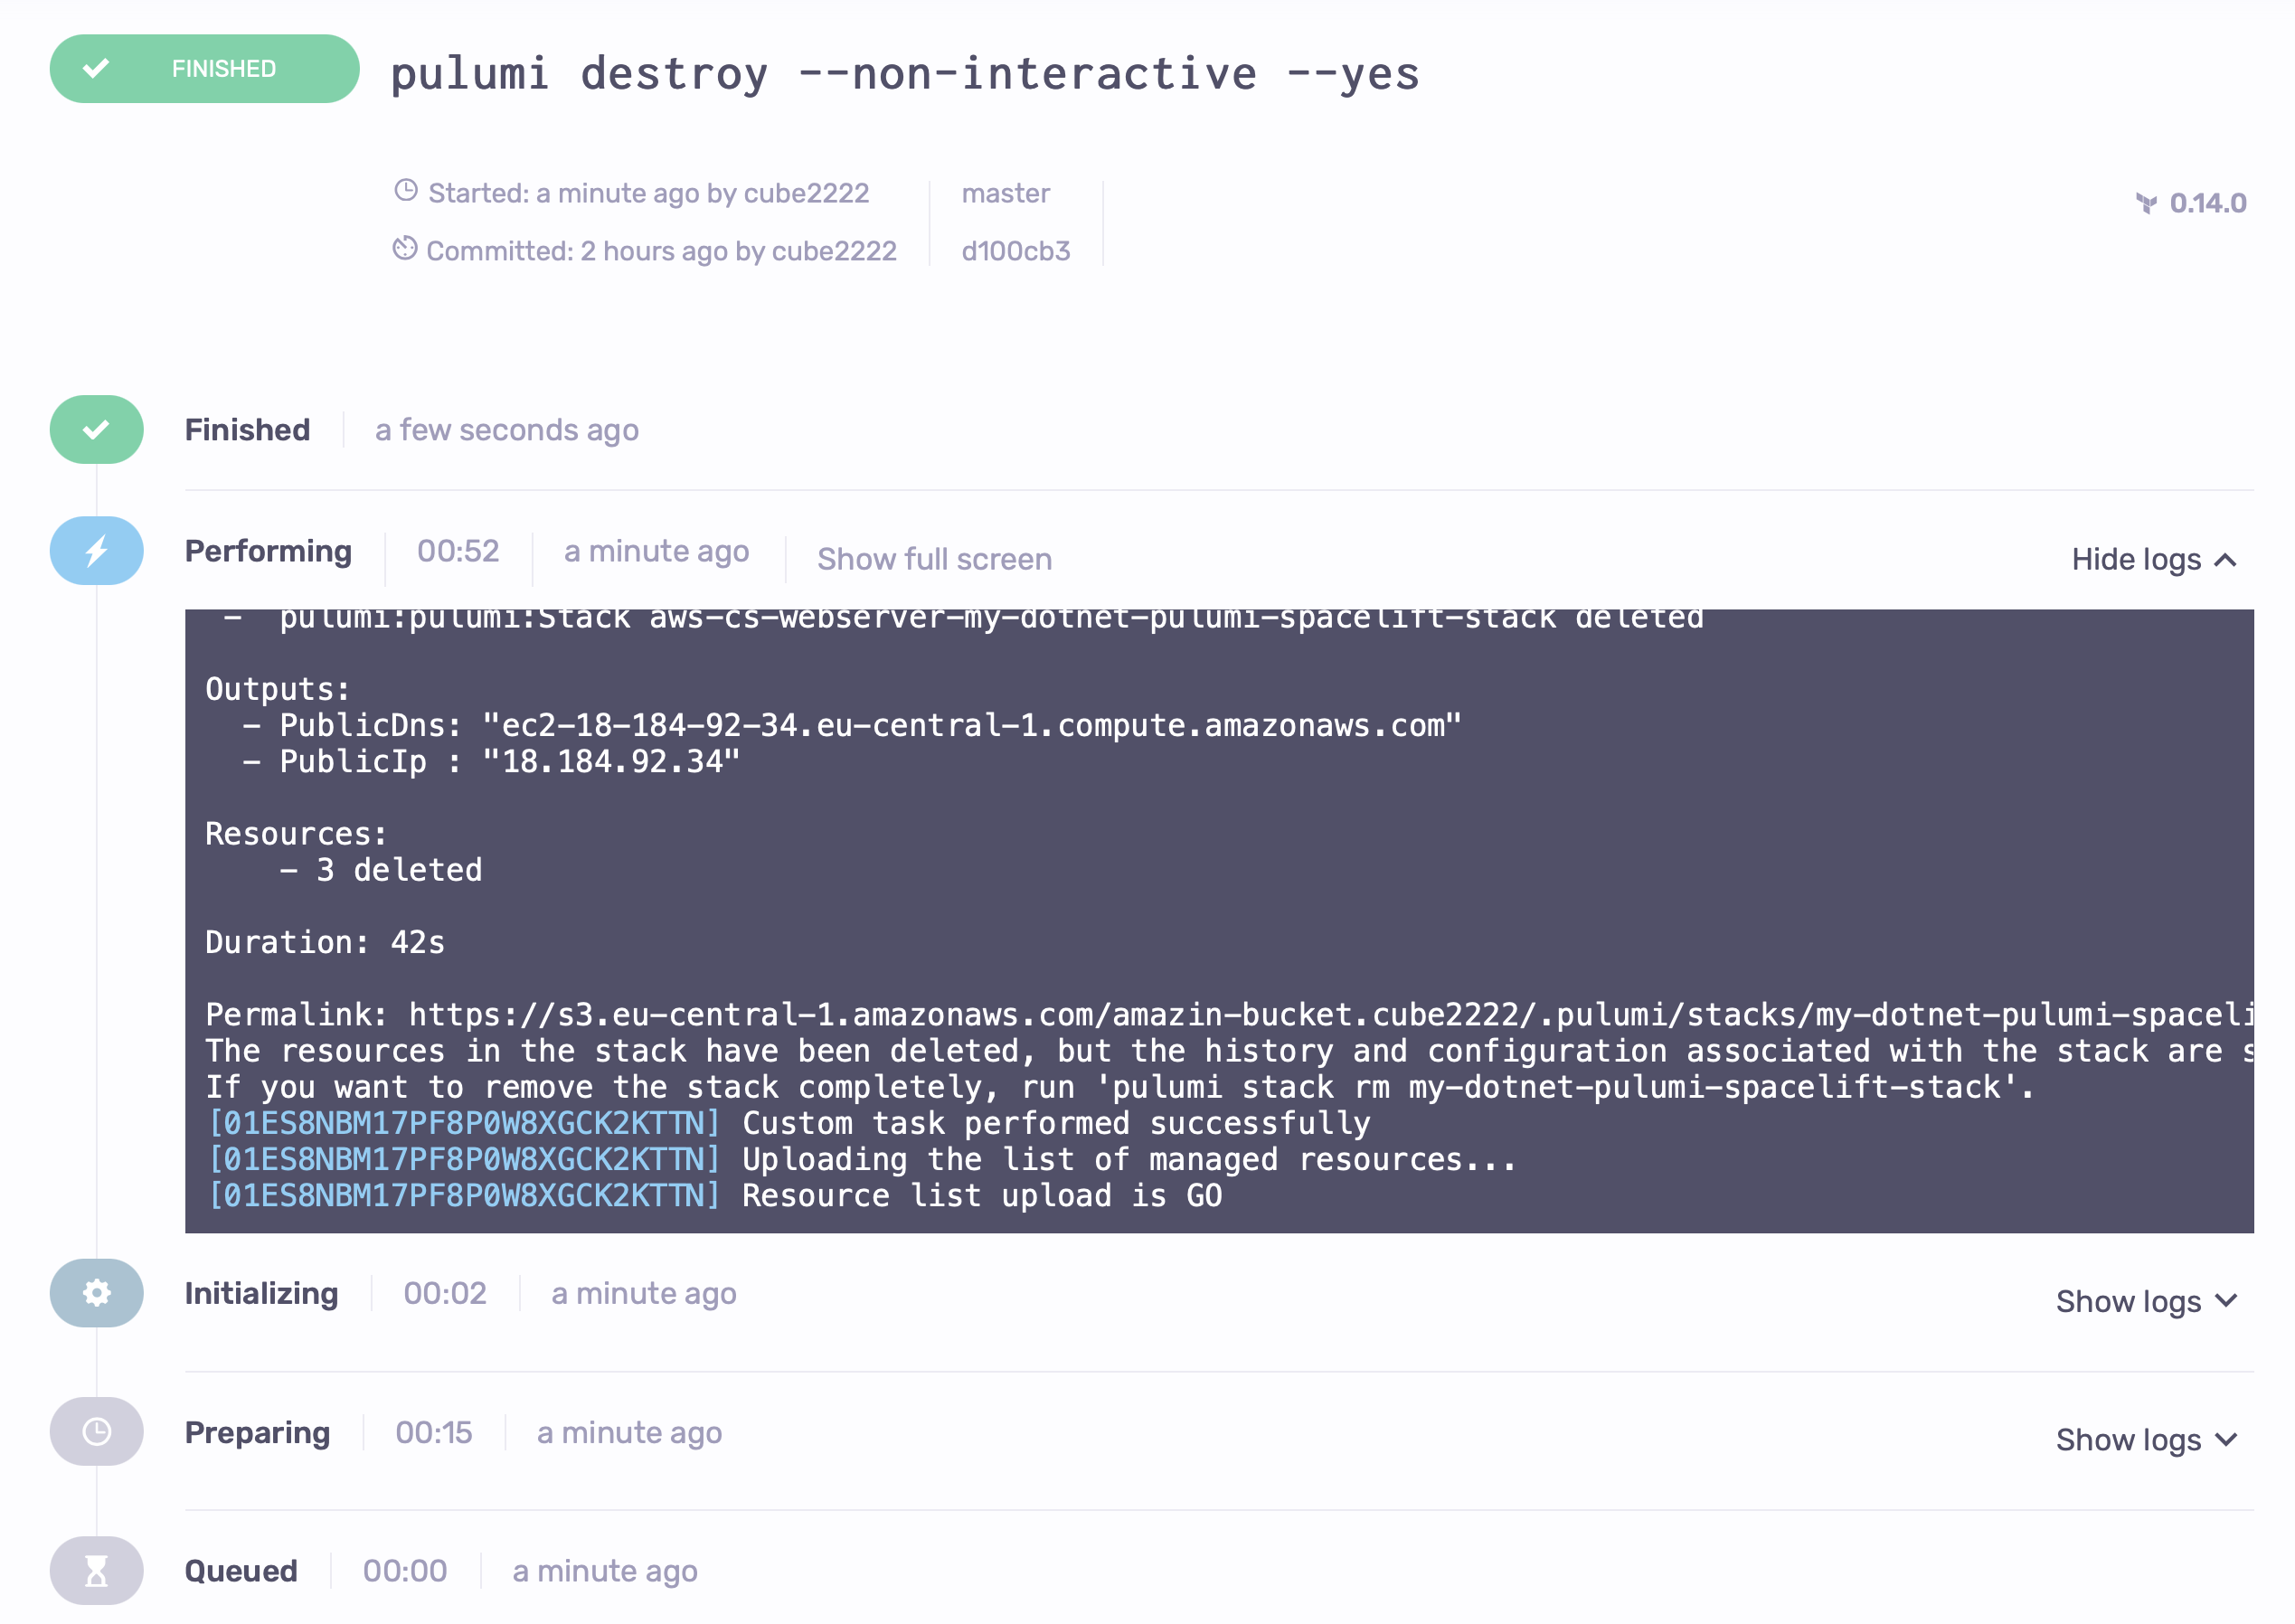
In order to clean up, open the Tasks tab, and perform pulumi destroy --non-interactive --yes there.

Which will destroy all created resources.