Getting Started»
Prerequisites»
To follow this tutorial, you need an EC2 instance that the example can find and configure:
- The instance runs in the
us-east-1region and carries a tag with the keyAnsible. The inventory file filters on both. Change the file if your instance is elsewhere. - The instance is in the
runningstate. The inventory file ignores every other state. - The instance runs Amazon Linux 2023, or another distribution with the
yumordnfpackage manager. The playbook installs thehttpdpackage. - The security group of the instance allows inbound SSH on port 22 from the workers that run the stack.
- The security group also allows inbound traffic on port 8000 if you want to open the page that the playbook serves.
- You have the SSH private key that reaches the instance as the
ec2-useraccount.
Initial Setup»
Start by forking our Spacelift examples repository. The Ansible example is in the ansible directory.
Looking at the code, you'll find that it configures a simple Apache HTTP Server on an EC2 instance. We are also using the AWS EC2 inventory plugin to find the hosts to configure. Feel free to modify aws_ec2.yml inventory file to fit your needs.
Creating a stack»
In Spacelift, go ahead and click the Add Stack button to create a Stack in Spacelift.
In the first step of the stack creation wizard, choose a name for your stack:
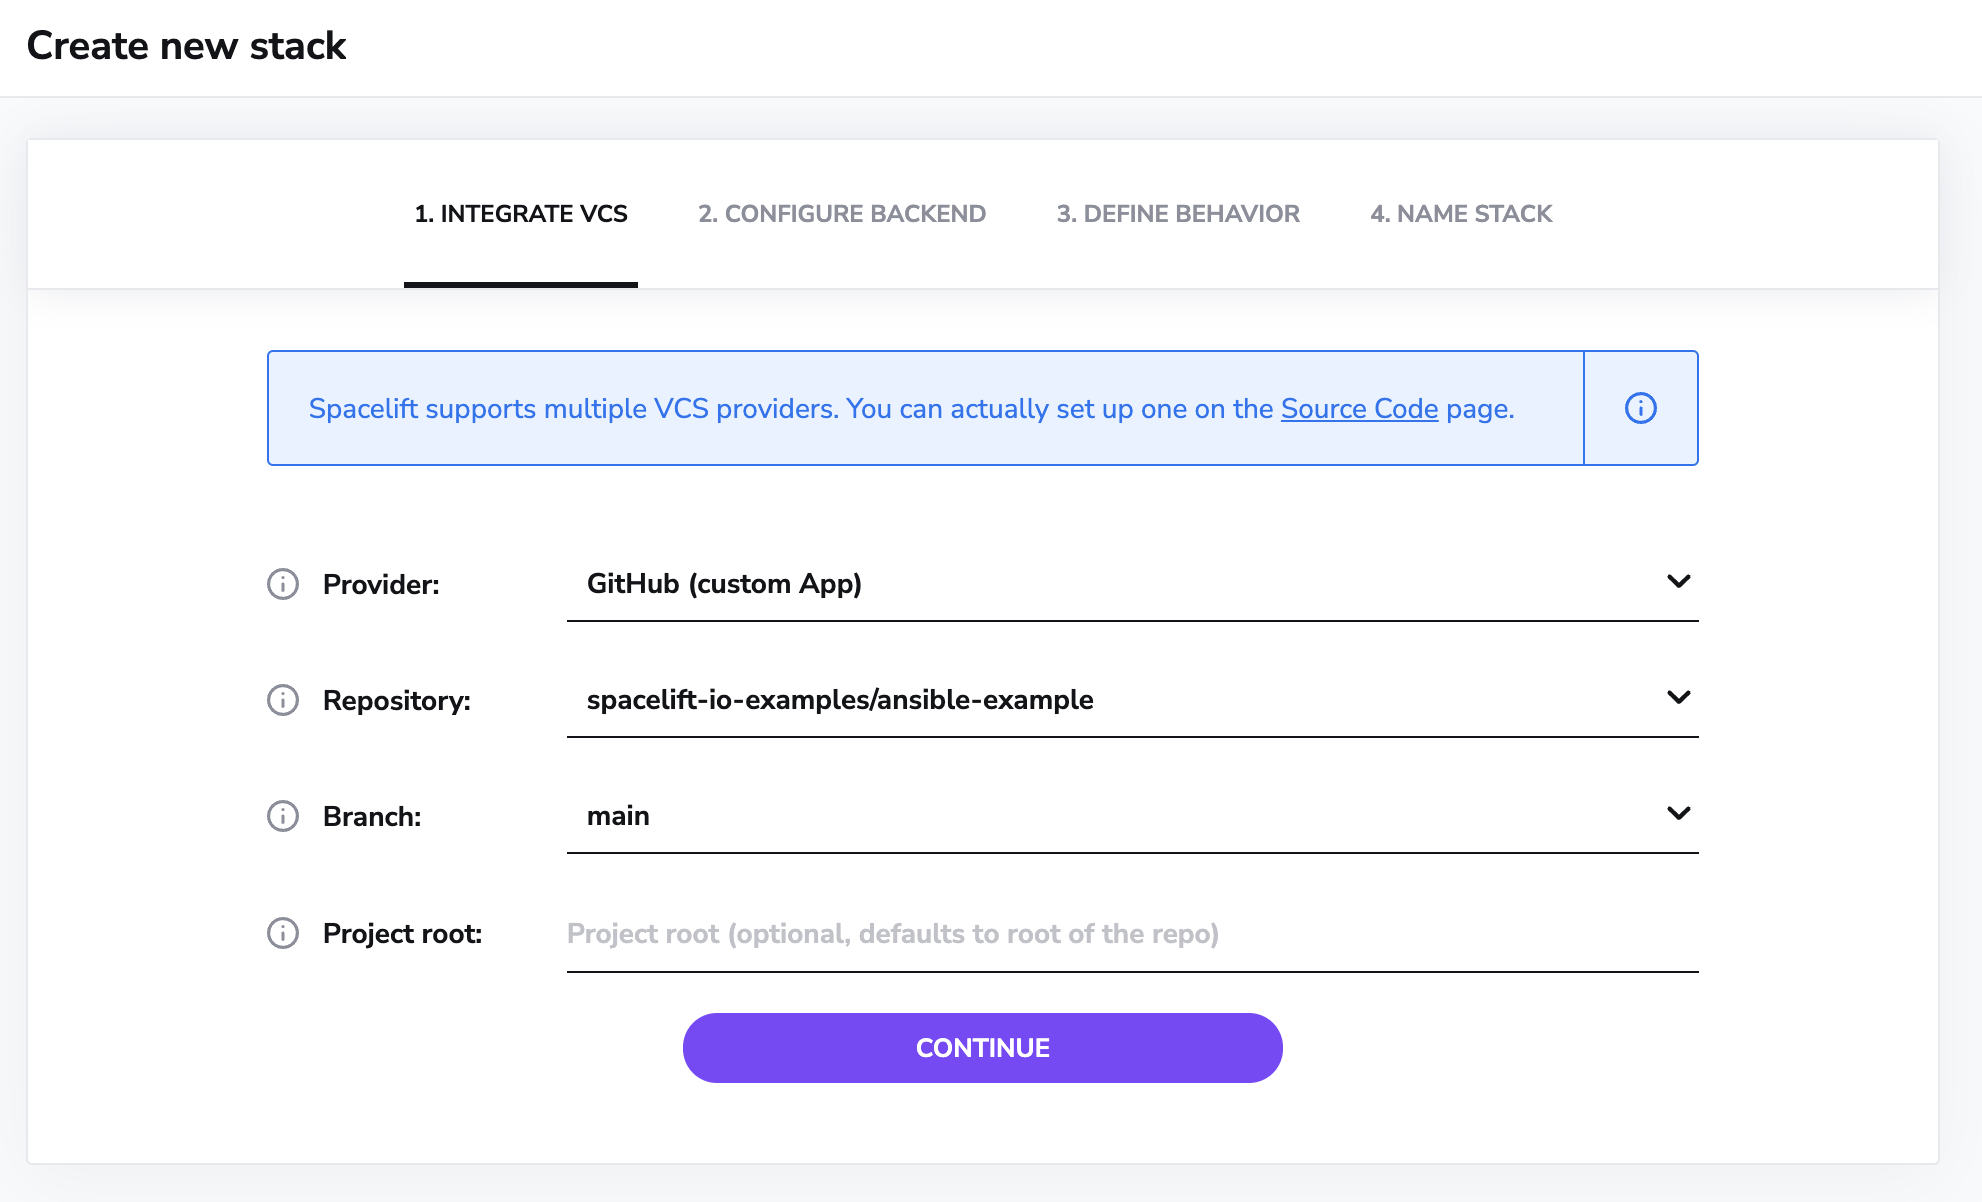
In the next step, choose the repository, and set the project root to ansible:
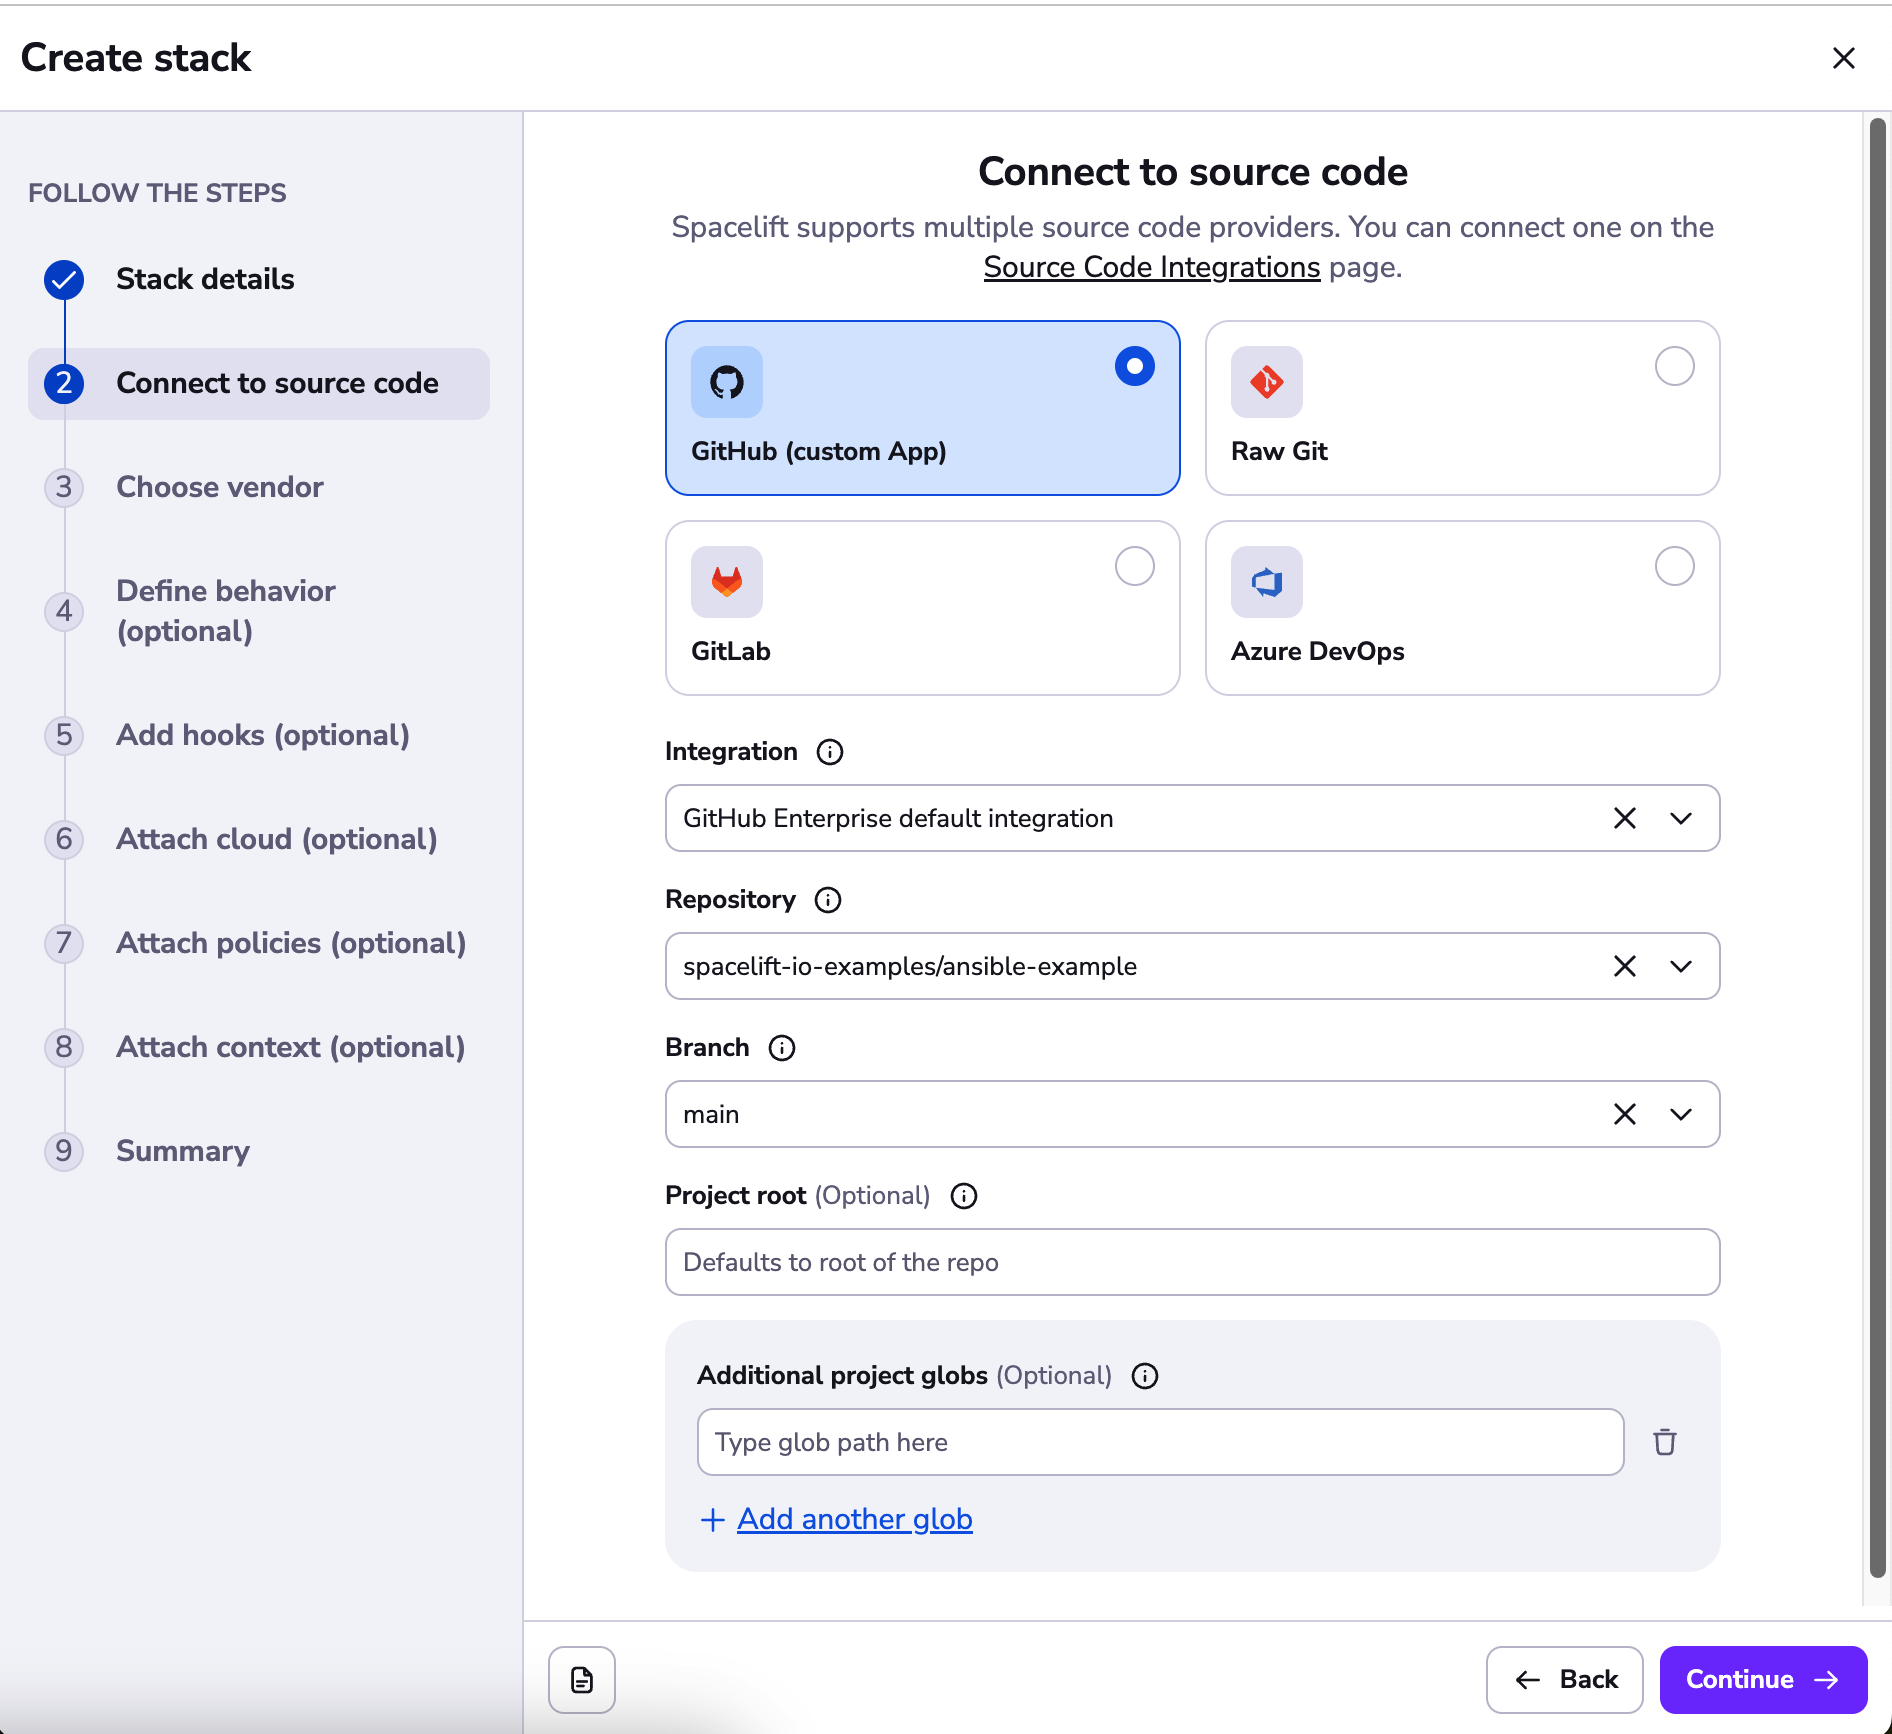
The screenshot uses a Raw Git integration that points at our repository. Use your own fork and the source code provider that hosts it.
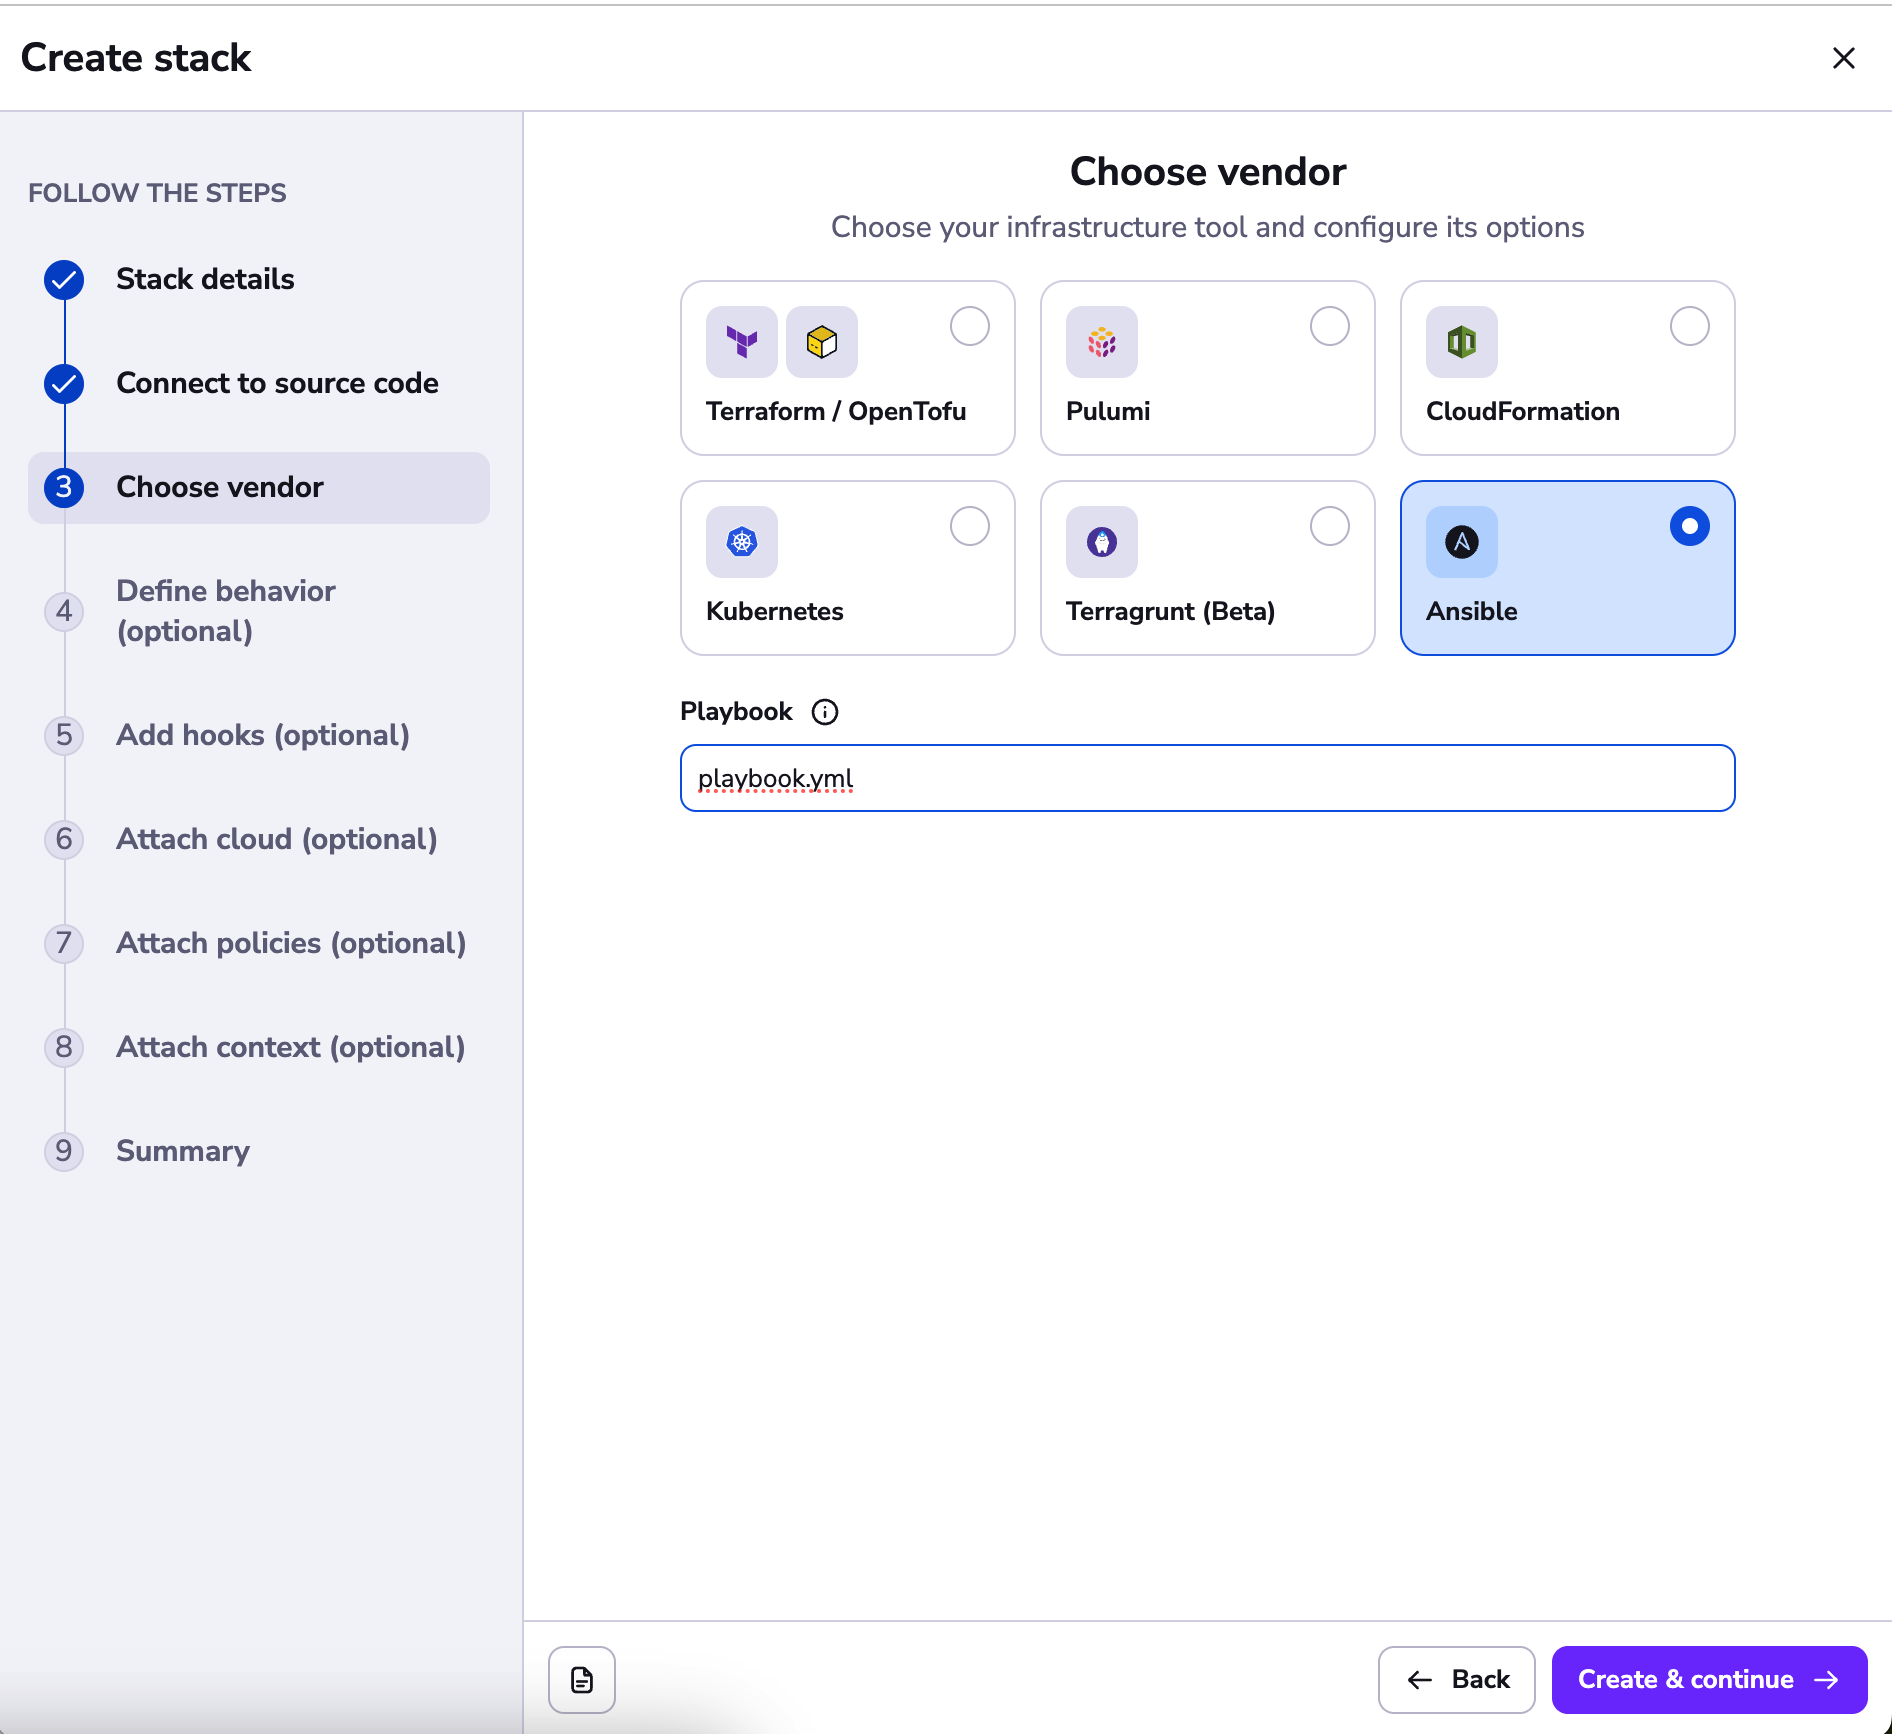
Next, choose the Ansible vendor, and enter the name of the playbook you want to execute. In the case of our example, it is playbook.yml.
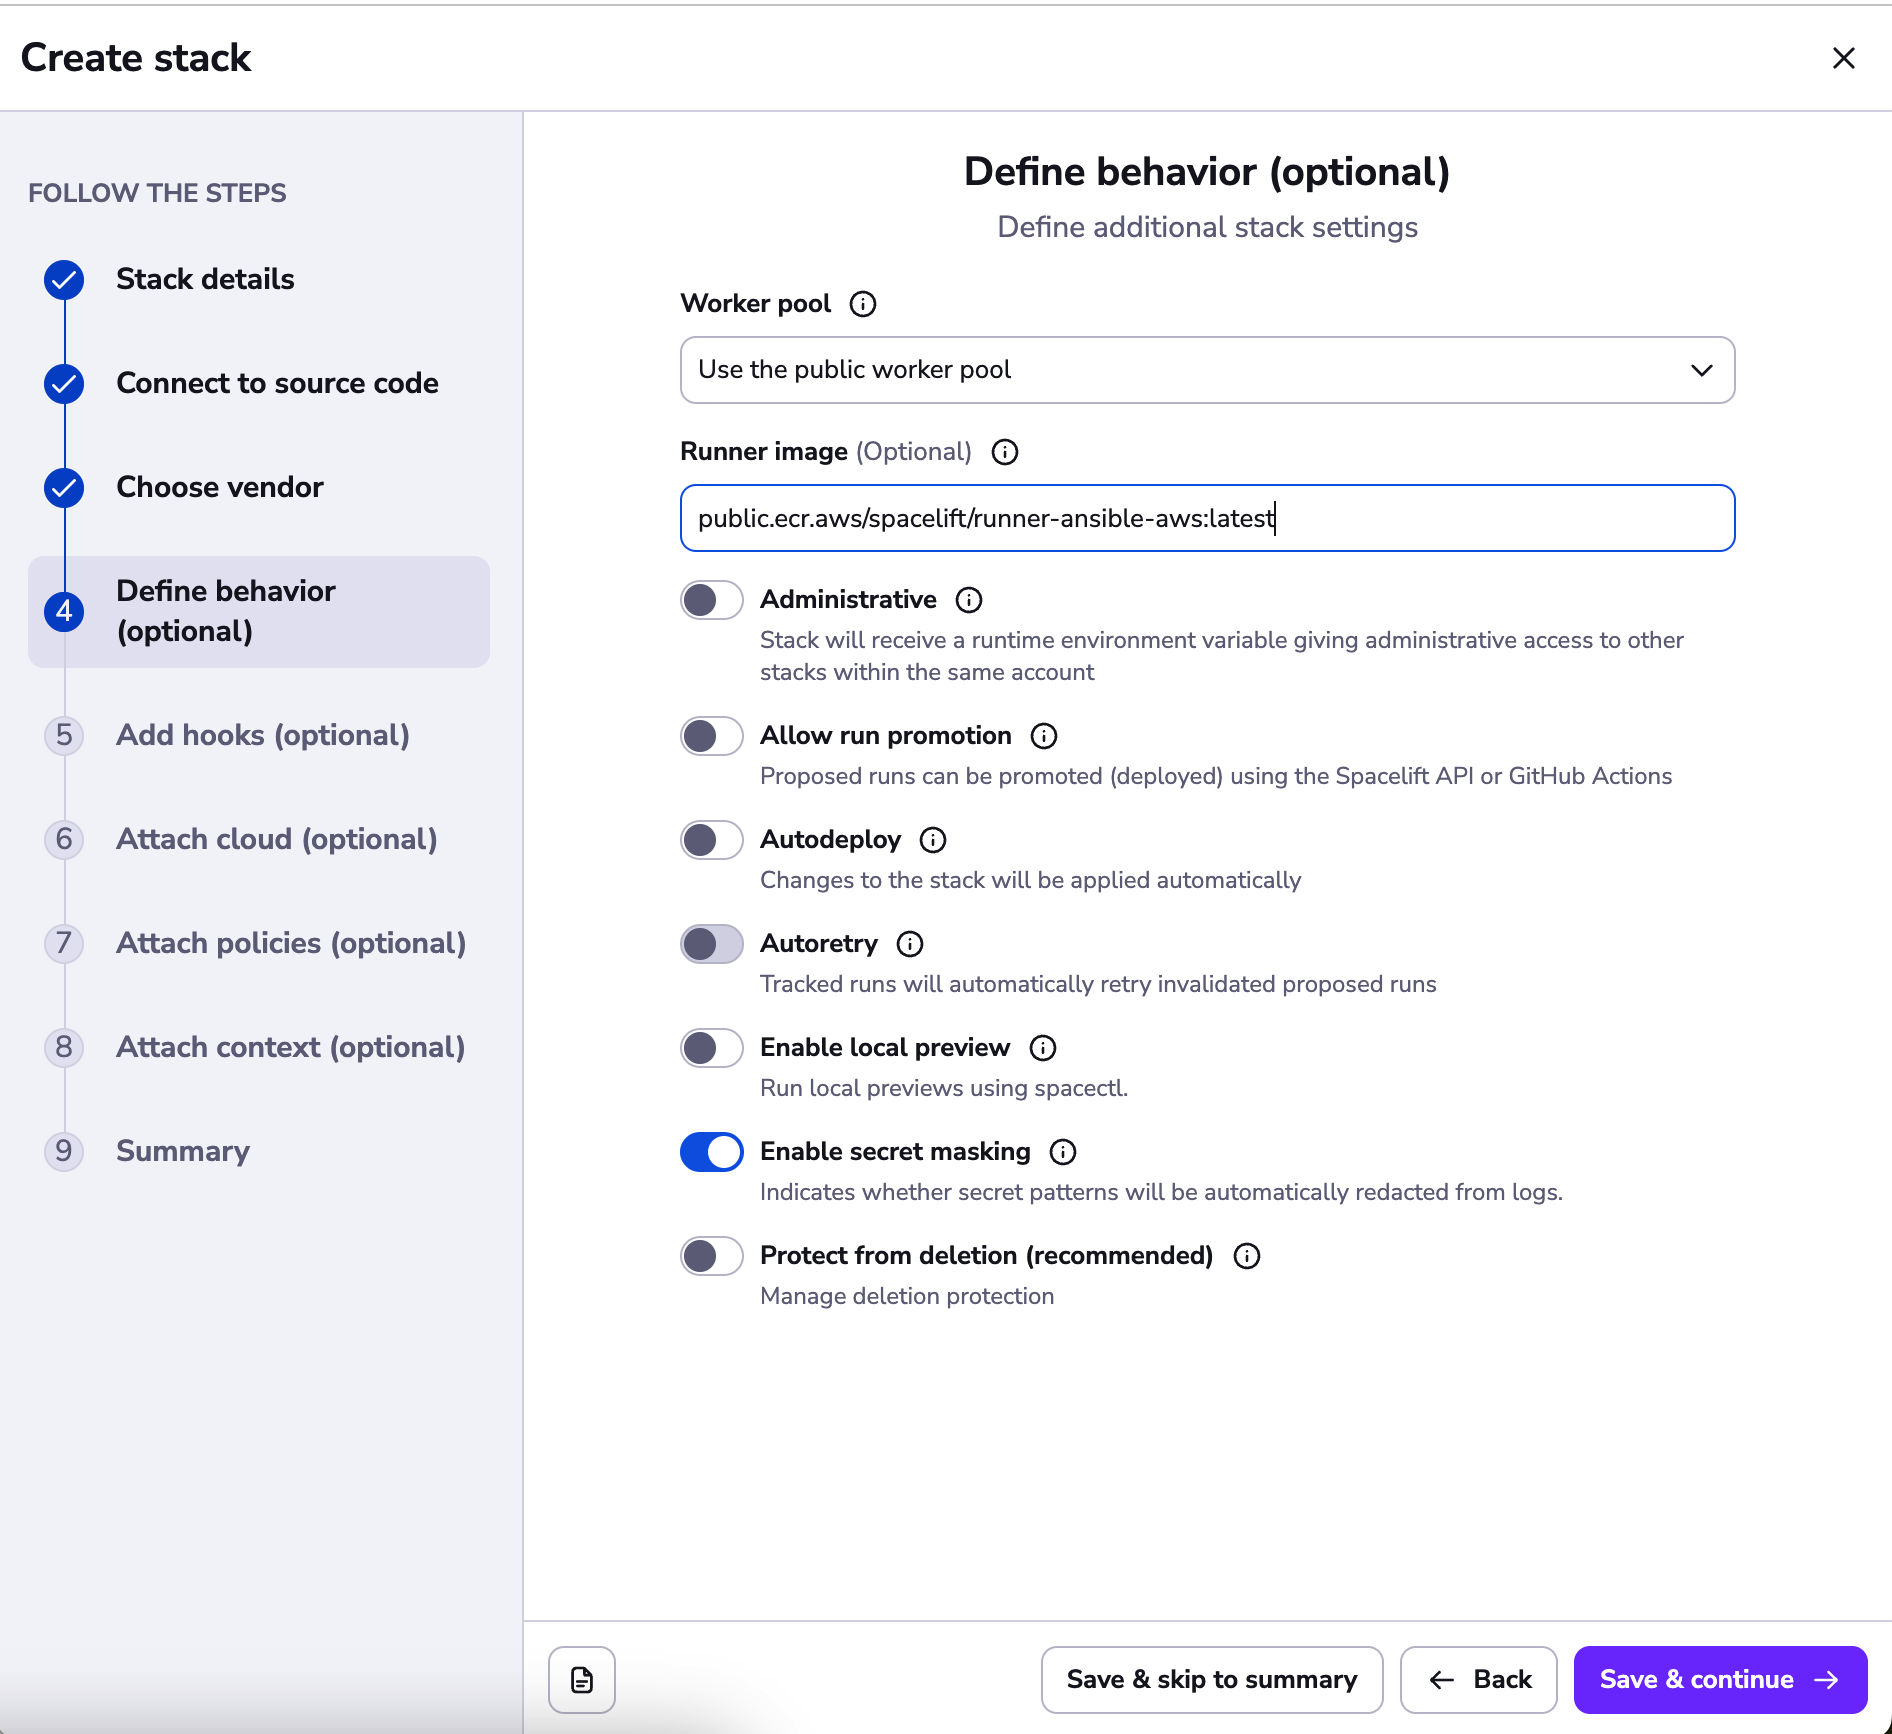
Next, continue to the define behavior section, and enter a runner image to use. This should point at a container image that contains the version of Ansible you require. You may use your own image (with the Ansible version you choose and all the required dependencies) or use one of our default ones. In this example we are using the AWS flavor of our Ansible runner image: public.ecr.aws/spacelift/runner-ansible:latest-aws.
If you have a private worker pool you'd like to use, you can specify it there instead of the default public one as well.
At this stage, you can go ahead and continue to the end of the stack creation wizard and create your stack.
Pointing Ansible at the configuration file»
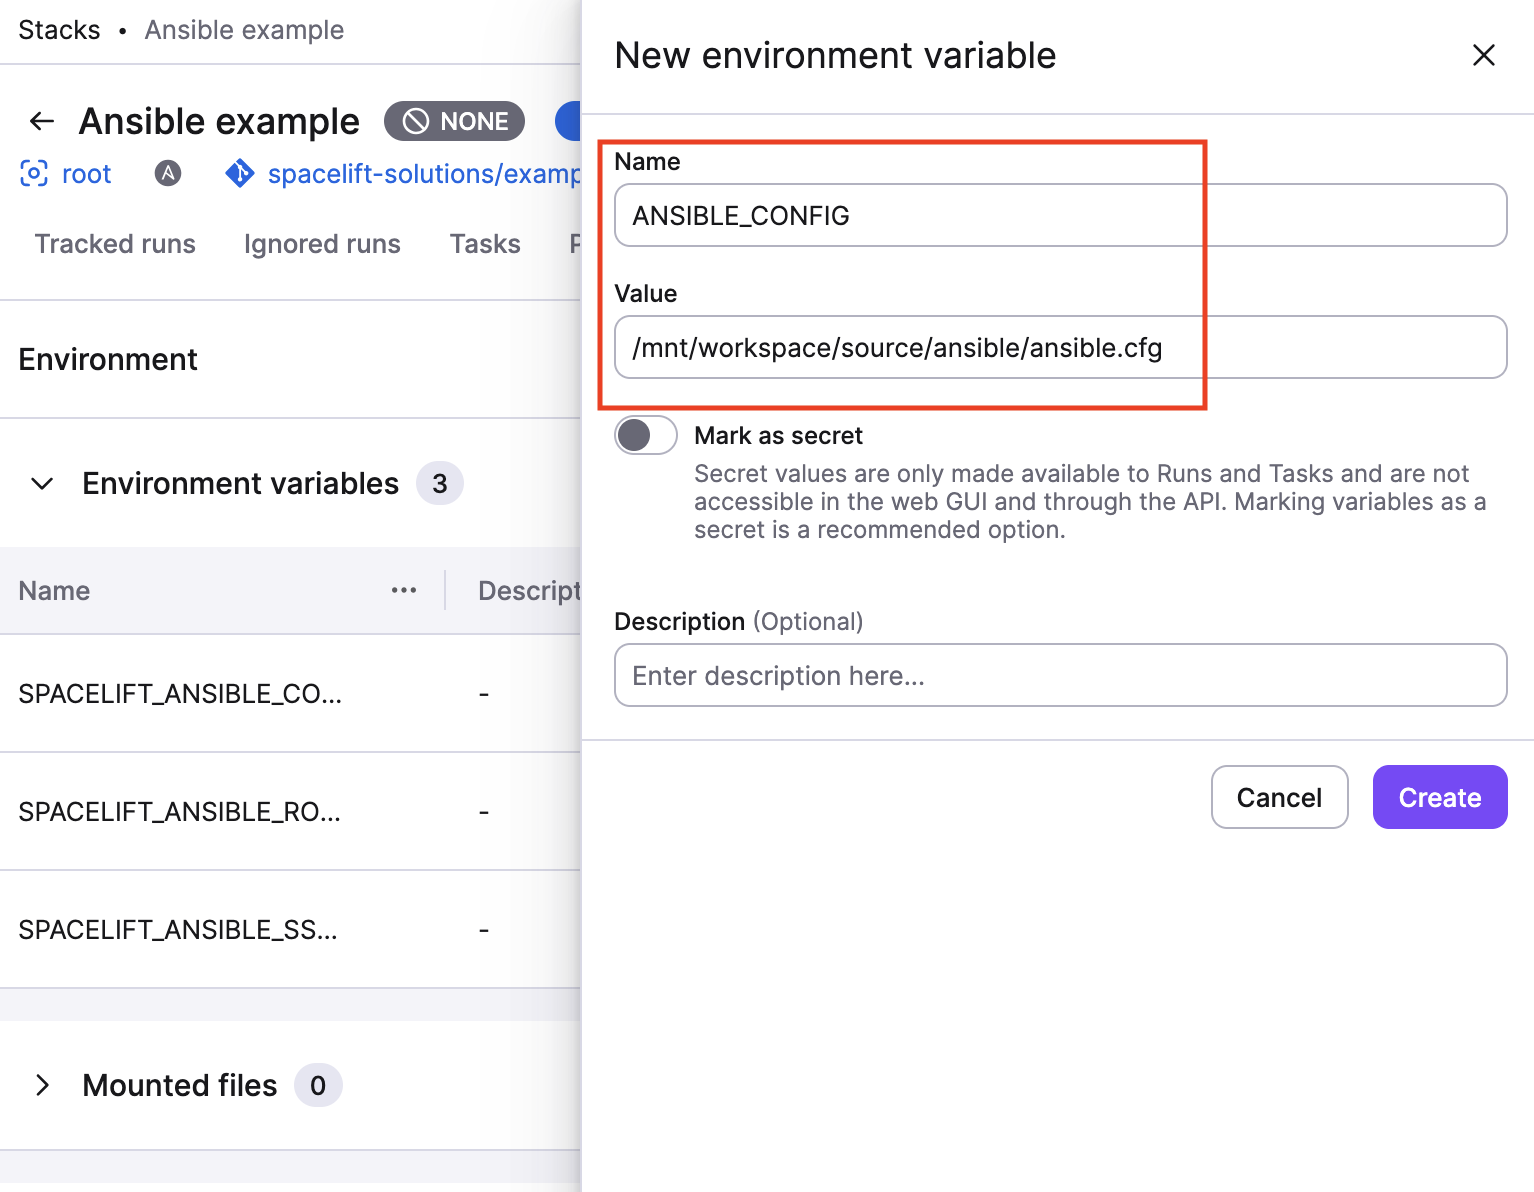
Go to the stack's Environment tab and add the ANSIBLE_CONFIG environment variable:
1 | |
This file sets aws_ec2.yml as the inventory and connects as the ec2-user account.
Note
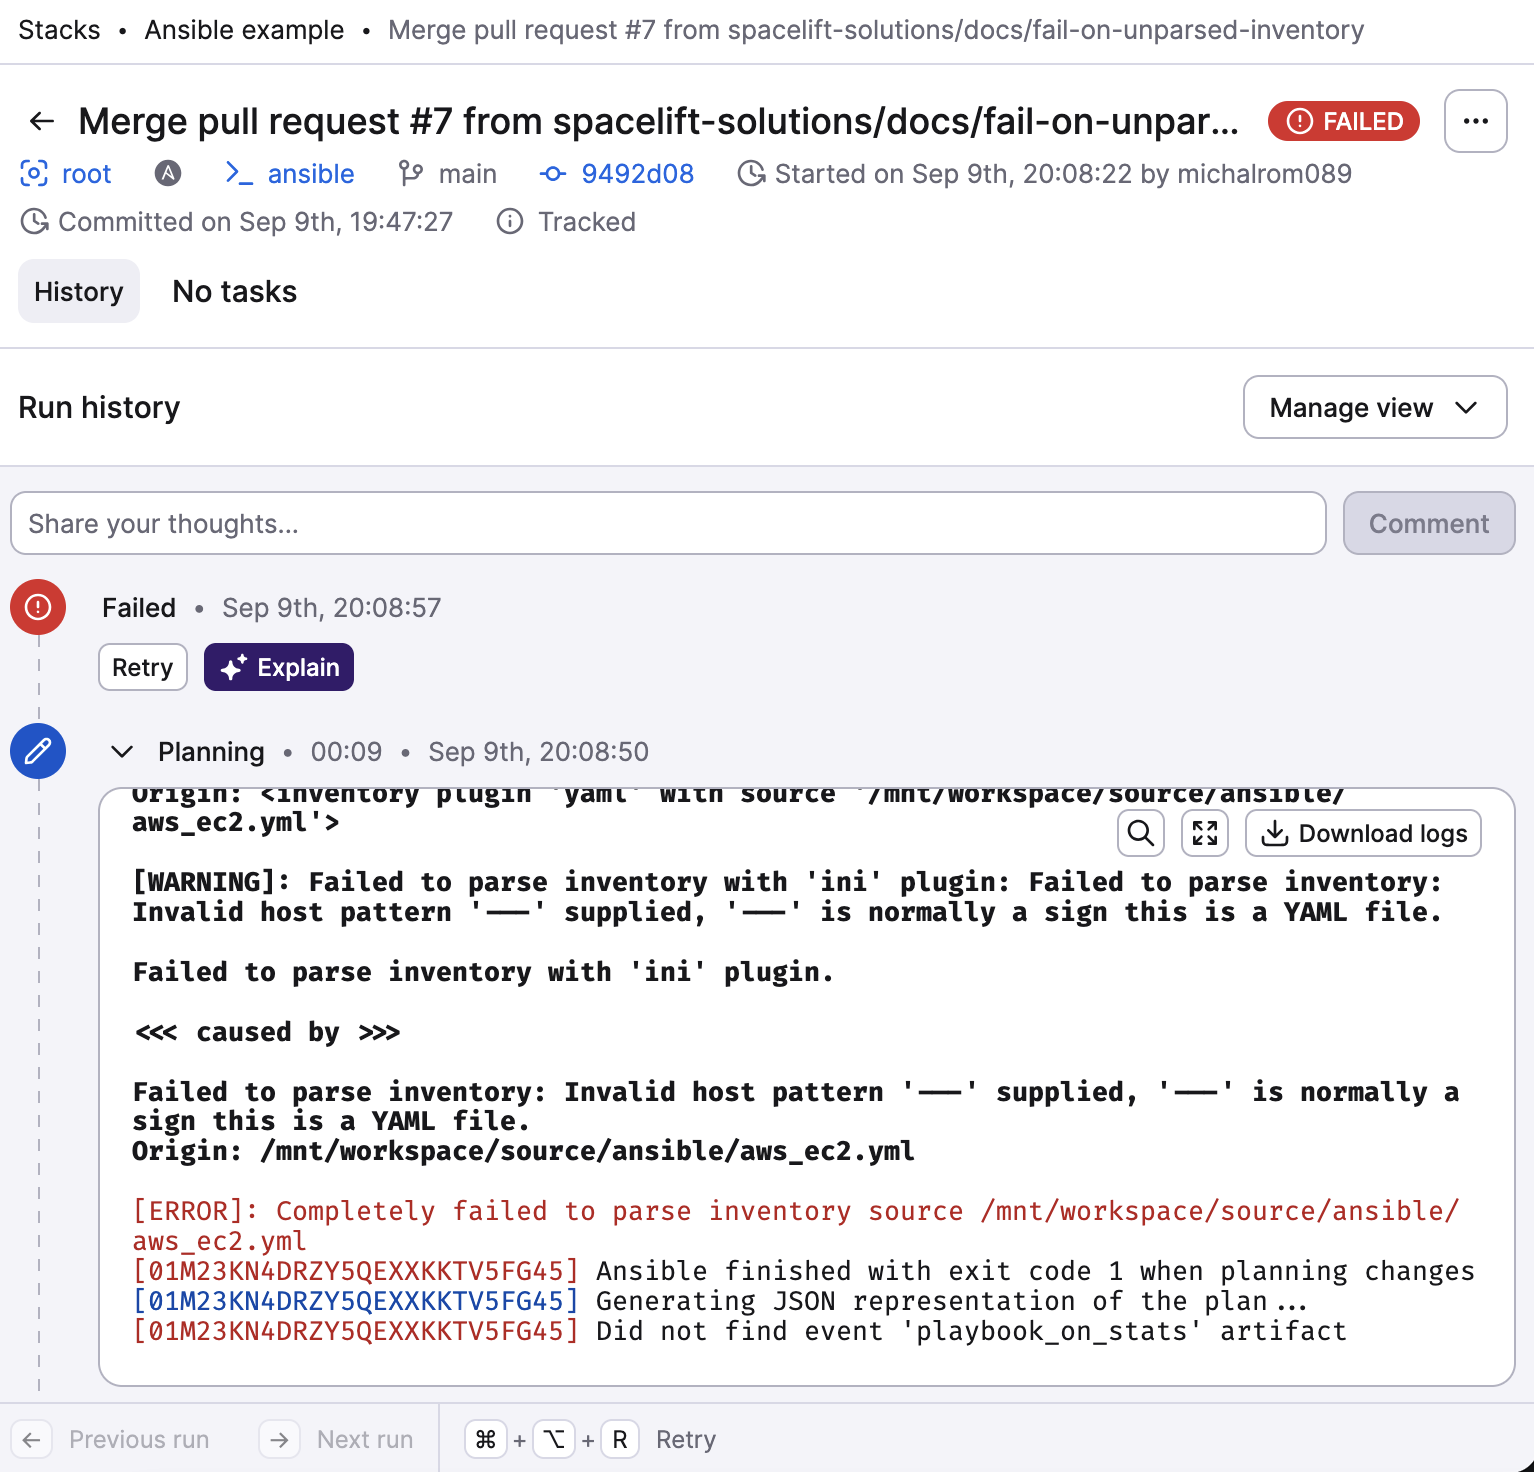
The configuration file sets any_unparsed_is_failed = True. Ansible then fails the run when it cannot parse the inventory, instead of reporting a false success.
Triggering the Stack»
Making sure the inventory plugin works»
You can now click Trigger to create a new Spacelift Run.
You should see the run finishing with no hosts matched. This is because the AWS EC2 inventory plugin did not detect valid AWS credentials.
Attach AWS integration»
You need to configure the AWS integration to give Spacelift access to your AWS account. You can find the details here.
The role that you attach must allow ec2:DescribeInstances. The inventory plugin calls it to find the instance, and without it every run reports no hosts matched.
Configuring SSH keys»
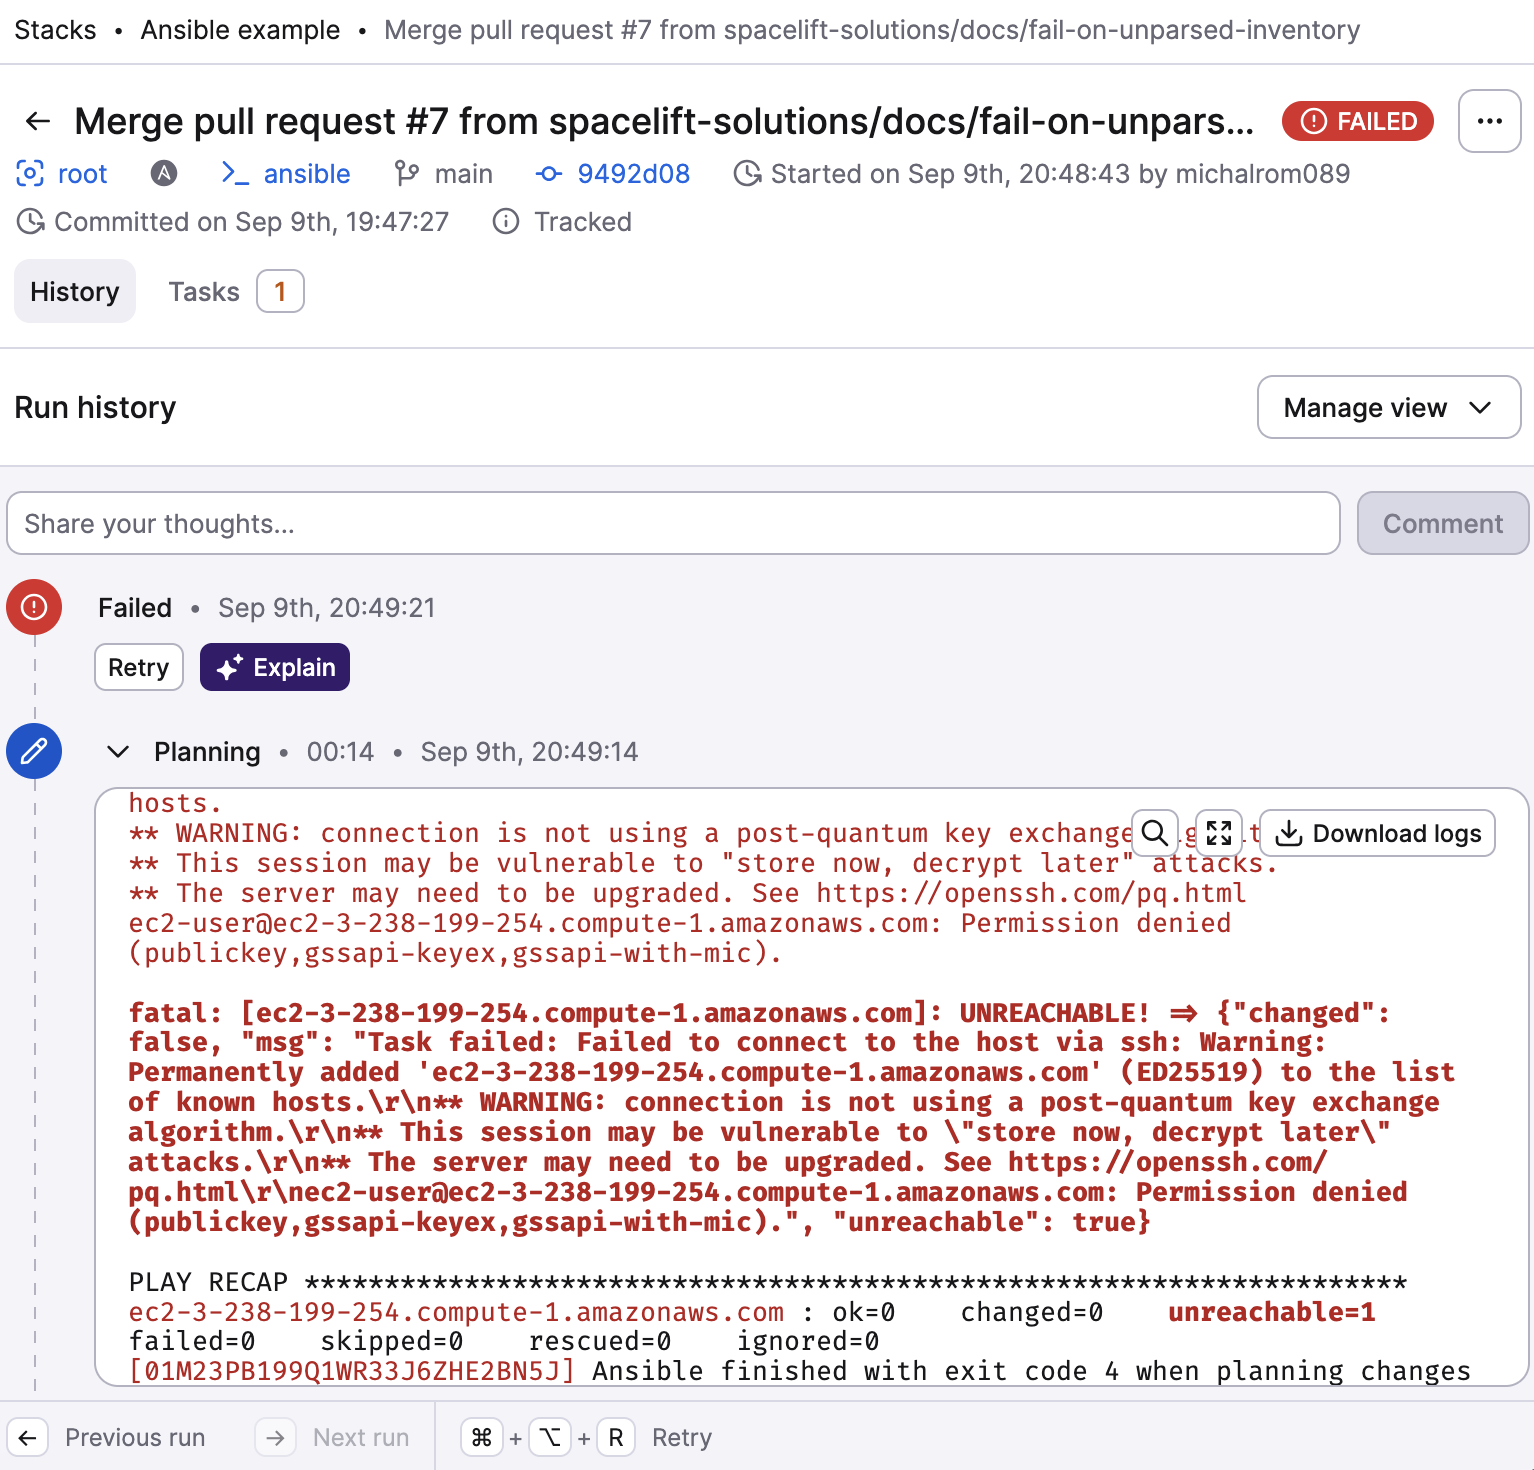
After triggering a run again, you will see we could successfully find EC2 hosts (provided they could be localized with aws_ec2.yml inventory file filters), but we cannot connect to them using SSH. The reason for that is we did not configure SSH keys yet.
Let's configure the correct credentials using the Environment.
Go to the Environment tab and add the private key that can be used to access the machine as a secret mounted file.
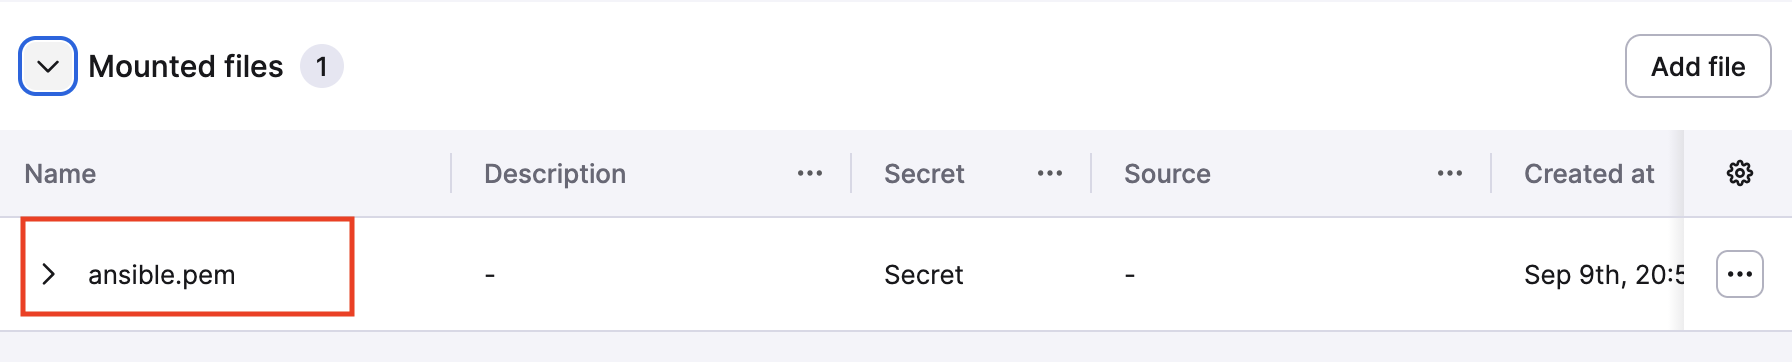
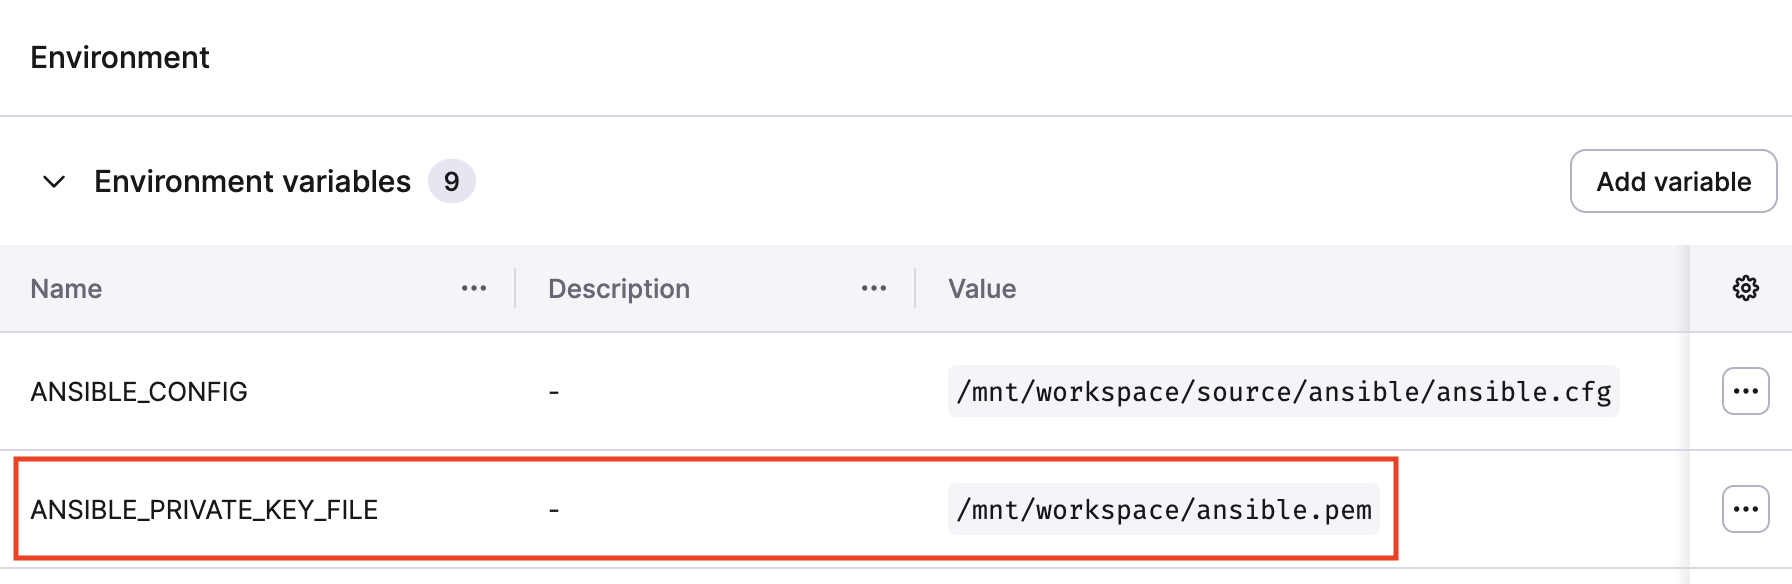
You should also specify the location of the SSH private key for Ansible, and you can do that using the ANSIBLE_PRIVATE_KEY_FILE environment variable.
Correcting the permissions of the key»
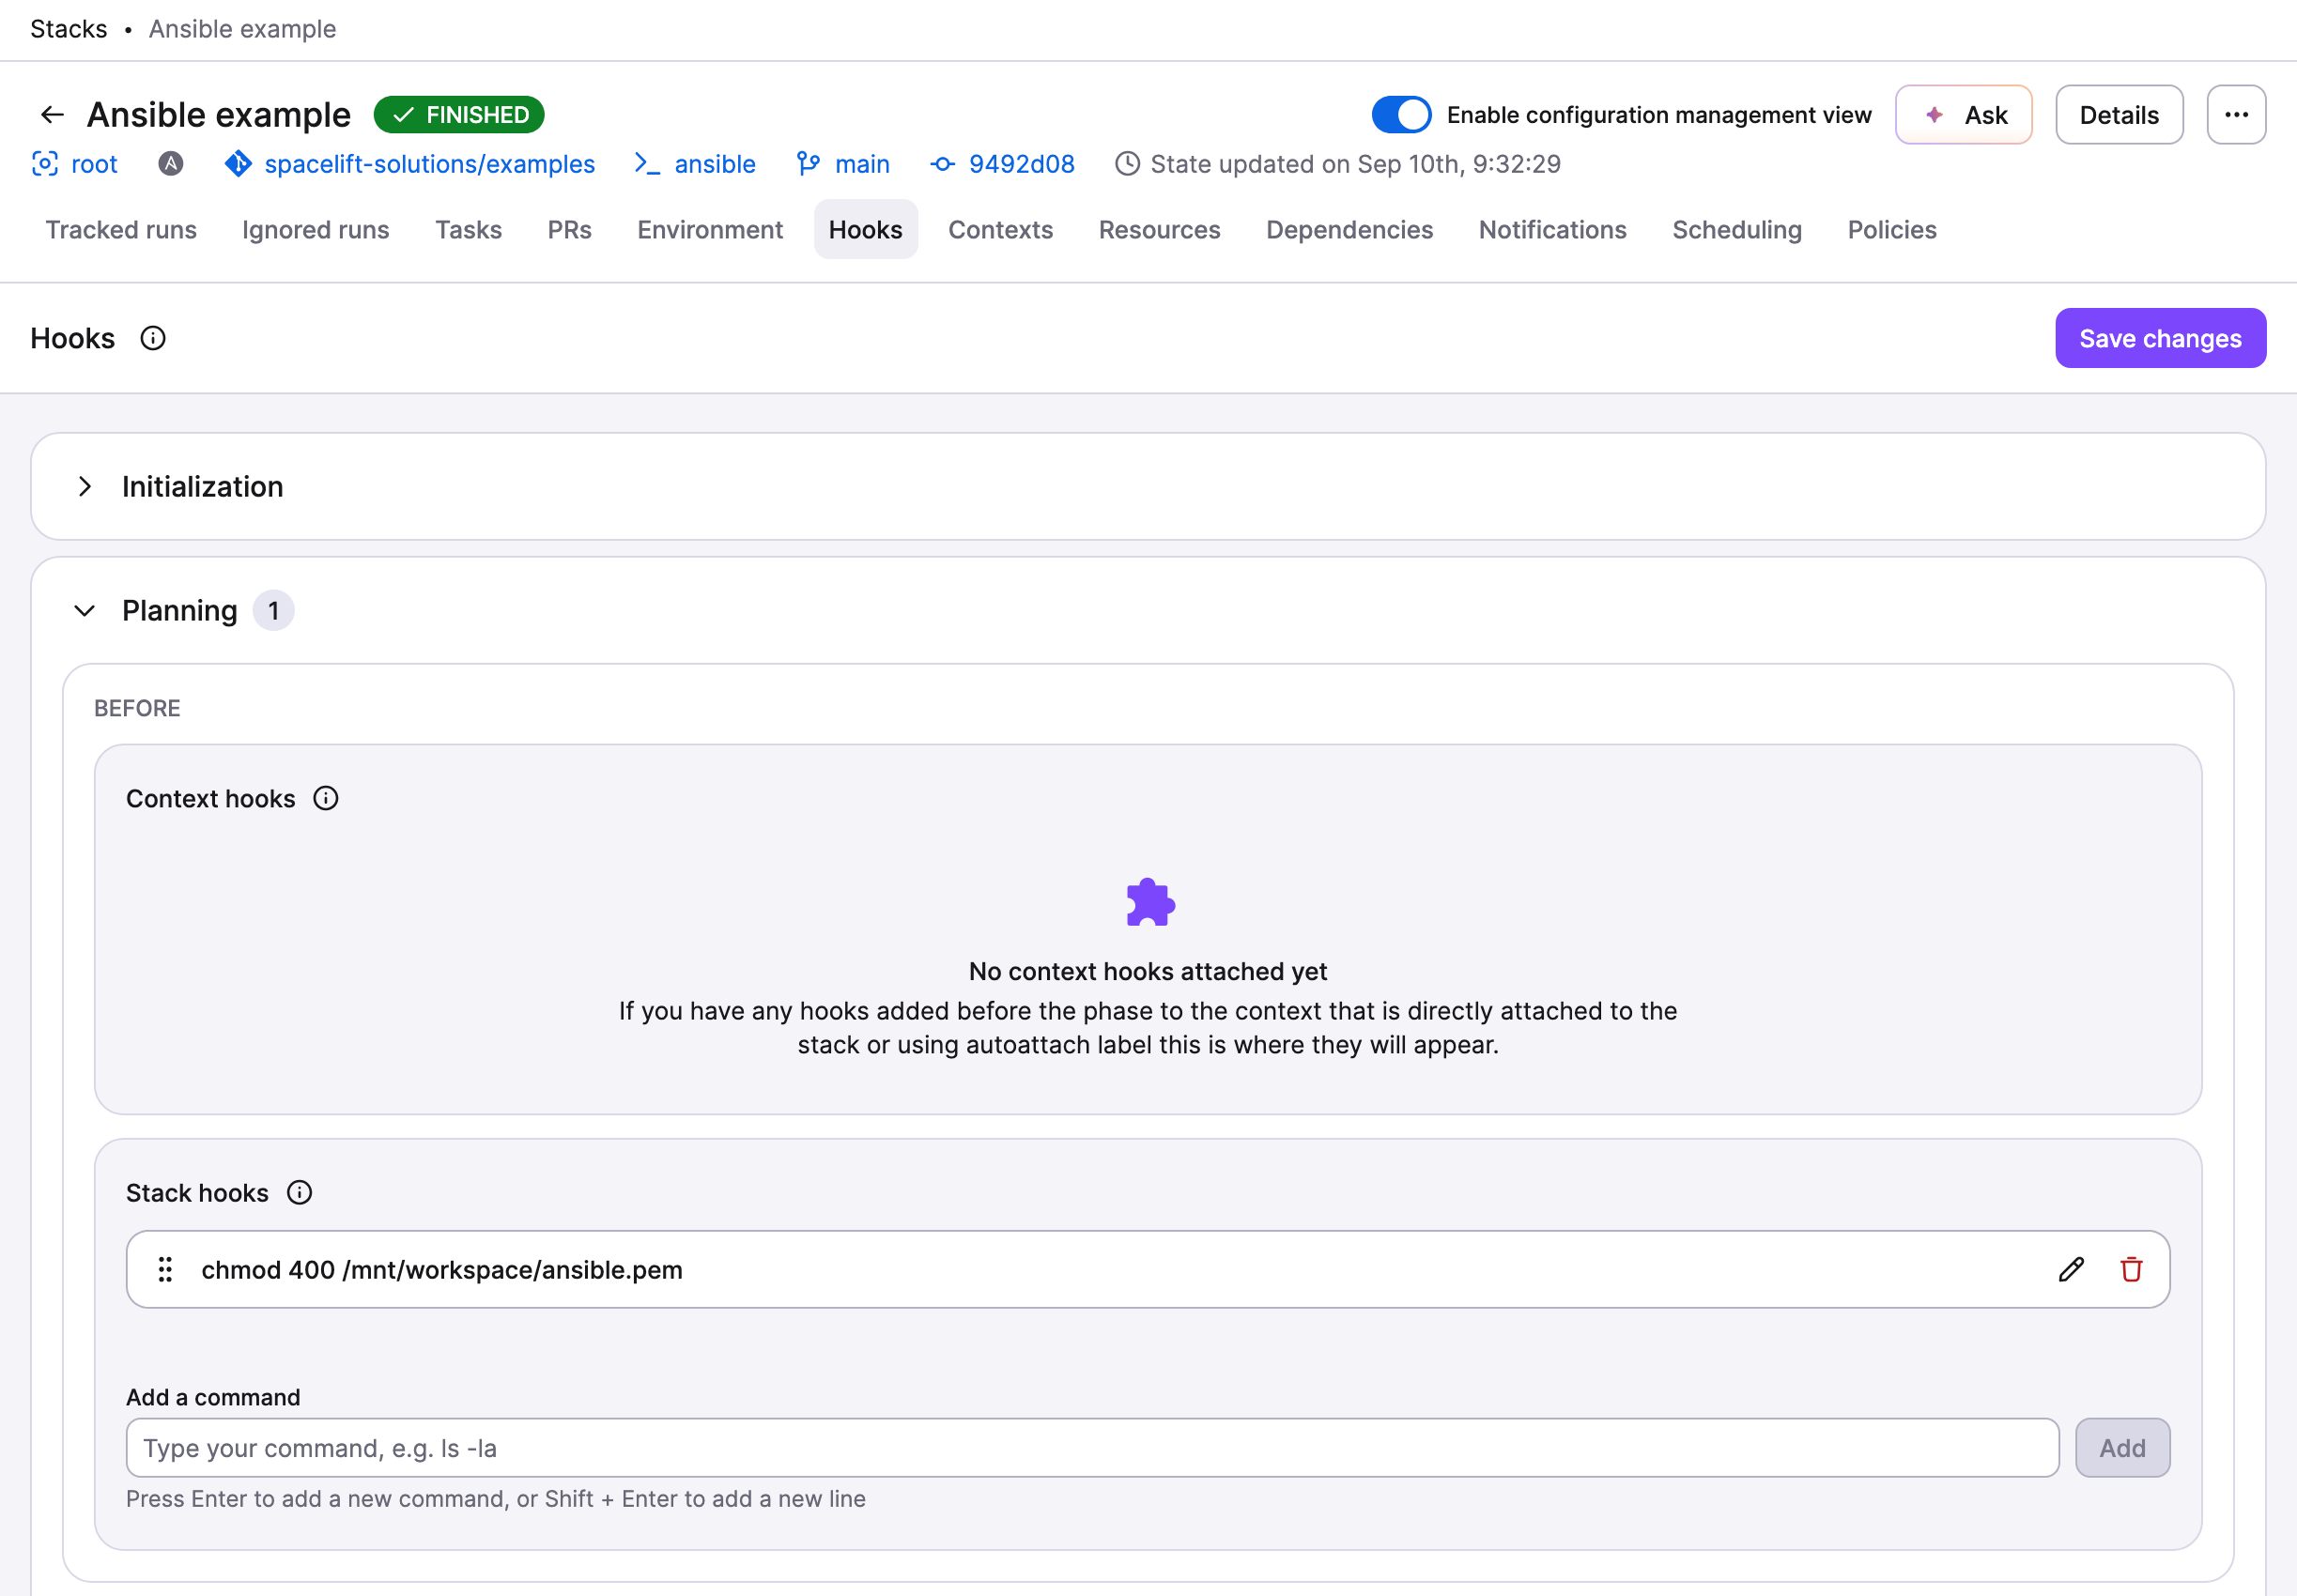
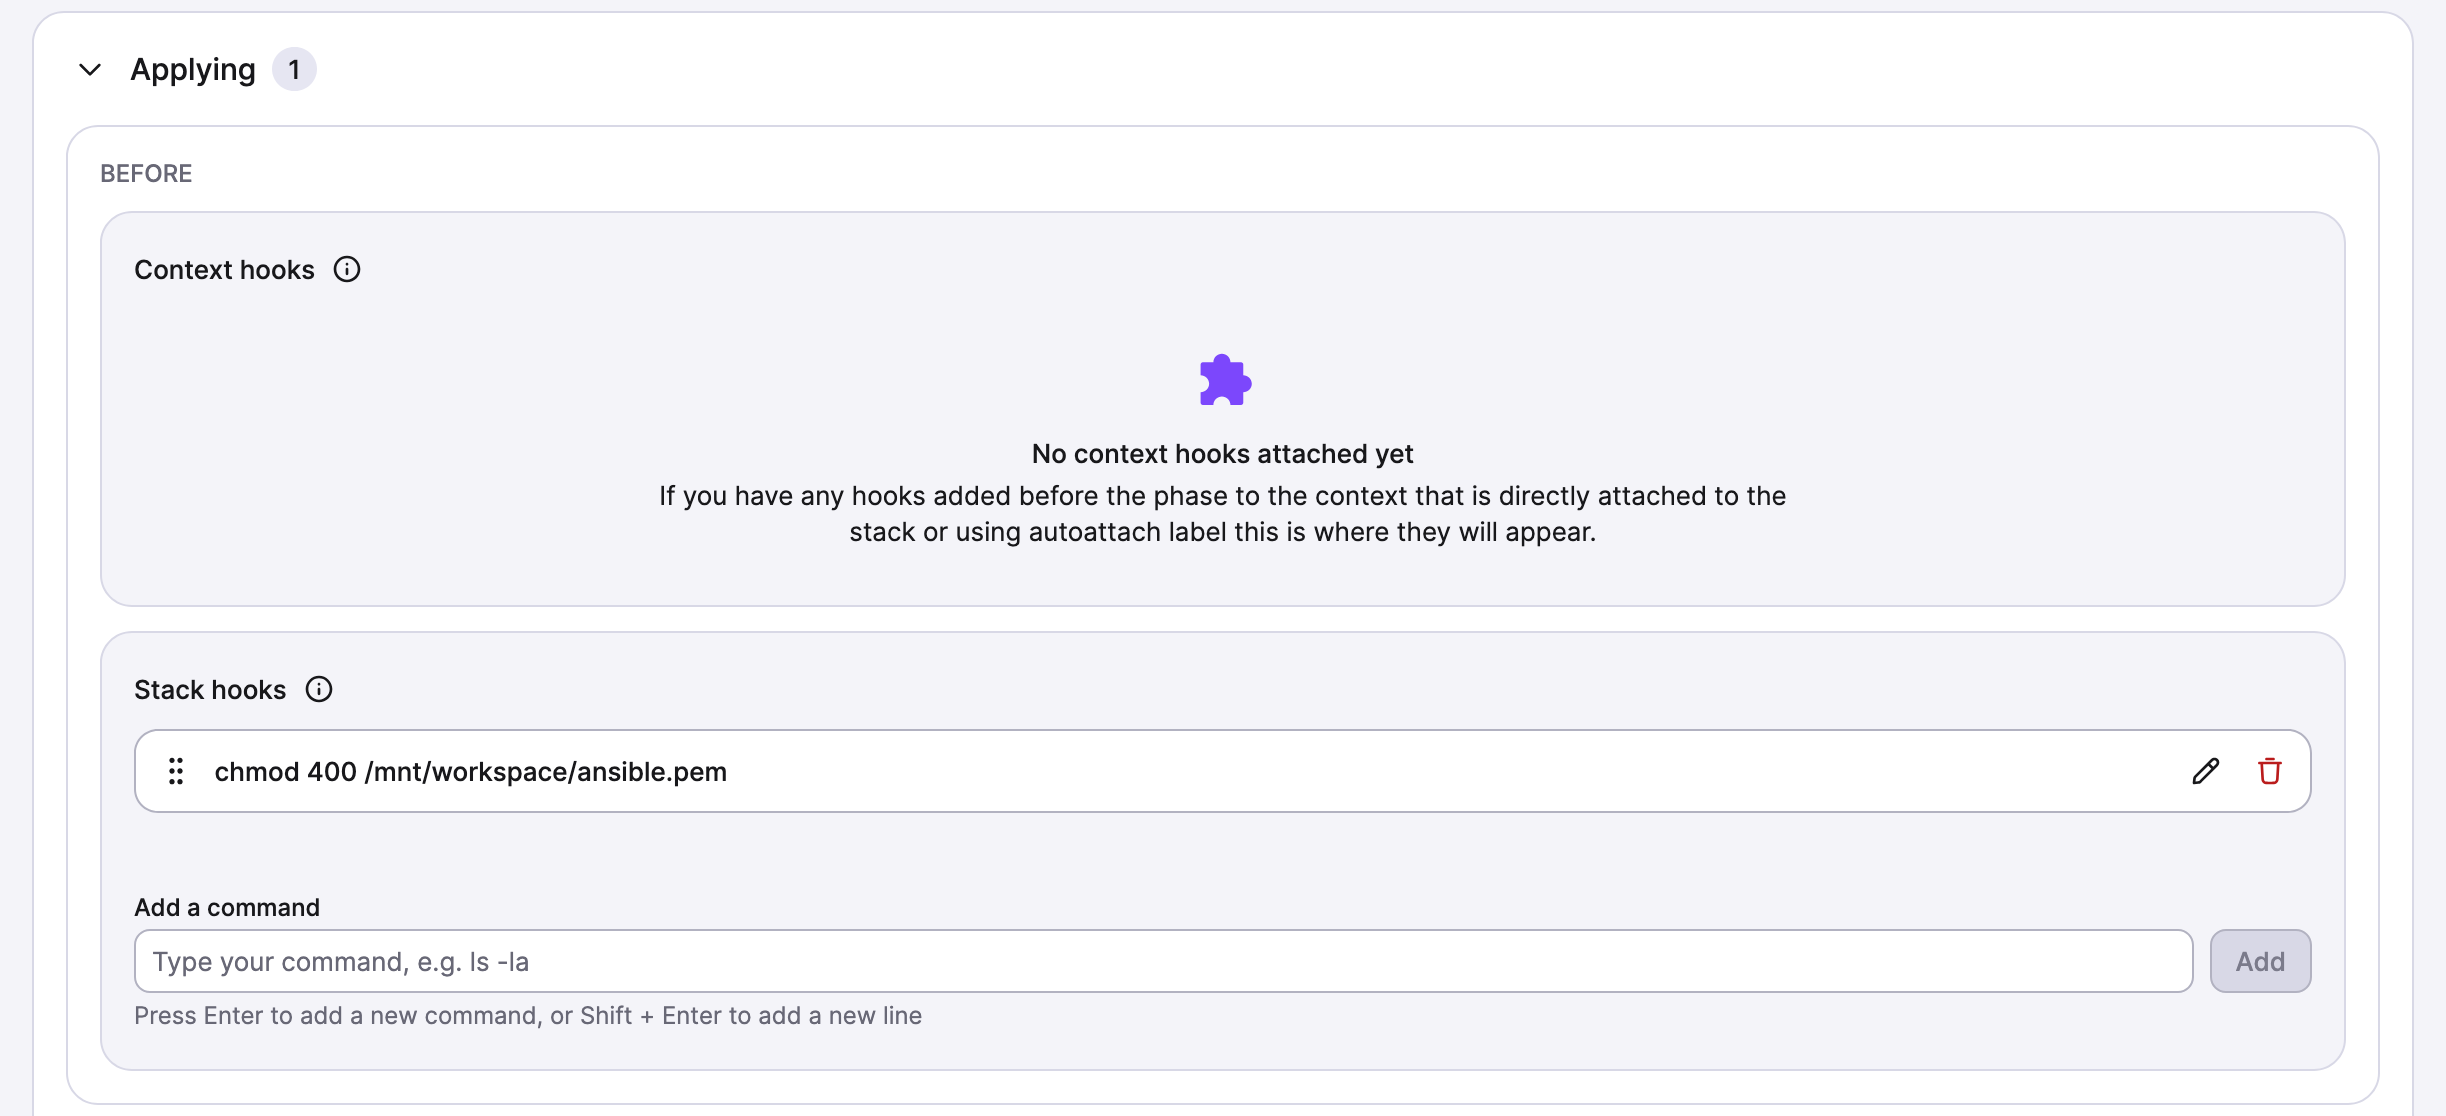
Spacelift mounts files with permissions that let every account read them. OpenSSH ignores a private key that others can read, so the run reports UNPROTECTED PRIVATE KEY FILE and cannot connect. Correct the permissions with a hook:
1 | |
Add the hook to both before plan and before apply. Both phases open an SSH connection, so a hook on one phase alone leaves the other one failing.
Investigating planned changes»
Triggering a run again, you should successfully see it get through the planning phase and end up in the unconfirmed state.
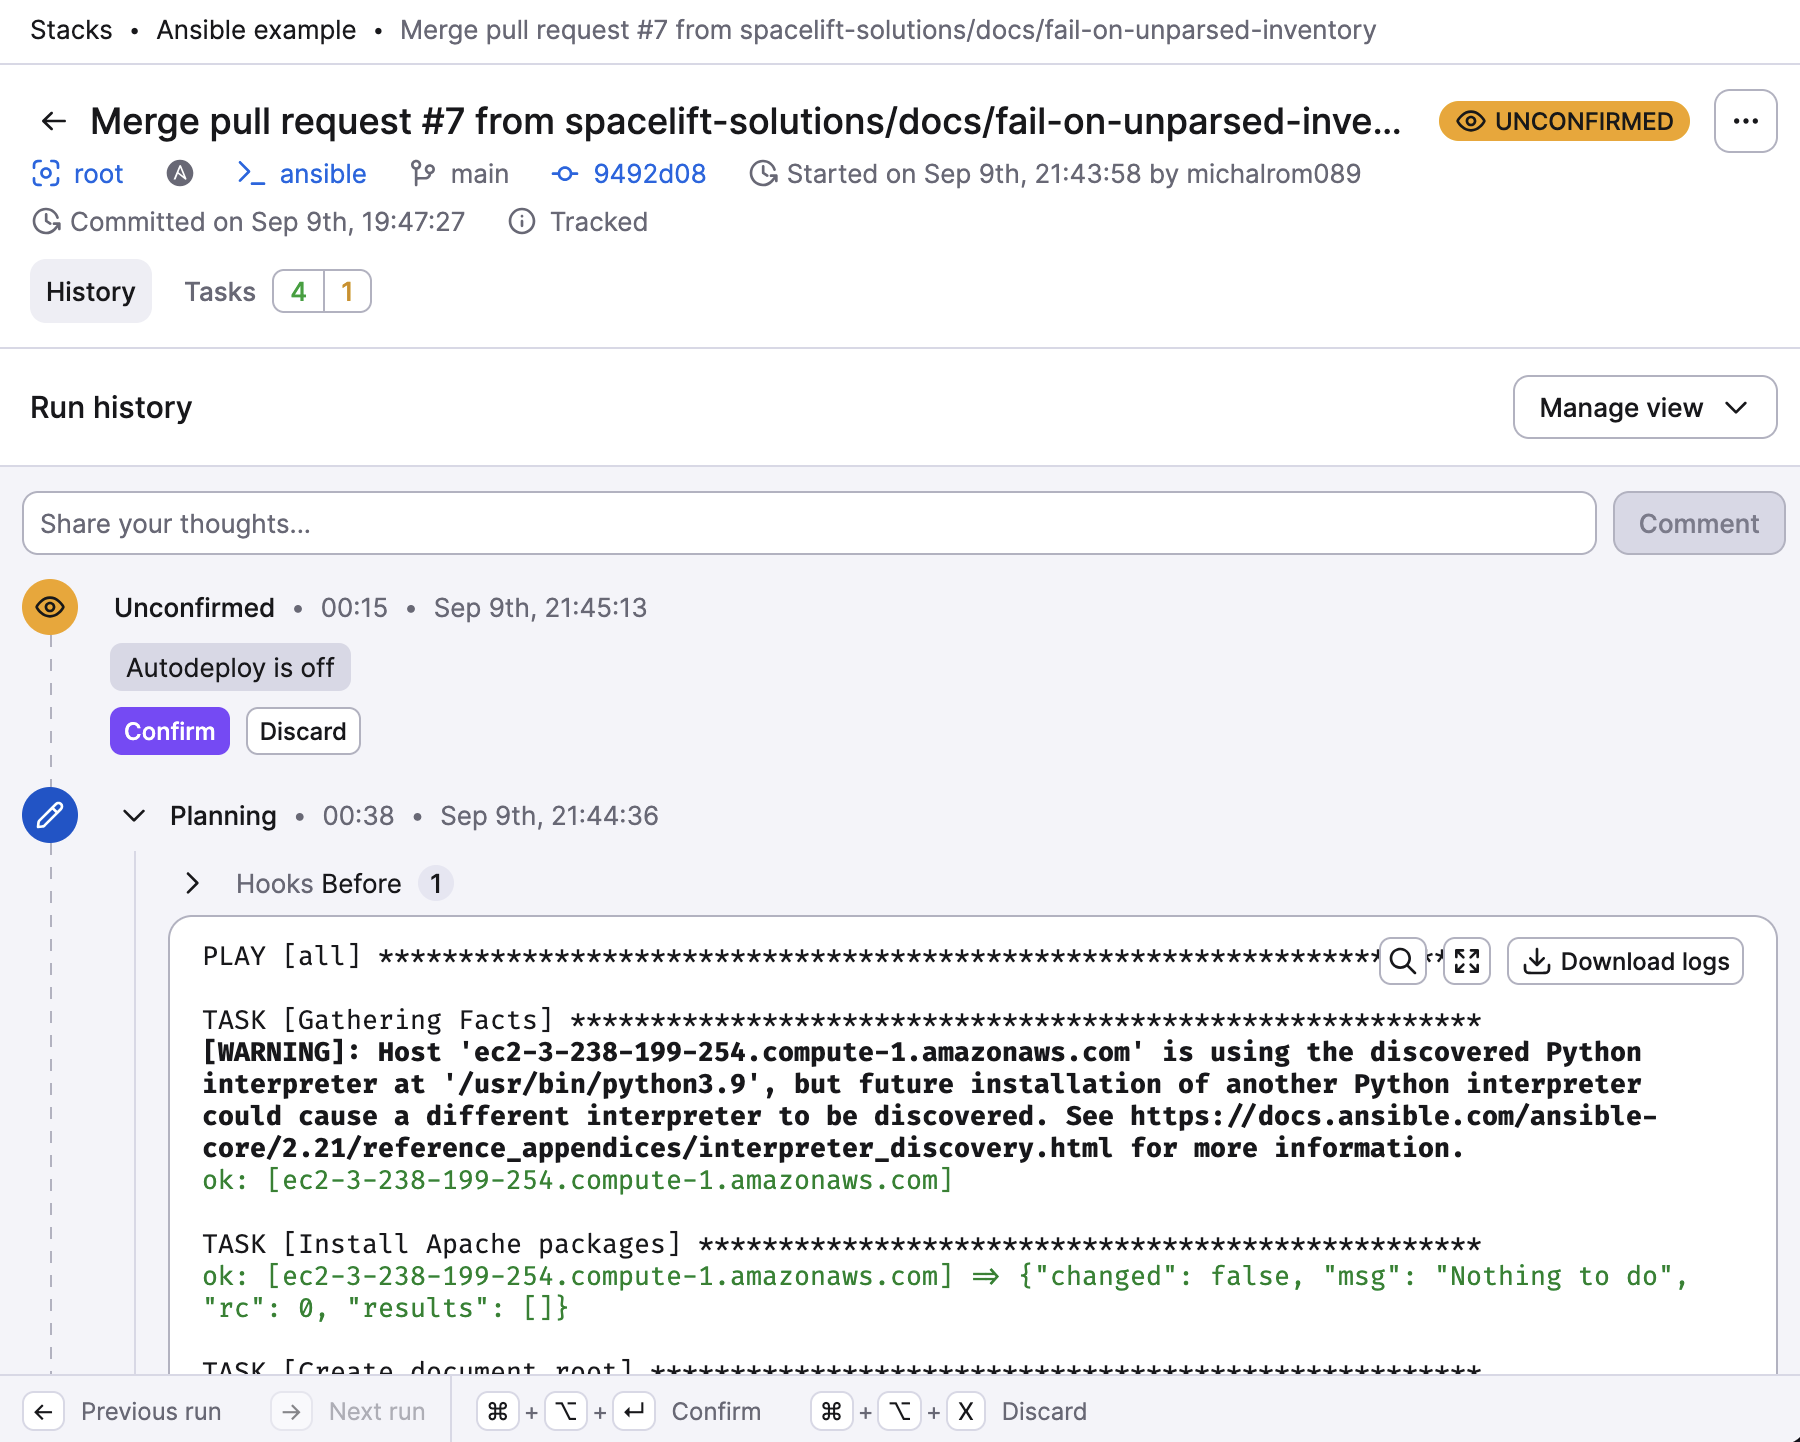
In the plan, you can see detailed information about each resource that is supposed to be created.
At this point, you can investigate the changes Ansible playbook will apply and to which hosts.
When you're happy with the planned changes, click Confirm to apply them.
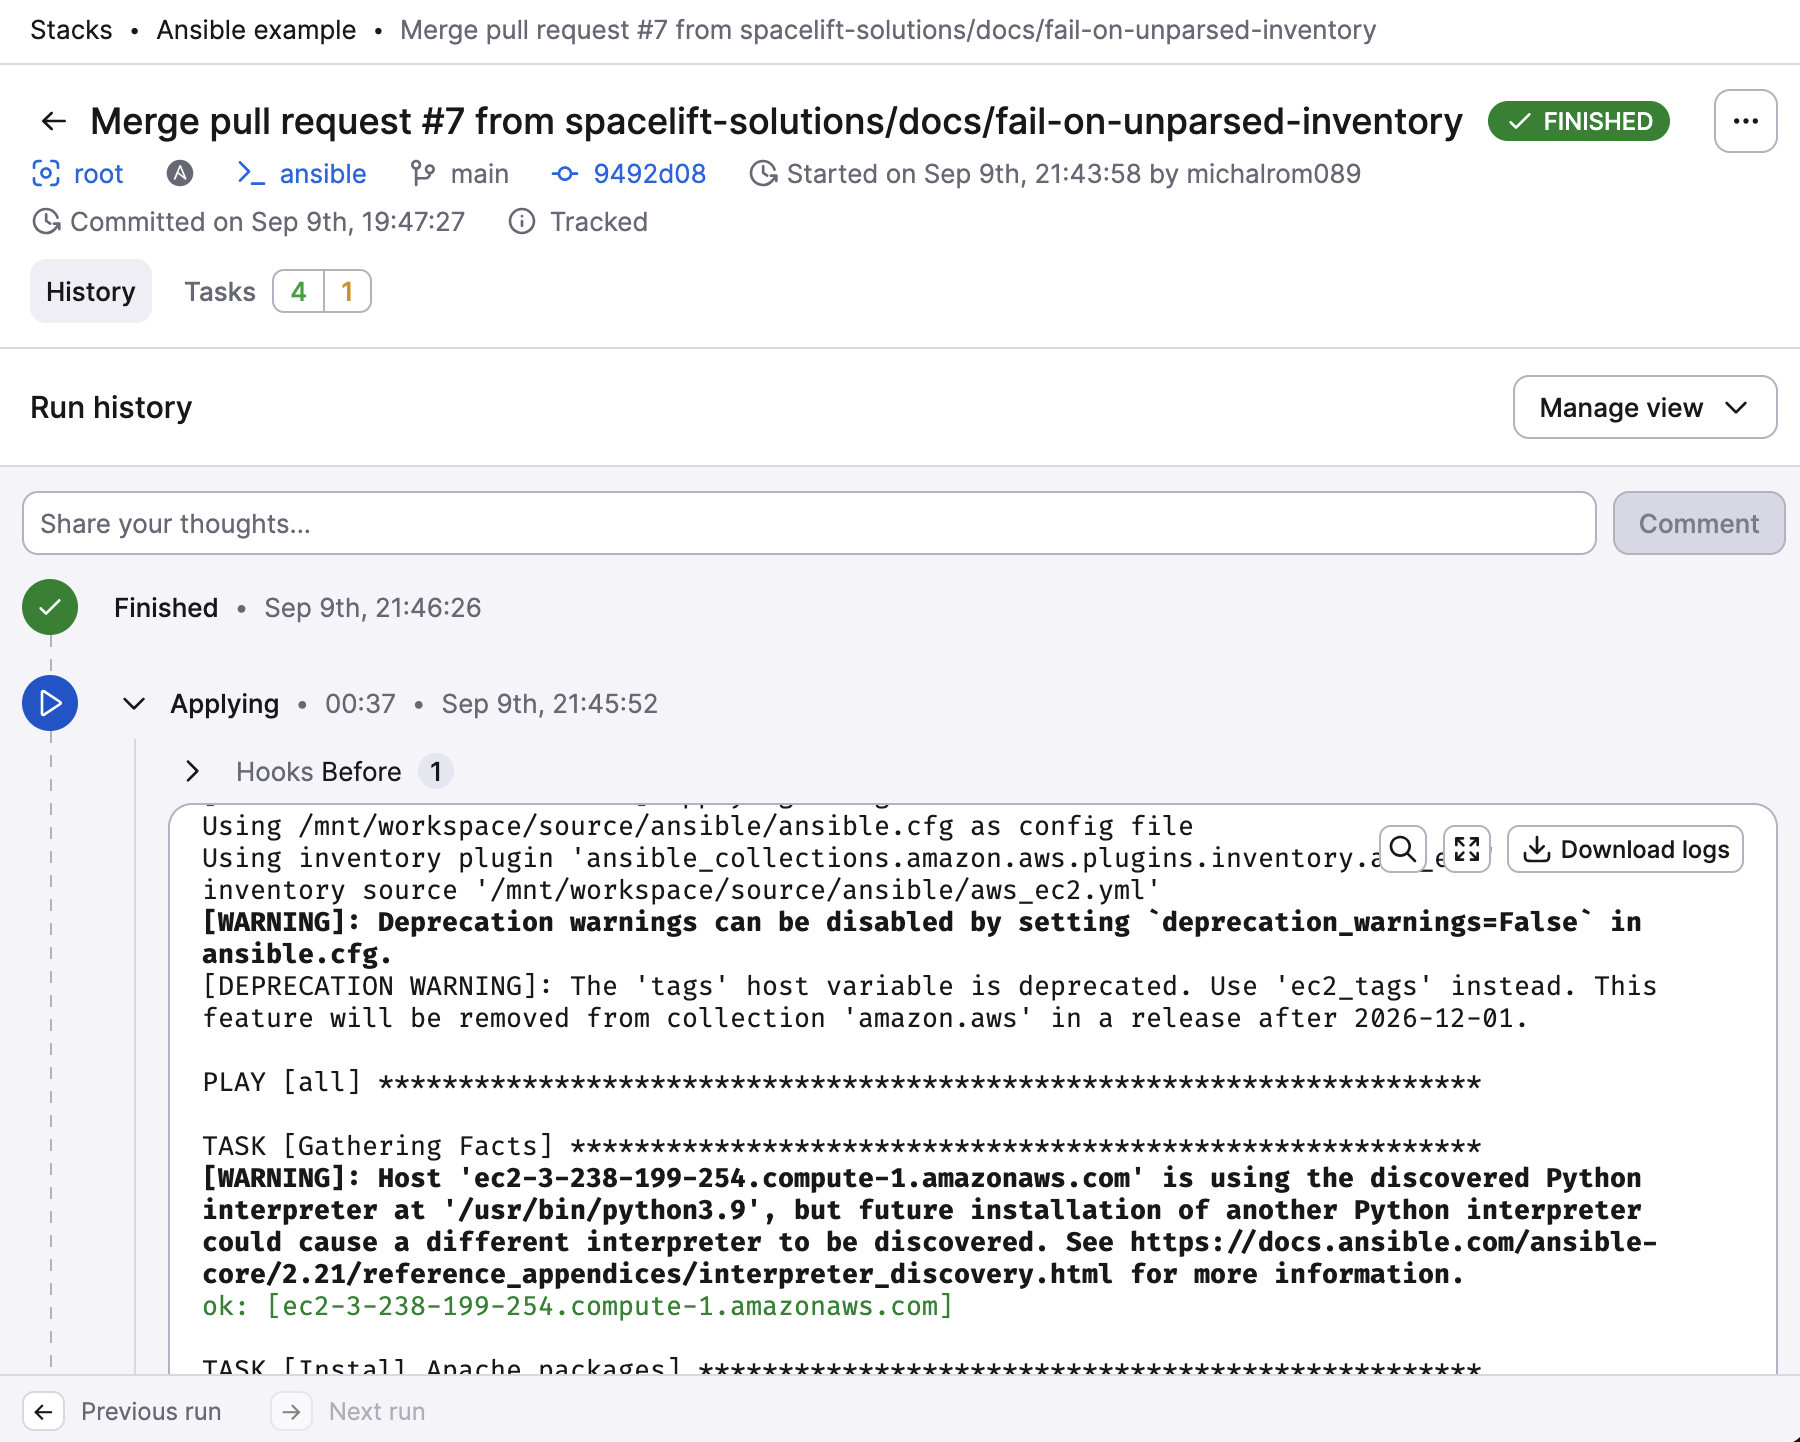
By now, the machine should be configured with a simple Apache HTTP server with a sample website on port 8000.
Conclusion»
That's it! You can find more details about the available configuration settings in the reference. Apart from configuration options available within Spacelift remember you can configure Ansible however you'd like using native Ansible configuration capabilities.