Getting Started»
Initial Setup»
Start by forking our AWS CloudFormation example repository
Looking at the code, you'll find that it creates two simple Lambda Functions in nested Stacks and a common API Gateway REST API, which provides access to both of them.
In Spacelift, go ahead and click the Add Stack button to create a Stack in Spacelift.
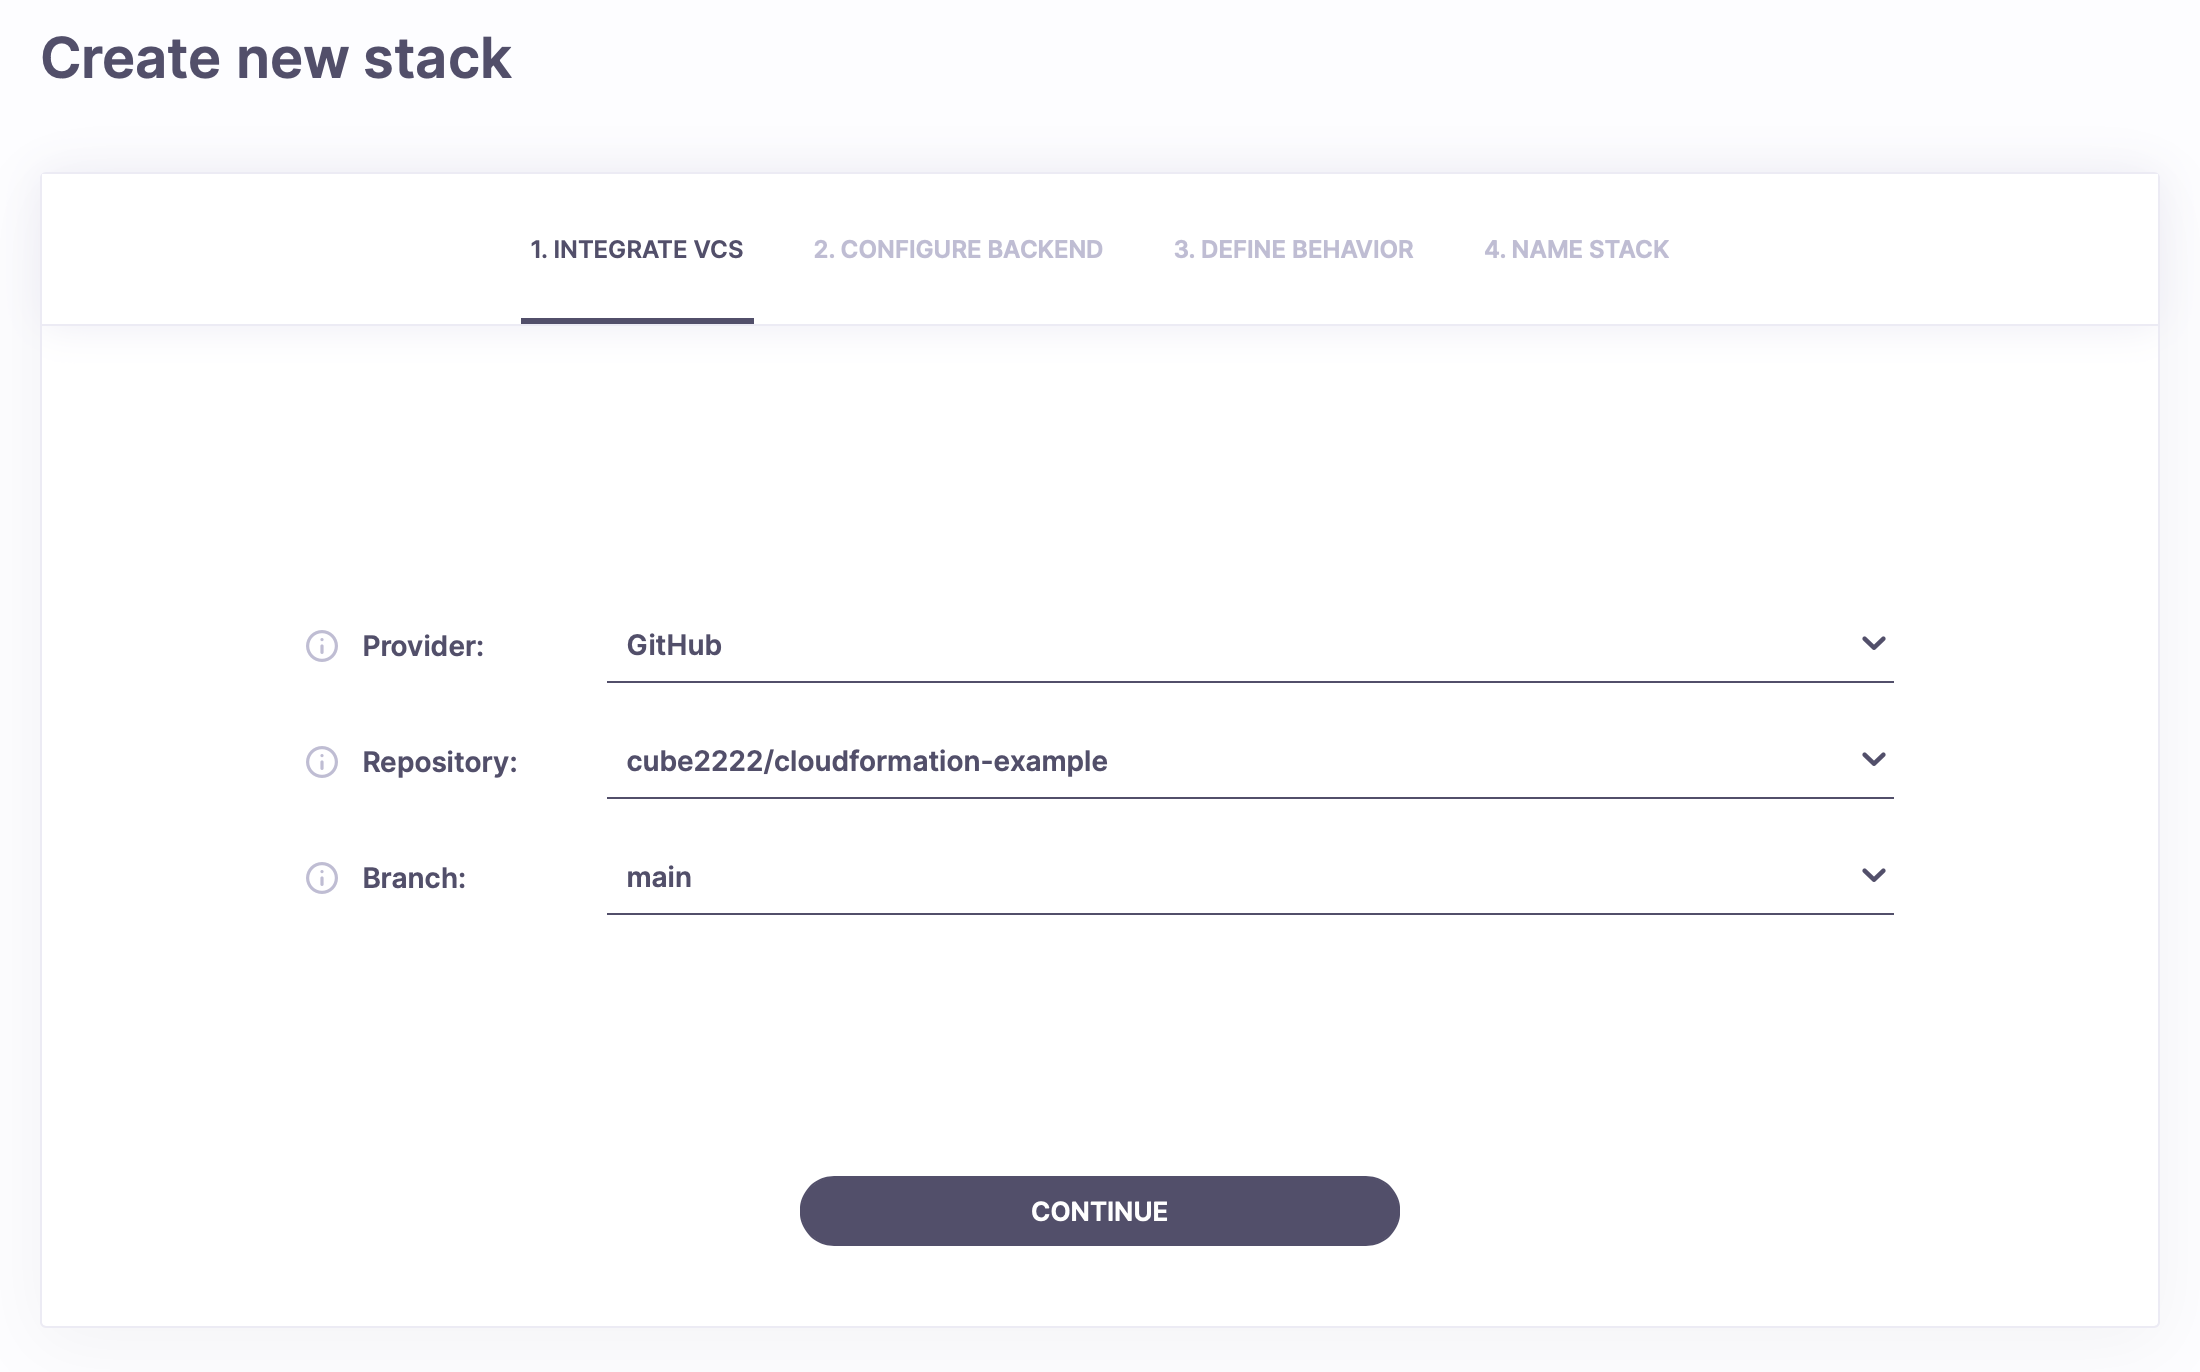
In the first screen, you should select the repository you've just forked, as can be seen in the picture.
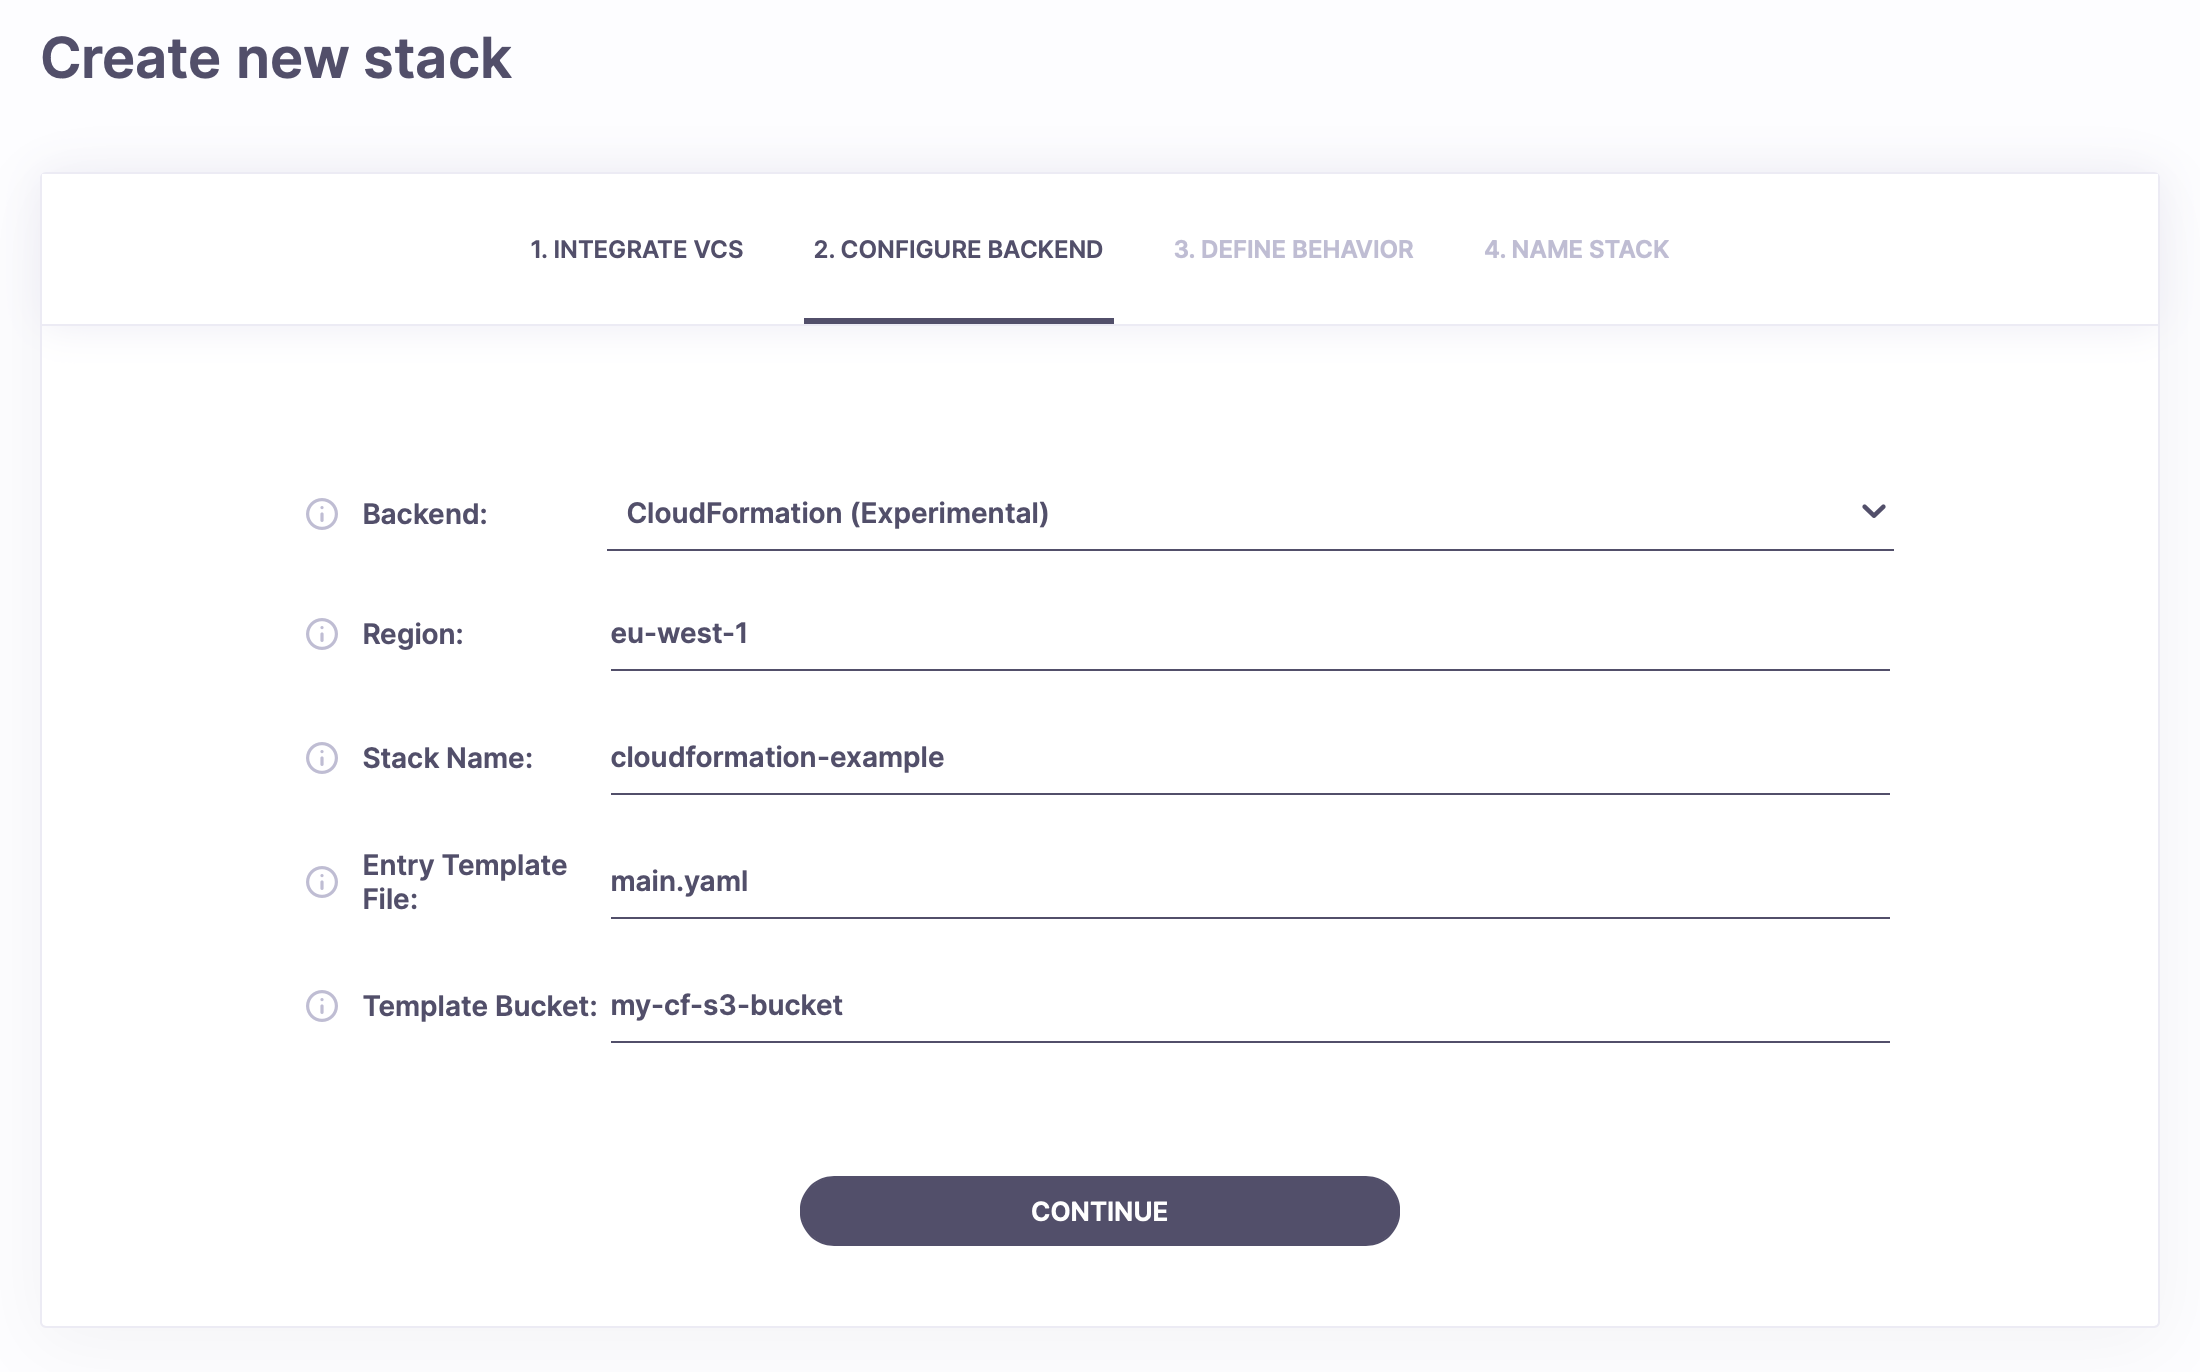
In the next screen, you should choose the CloudFormation backend. There, fill in the Region field with the AWS region you want to create the CloudFormation Stack in. You should also create an Amazon S3 bucket for template storage and provide its name in the Template Bucket field. We won't automatically create this bucket.
Warning
Please make sure that the name of the S3 bucket you use as your template bucket does not contain any periods (.). Using bucket names with periods will cause template uploads to fail.
The Entry Template File should be set to main.yaml (based on the code in our repository) and the Stack Name to a unique CloudFormation Stack name in your AWS account. We'll use cloudformation-example in the pictures.
You can leave the settings on the next page (Define Behavior) unchanged. If you have a private worker pool you'd like to use, specify it there instead of the default public one.
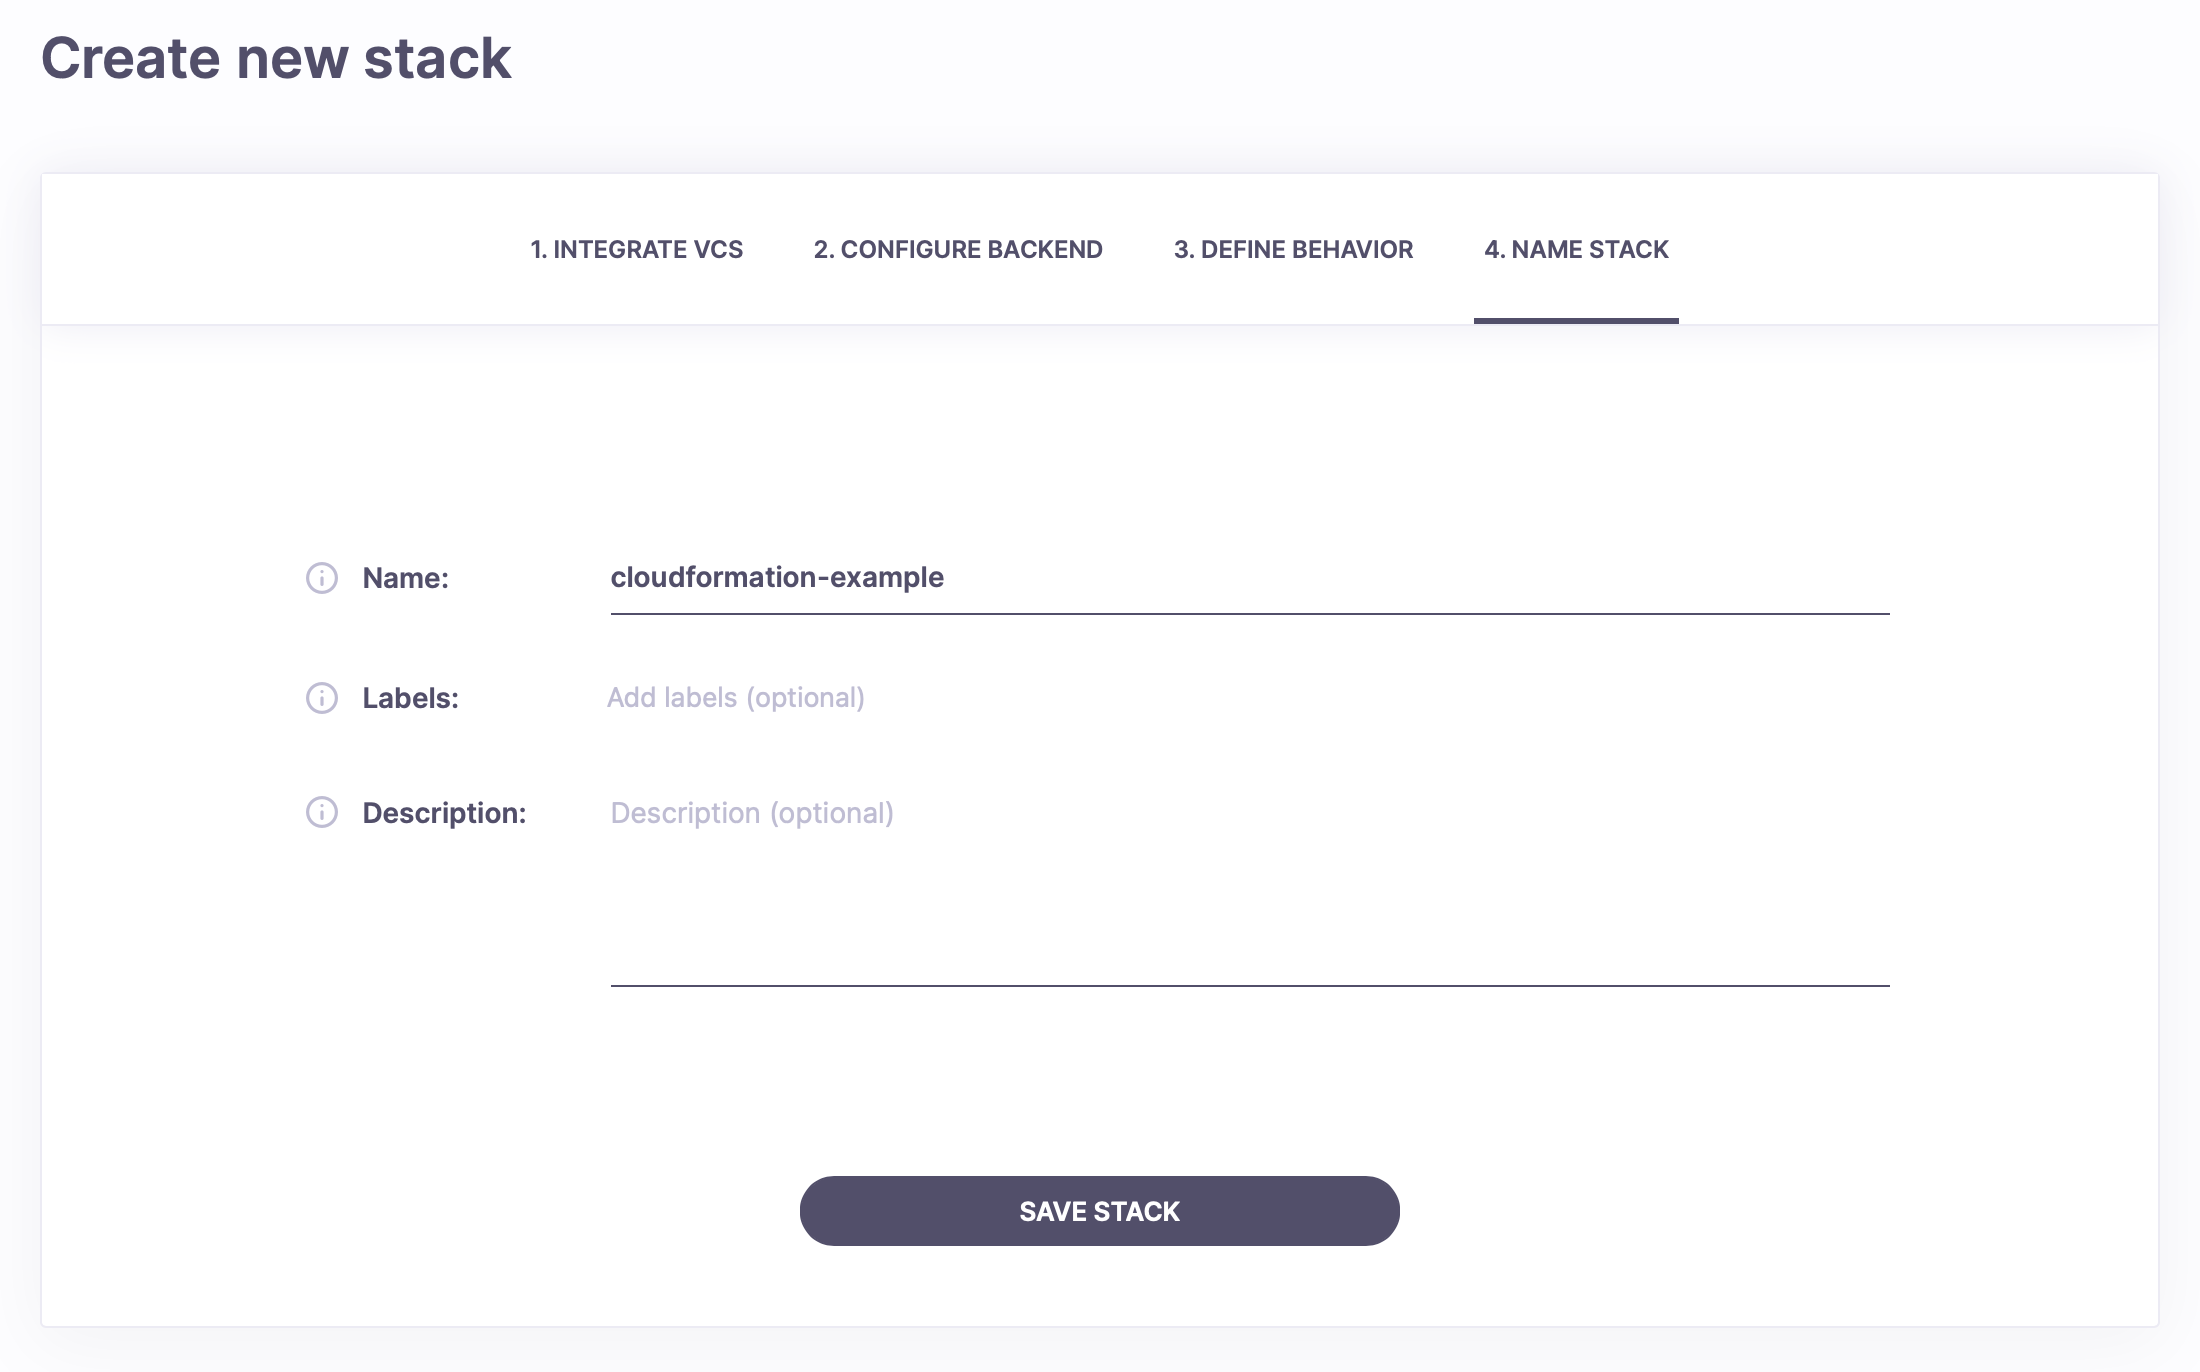
Finally, choose a name for your Spacelift Stack on the last page. We'll use cloudformation-example again.
You'll also have to configure the AWS integration to give Spacelift access to your AWS account. You can find the details here: AWS
Deploying the Stack»
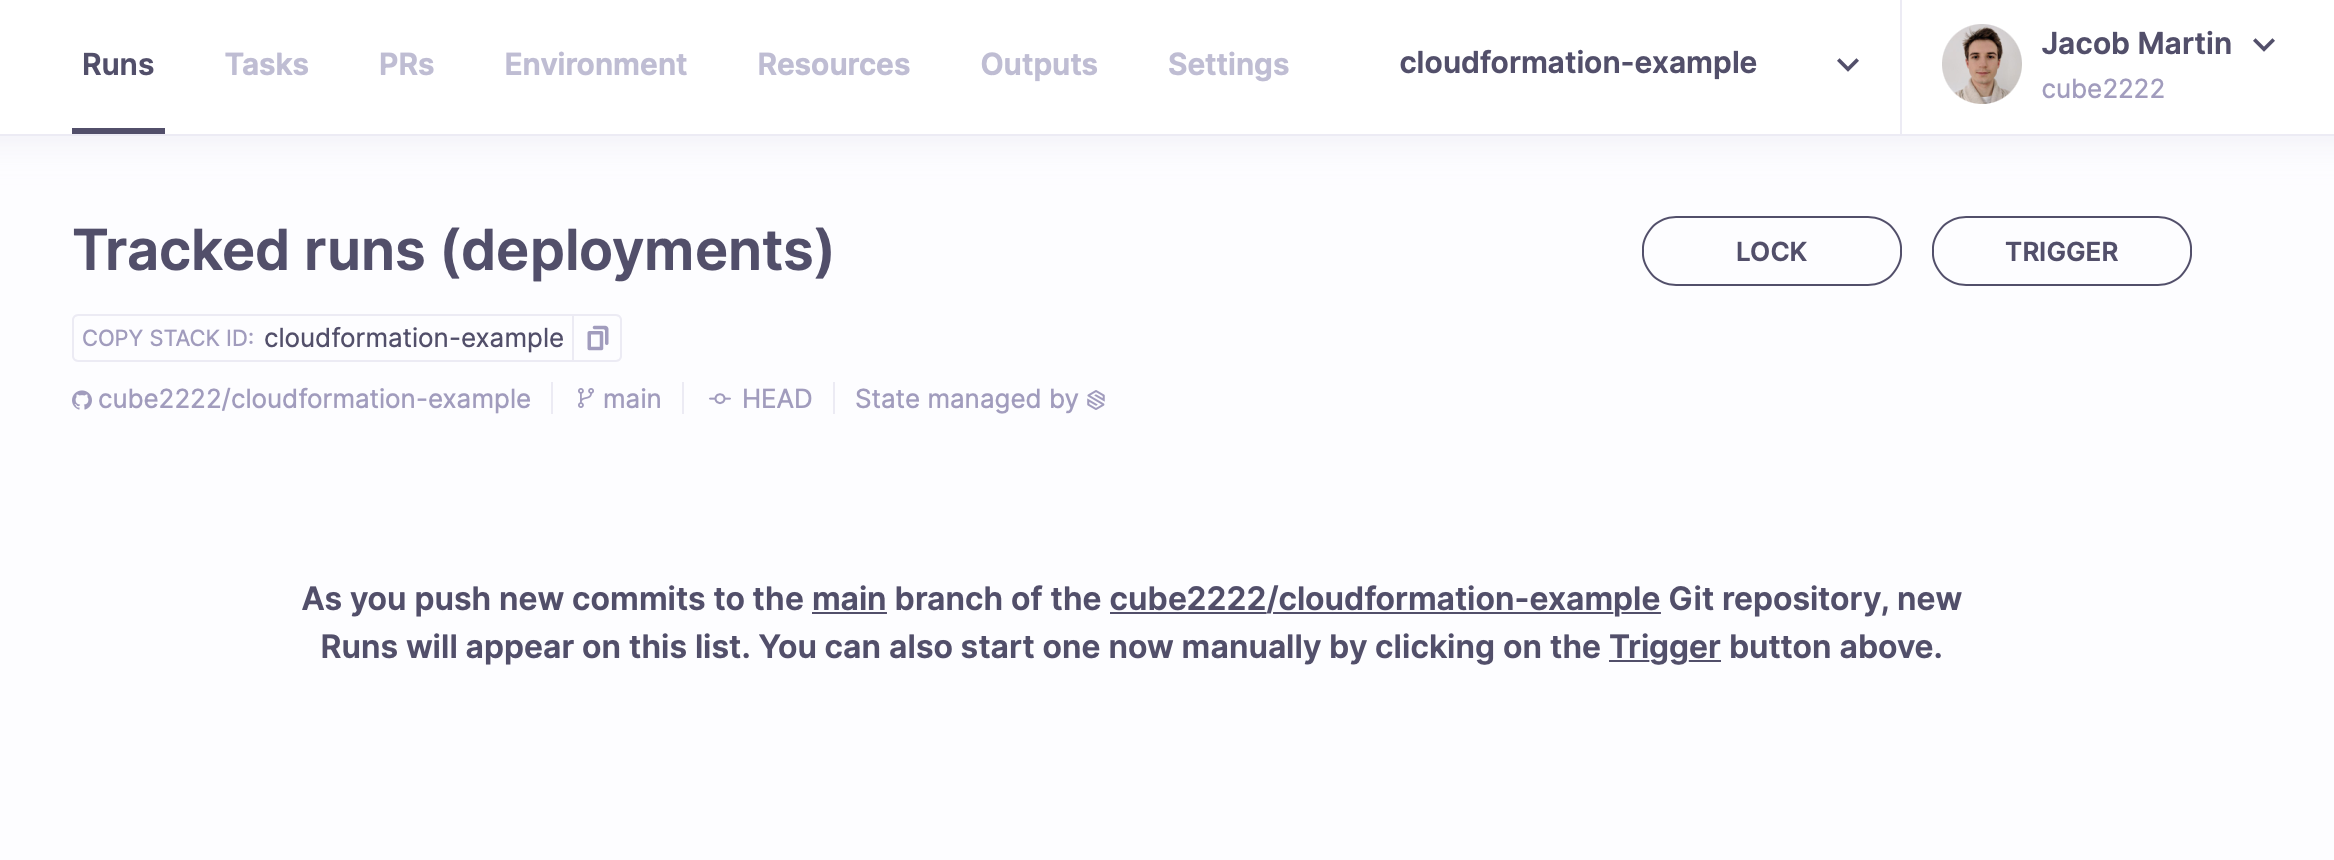
You can now click Trigger to create a new Spacelift Run.
And... oh no! It failed! However, the error message is quite straightforward. We're lacking the relevant capability.
![Creating change set failed: Requires capabilities : [CAPABILITY_IAM]](../../assets/screenshots/Screenshot%202021-12-08%20at%2015.19.52%20%284%29.png)
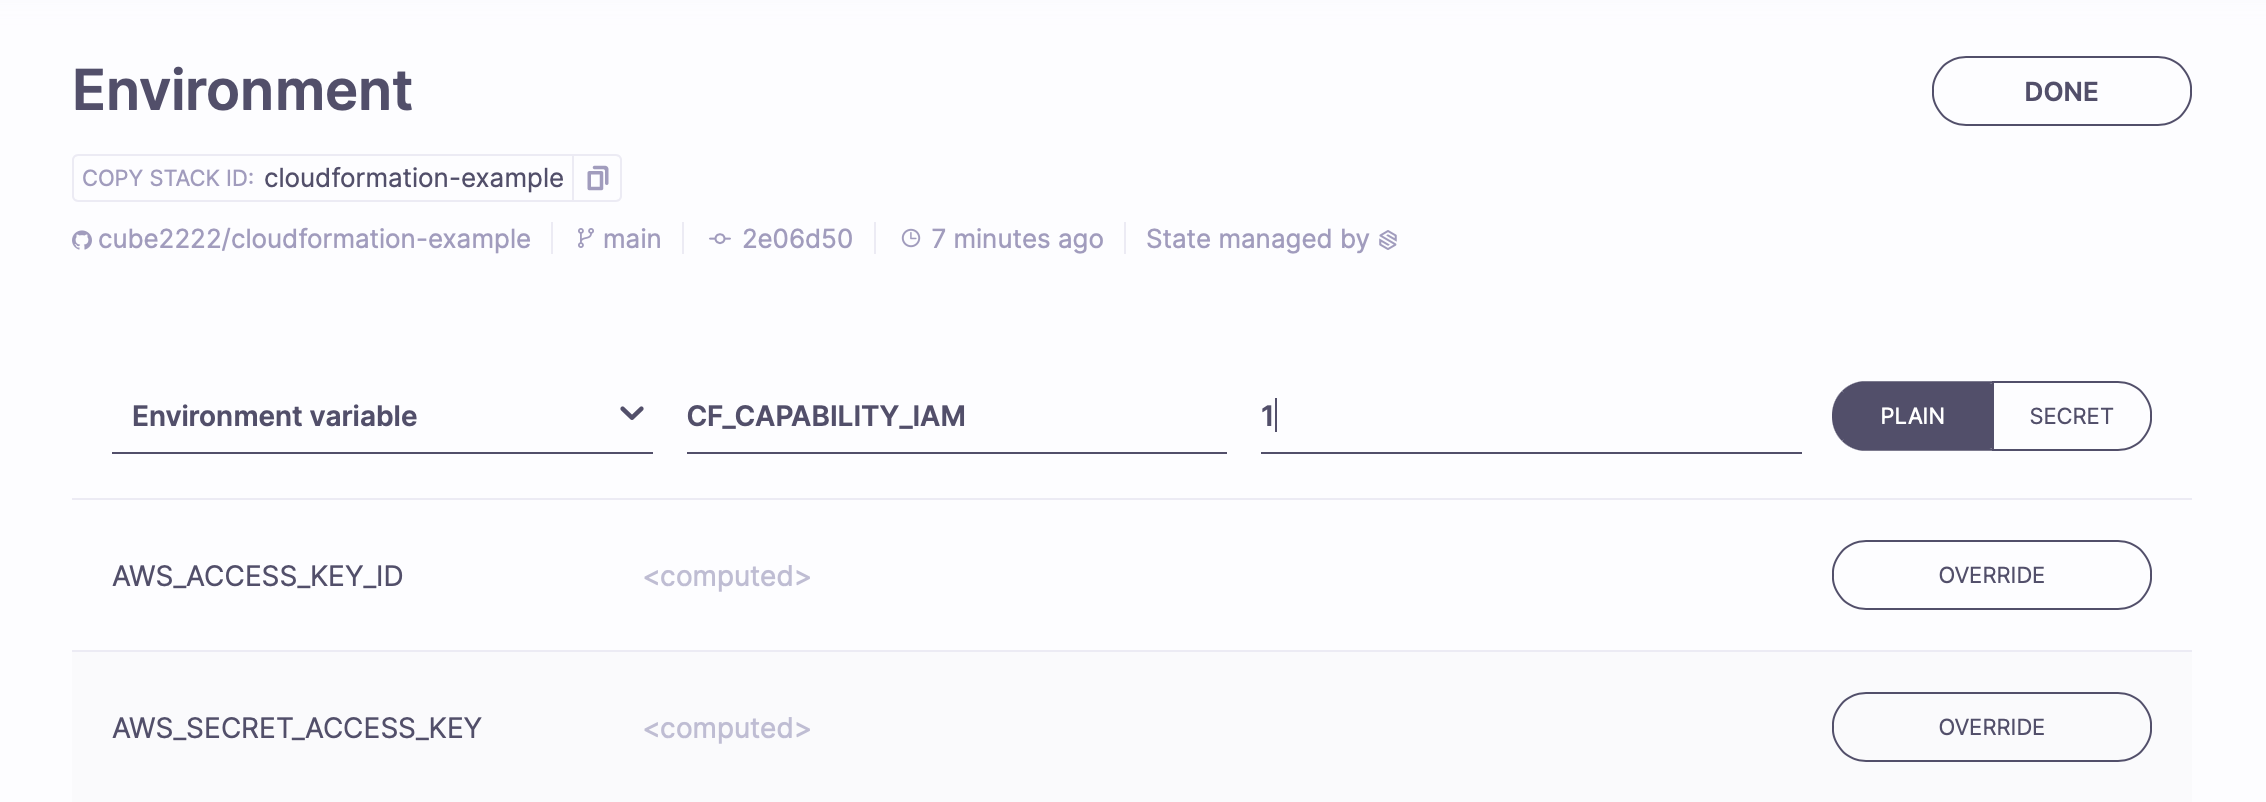
We can acknowledge this capability by setting the CF_CAPABILITY_IAM environment variable to 1.
There's a bunch of optional settings for CloudFormation Stacks we expose this way. You can read up on all of them in the reference.
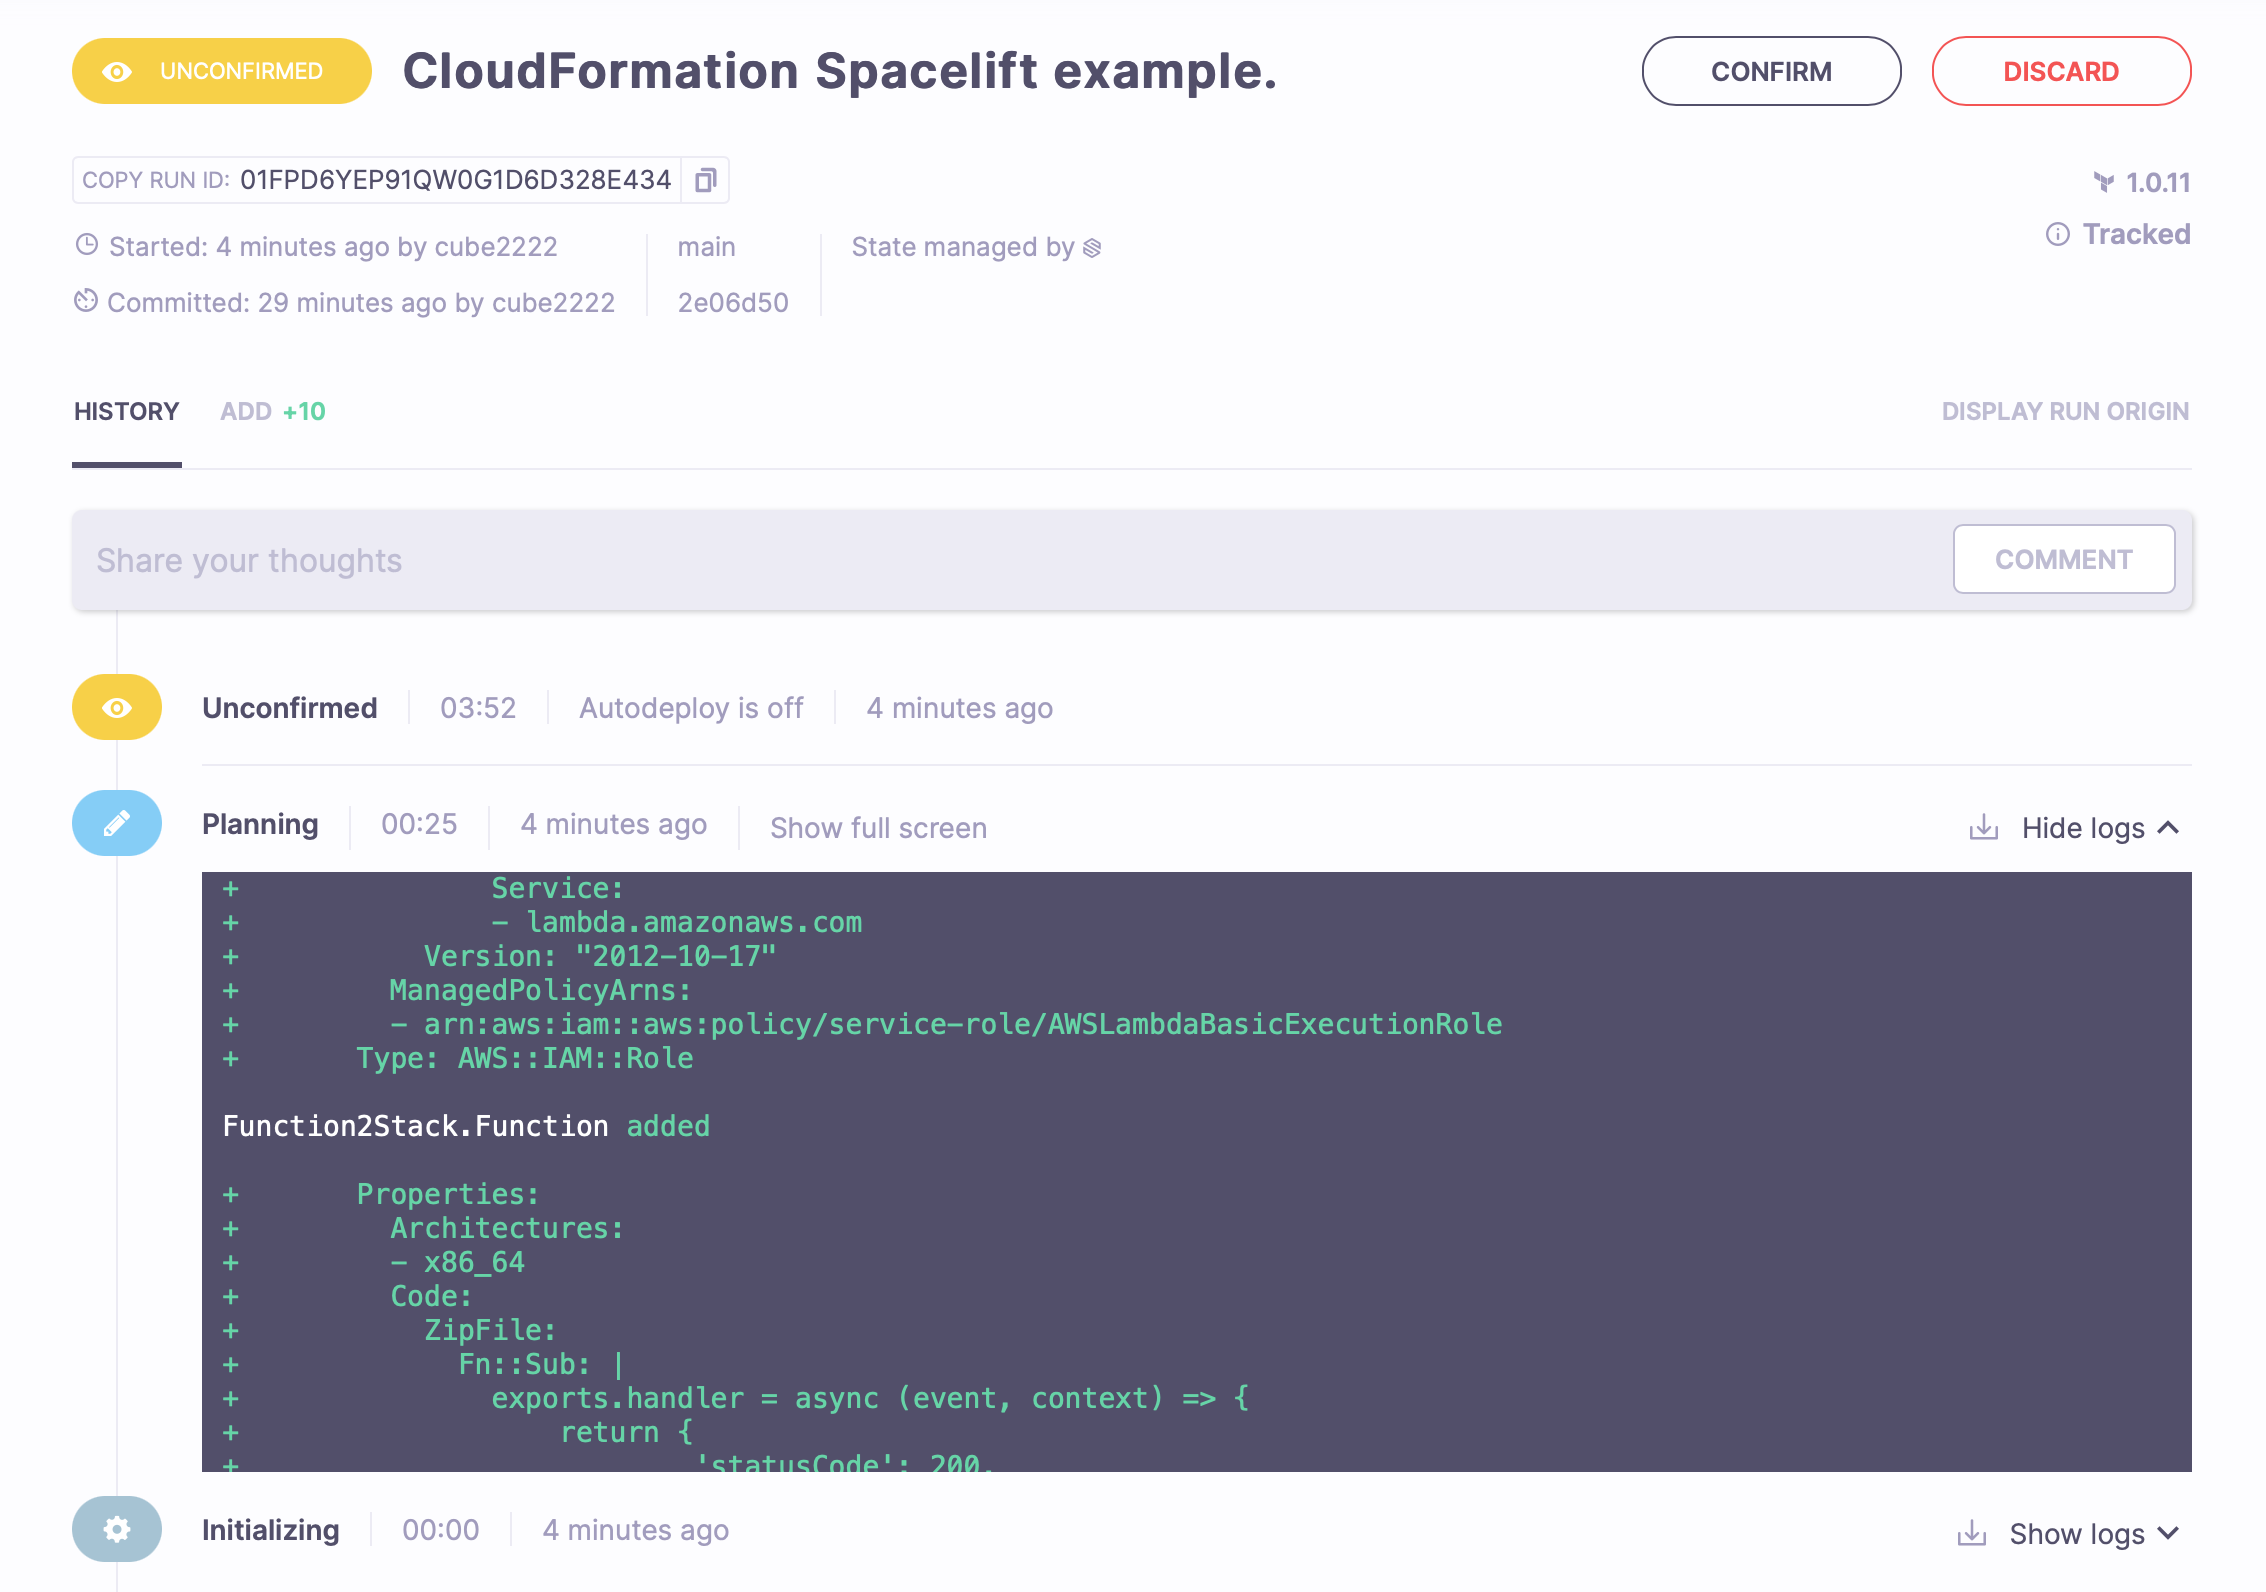
Triggering a run again, you should successfully see it get through the planning phase and end up in the unconfirmed state.
In the plan, you can see detailed information about each resource that is supposed to be created.
You can also click the ADD +10 tab to see a concise overview of the resources to be created.
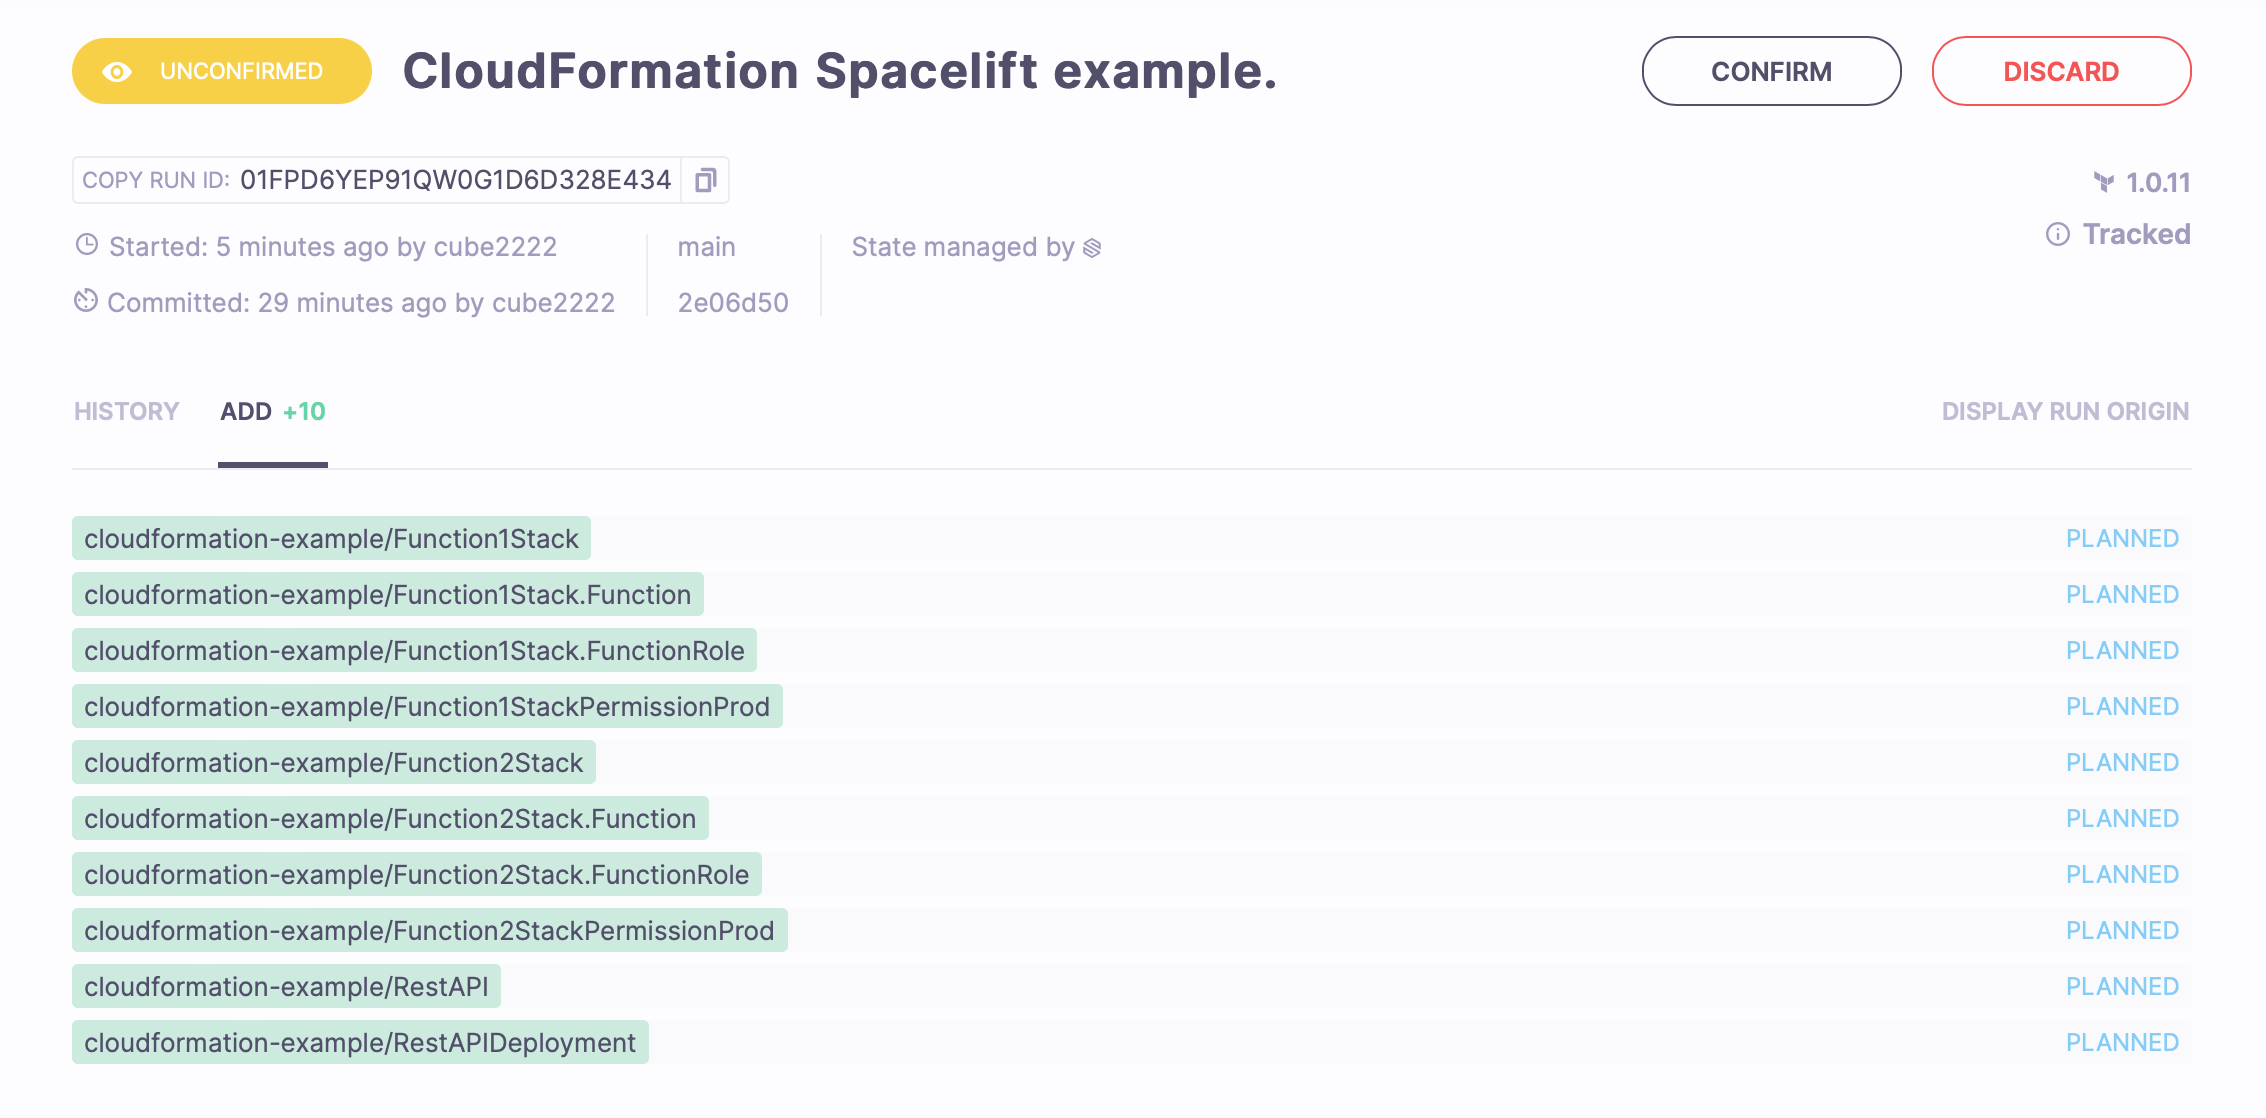
When you're happy with the planned changes, click Confirm to apply them.
This will show you a feed of the creation and update events happening in the root Stack and all nested Stacks, which will stop after the creation finishes.
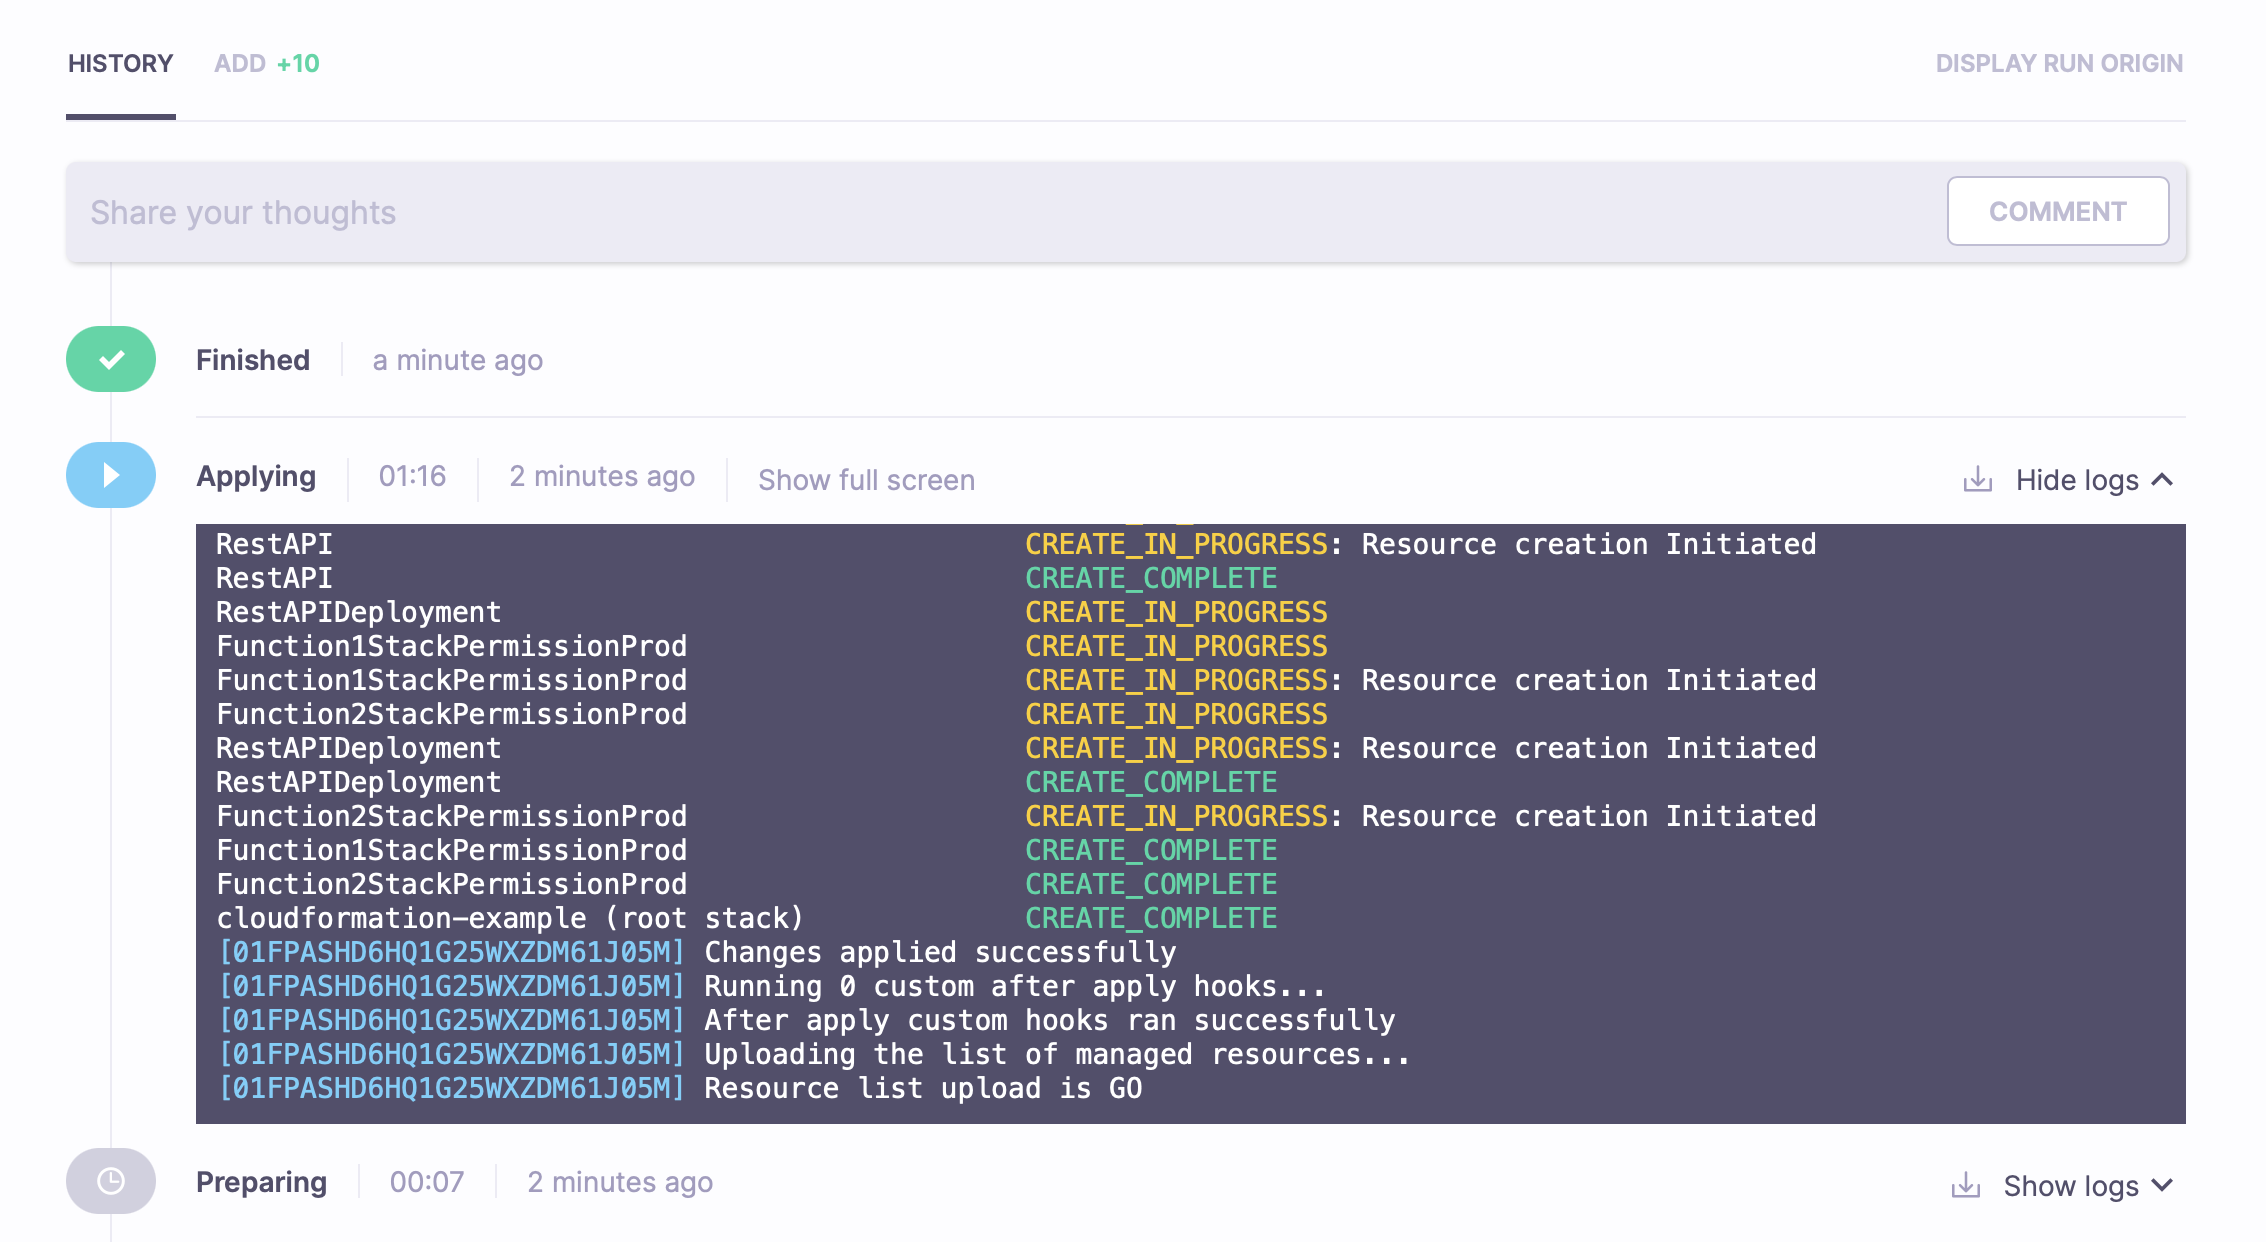
Great! The resources have successfully been created.
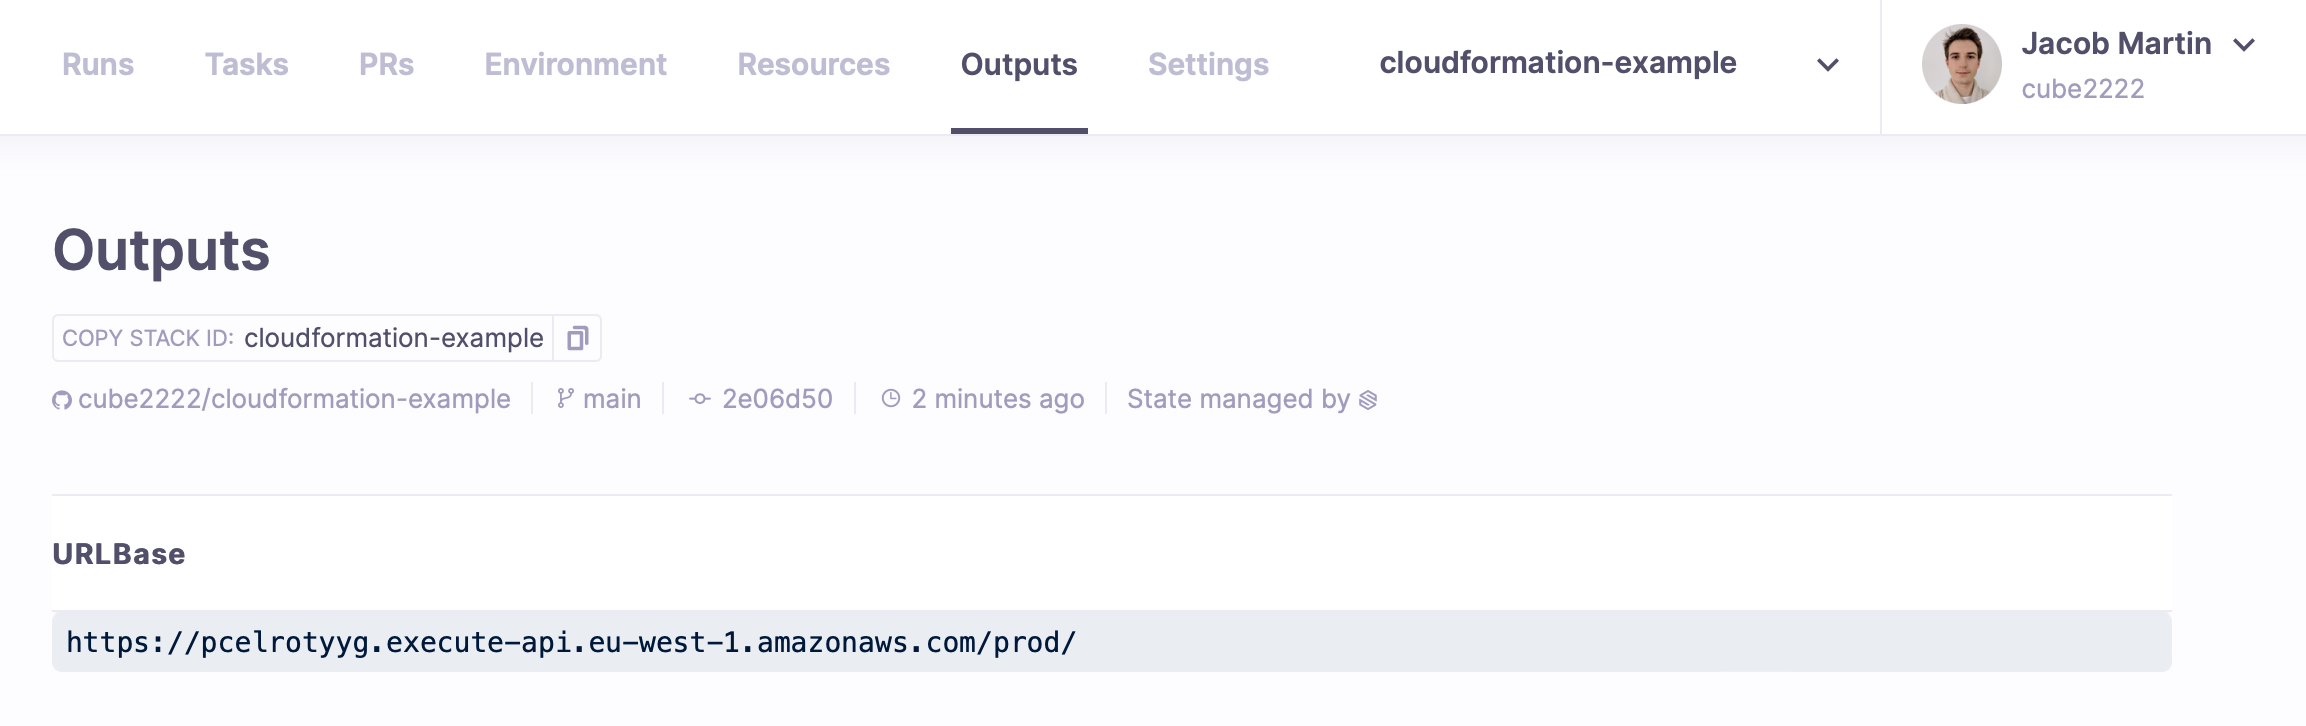
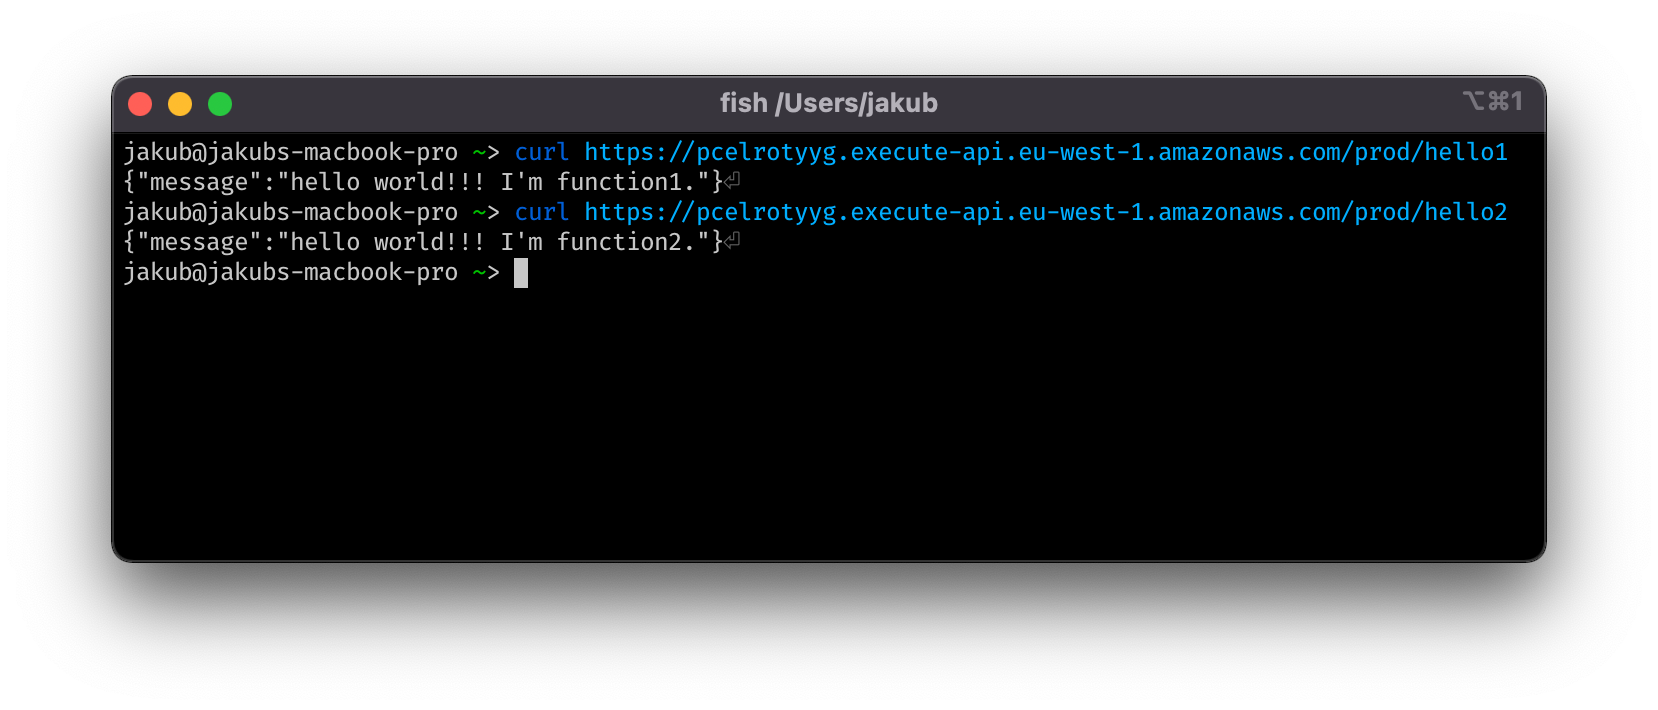
You can now switch to the Outputs tab and find the URLBase output. You can curl that URL with a hello1 or hello2 suffix to get responses from your Lambda Functions.
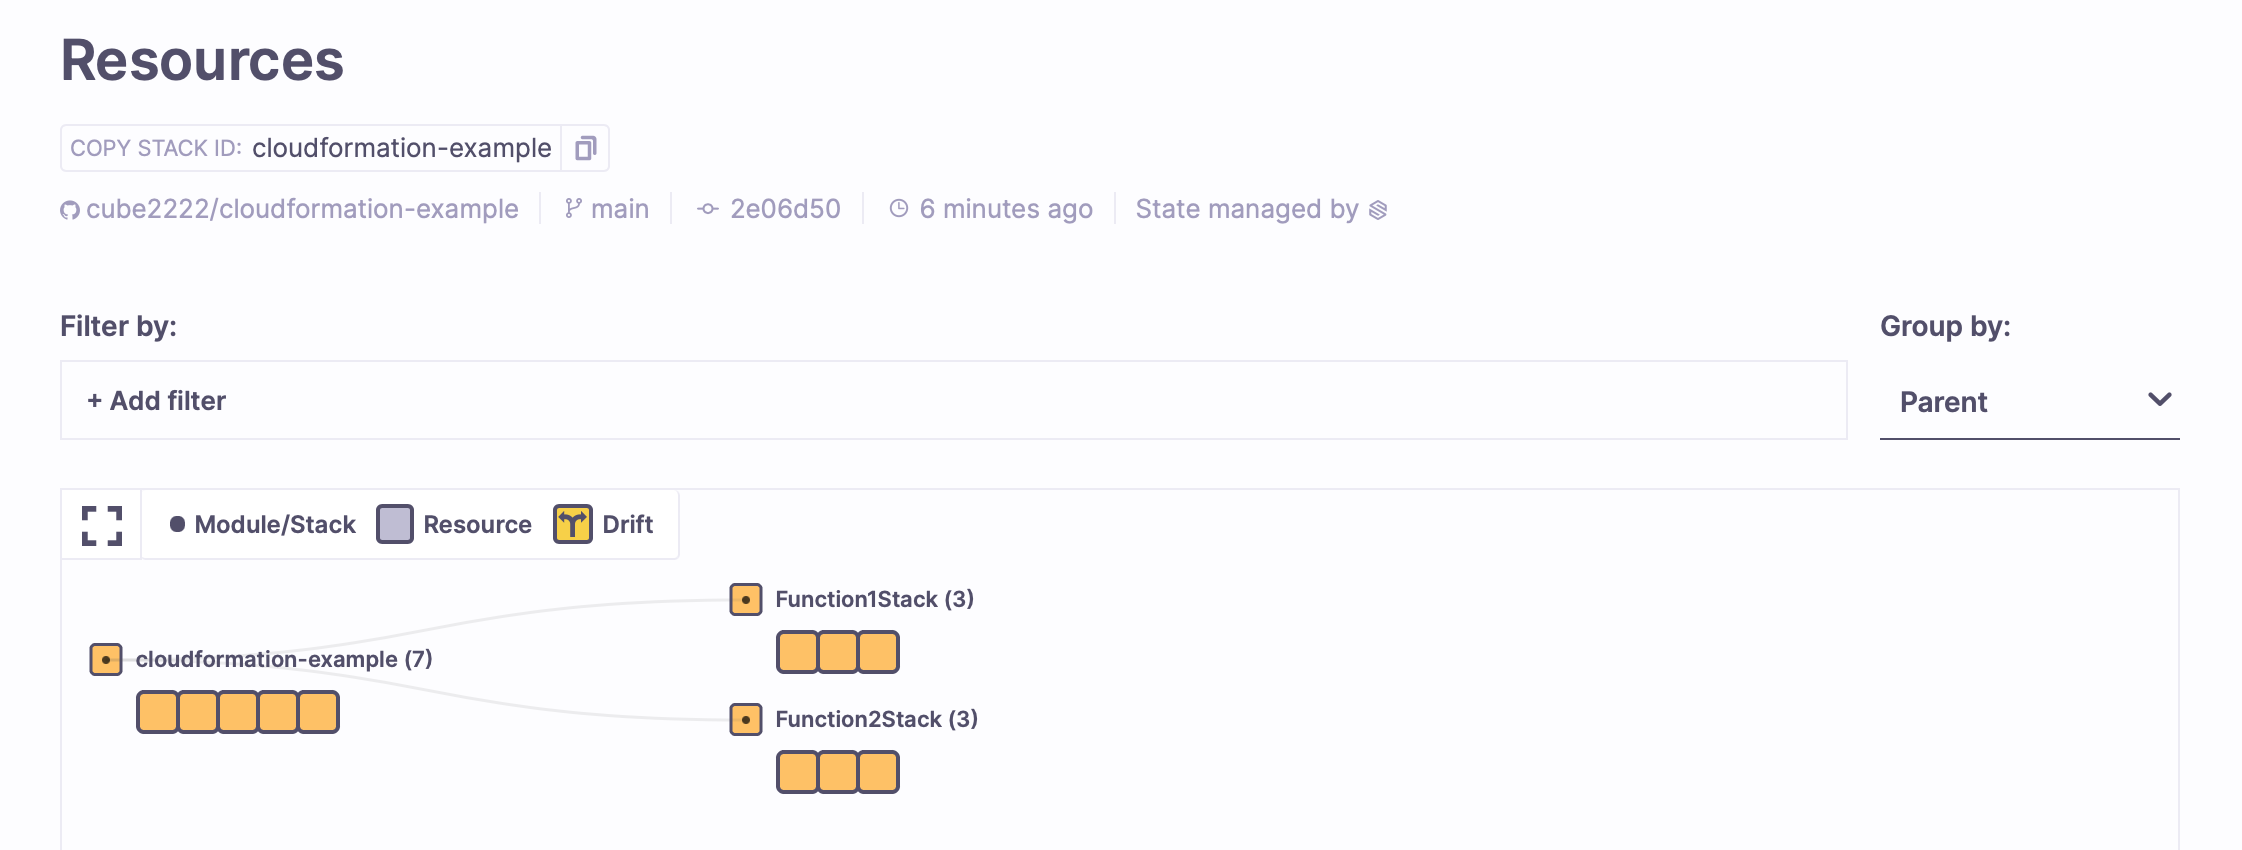
You can also switch to the Resources tab to explore the resources you've created.
Conclusion»
That's it! You can find more details about the available configuration settings in the reference, or you can check out how to use AWS Serverless Application Model (SAM) or the Serverless Framework to generate your CloudFormation templates.