OneLogin OIDC Setup Guide»
If you'd like to set up the ability to sign in to your Spacelift account using an OIDC integration with OneLogin, you've come to the right place. This example will walk you through the steps to get this setup, and you'll have Single Sign-On running in no time!
Warning
Before setting up SSO, it's recommended to create backup credentials for your Spacelift account for use in case of SSO misconfiguration, or for other break-glass procedures. You can find more about this in the Backup Credentials section.
Pre-requisites»
- Spacelift account, with access to admin permissions
- OneLogin account, with permission to create OneLogin Applications
Info
Please note you'll need to be an admin on the Spacelift account to access the account settings to configure Single Sign-On.
Configure Account Settings»
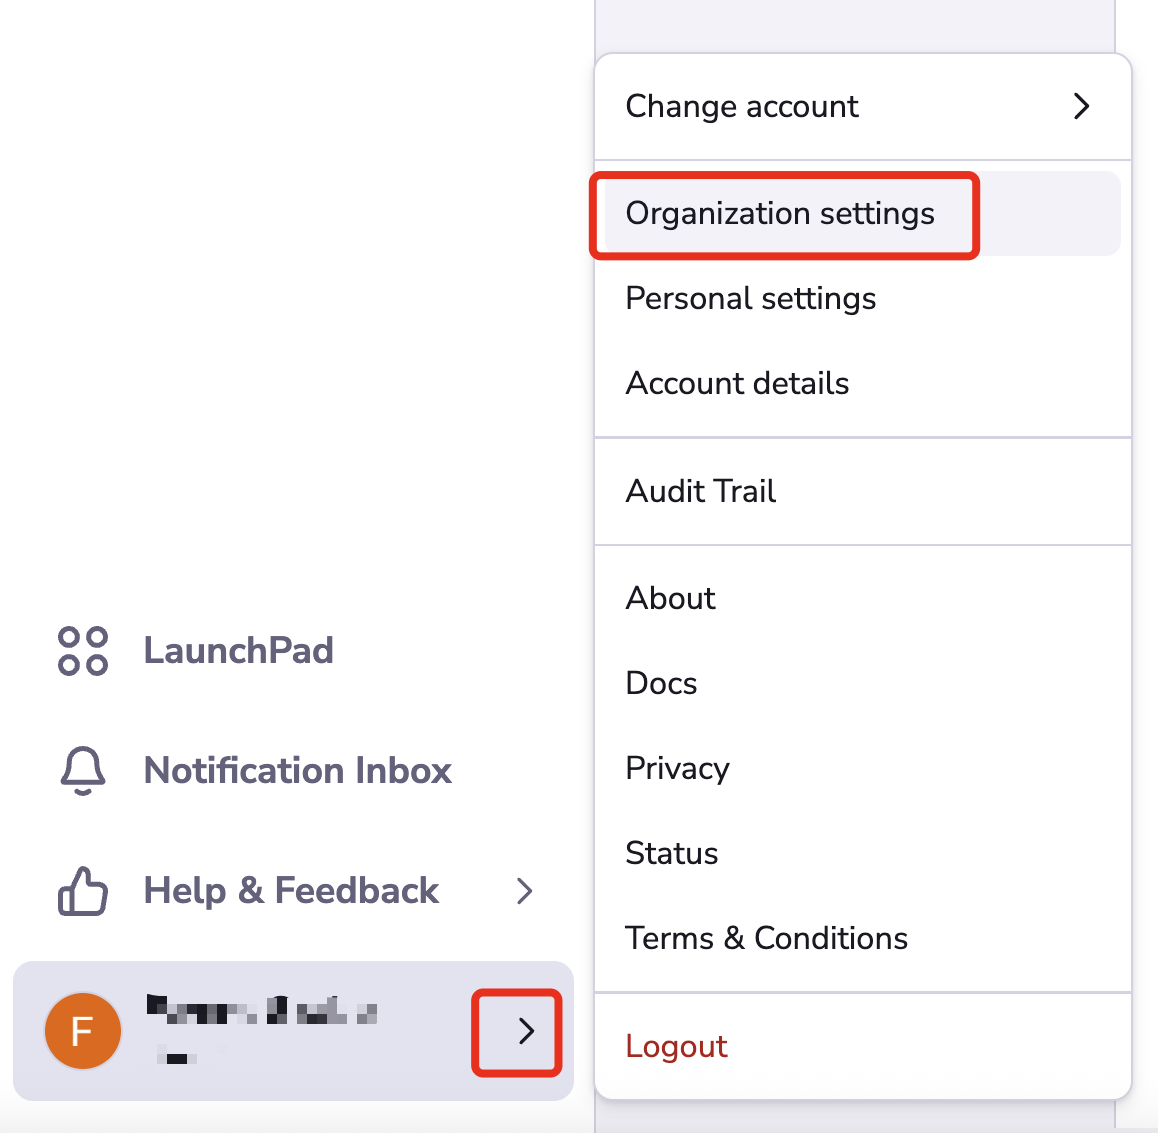
Open Organization settings for your Spacelift account. You can find this panel at the bottom left by clicking the arrow next to your name.
Setup OIDC»
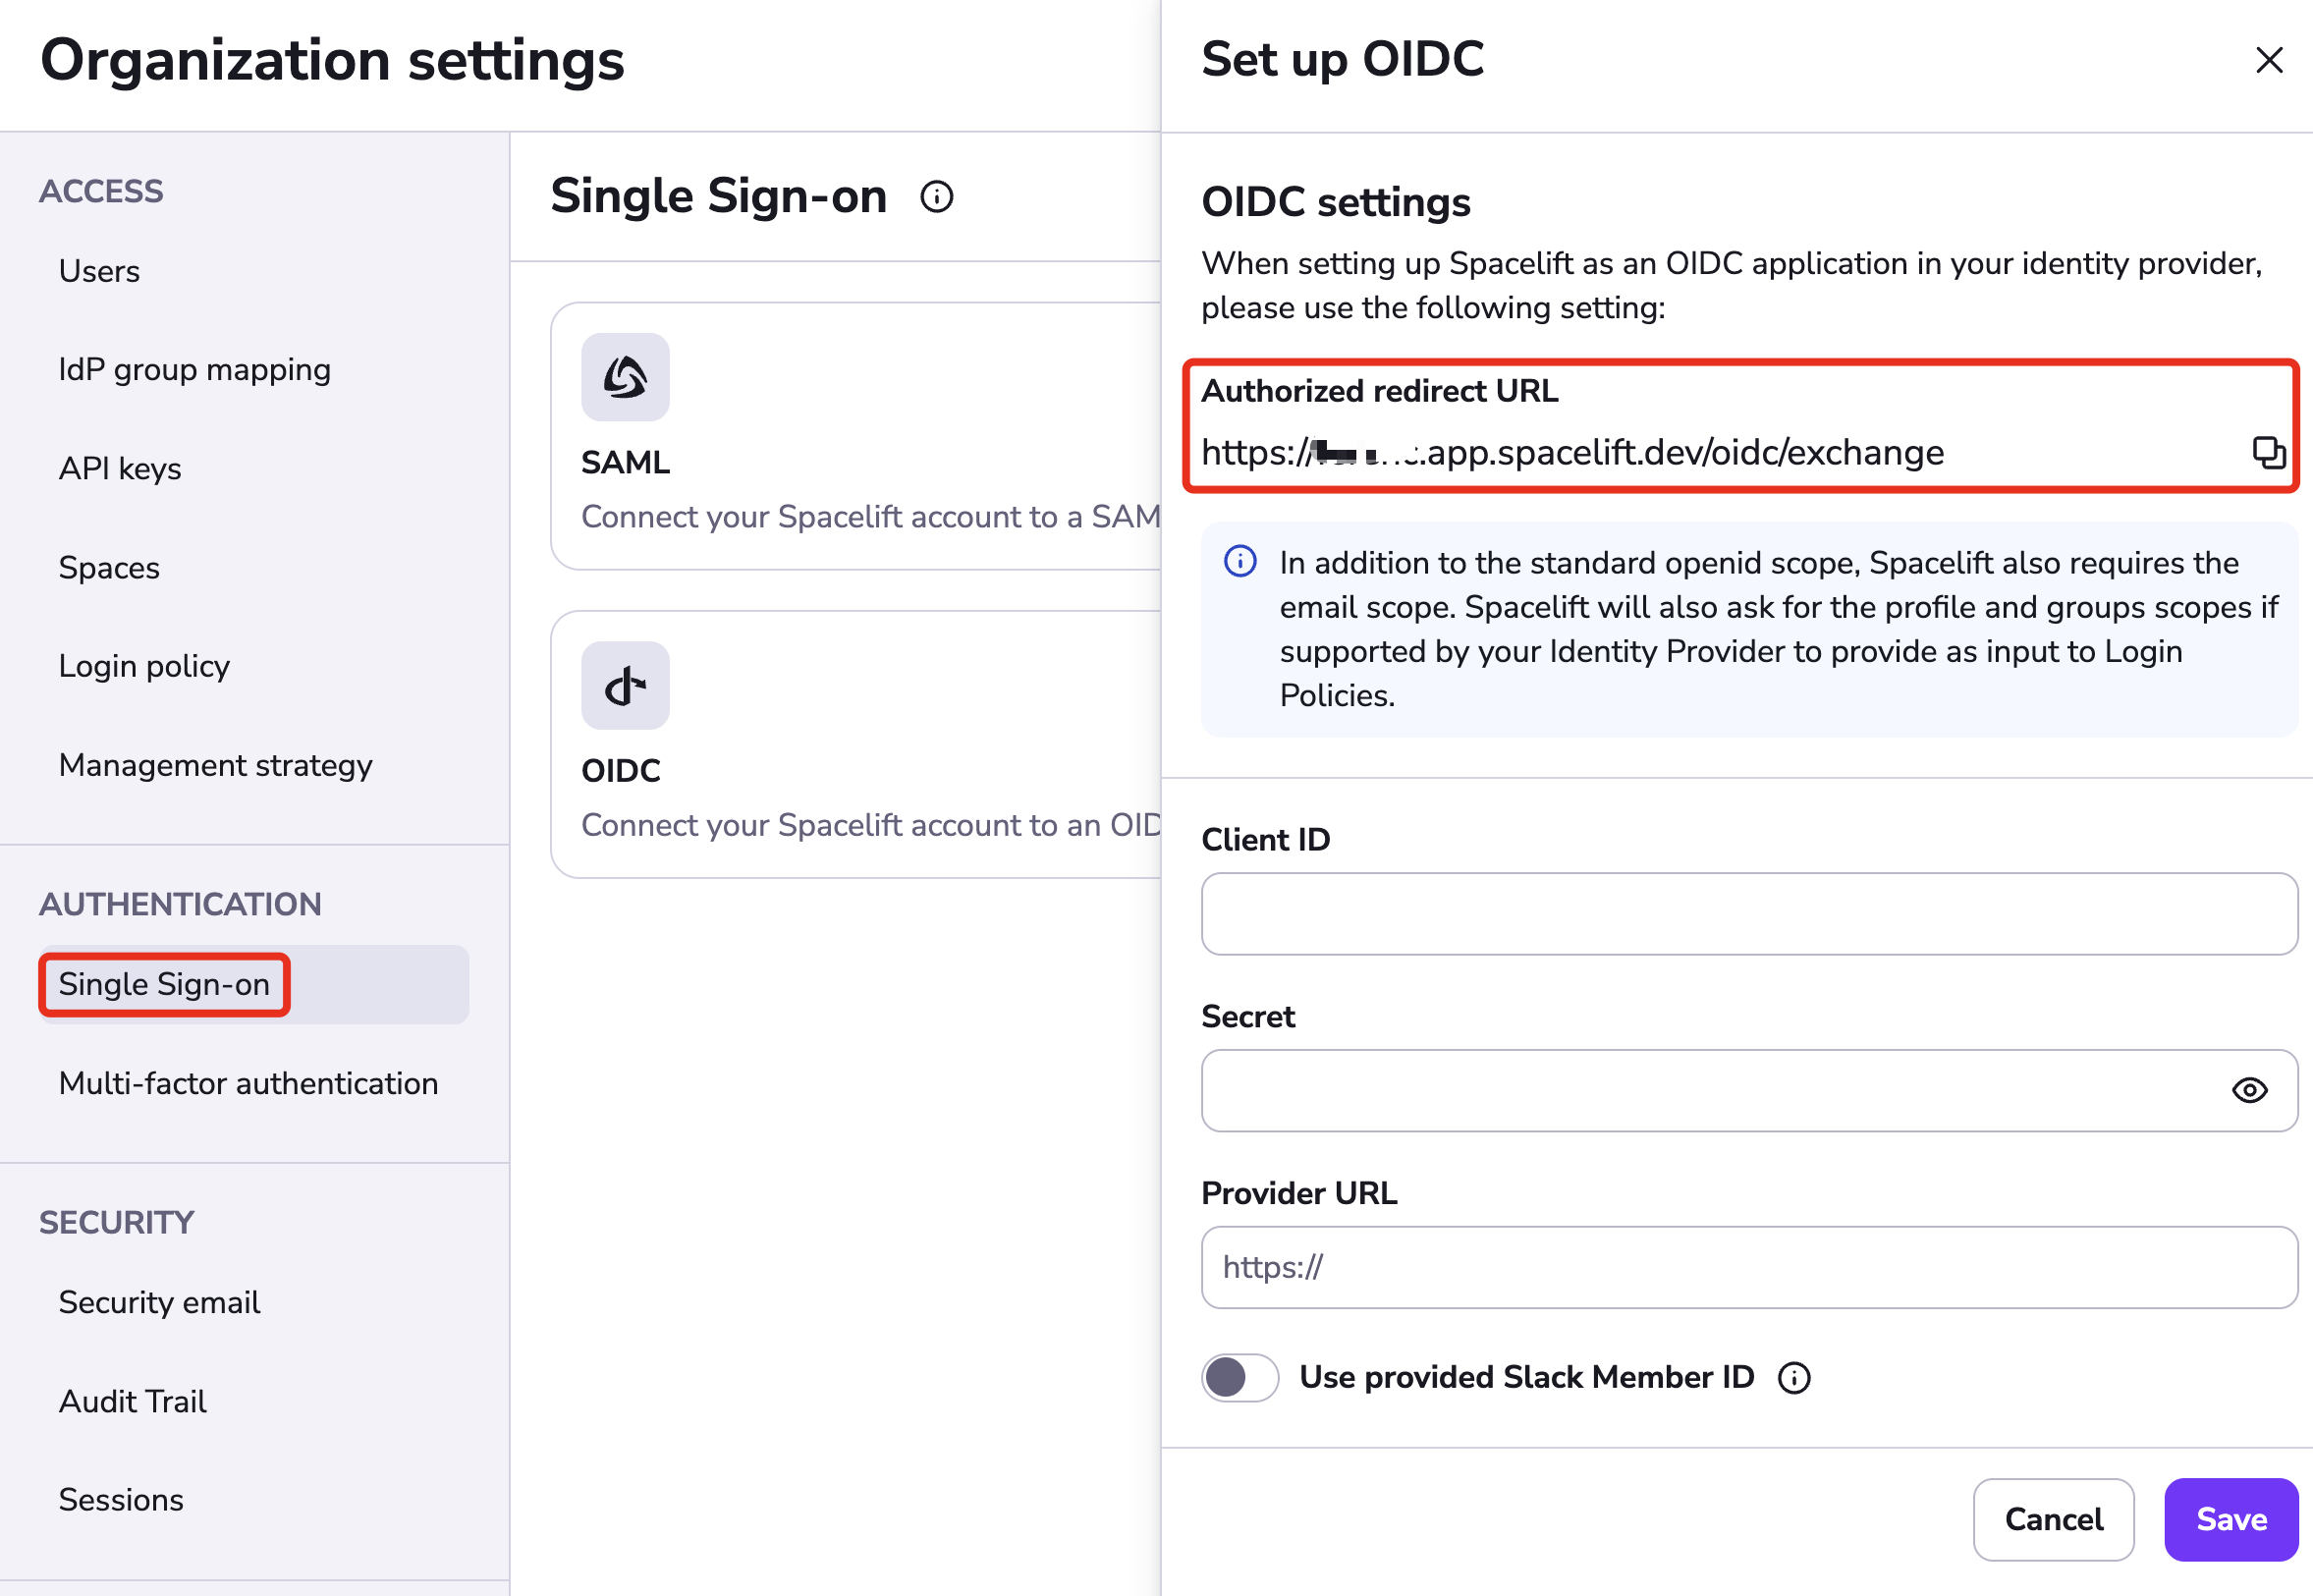
Select Single Sign-On under Authorization. Click Set up under the OIDC section.
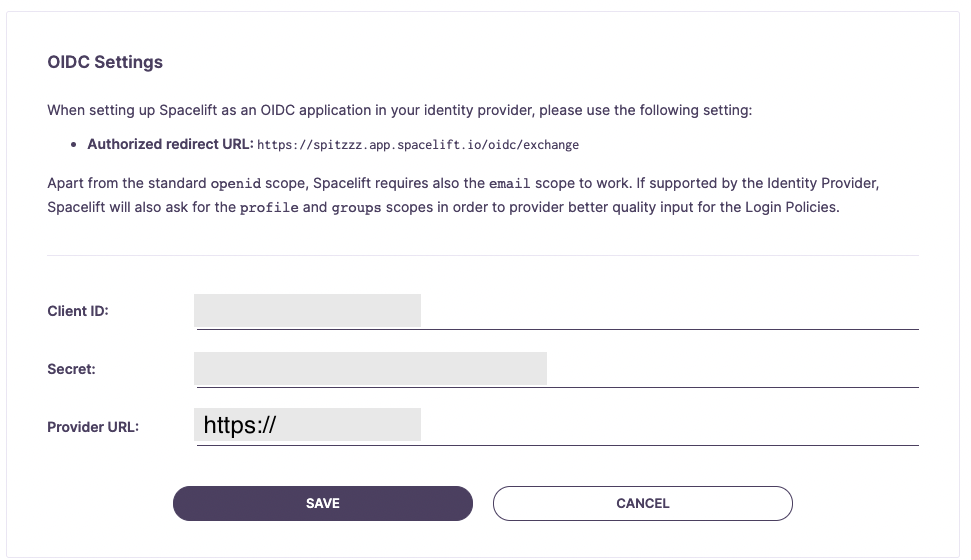
The drawer that opens contains the Authorized redirect URL, which you will need to copy for your login provider. The input fields will be filled later with information from your provider.
OneLogin: Select Applications»
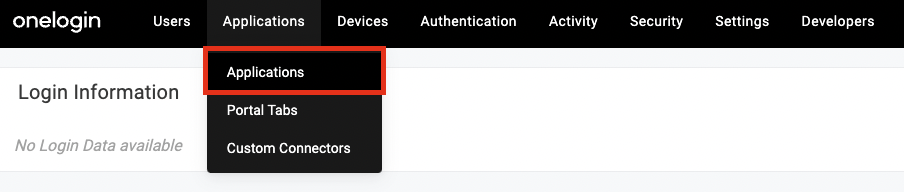
In a new browser tab, open your OneLogin account and visit the Administration page. Select the Applications link from the navigation.
OneLogin: Add Application»
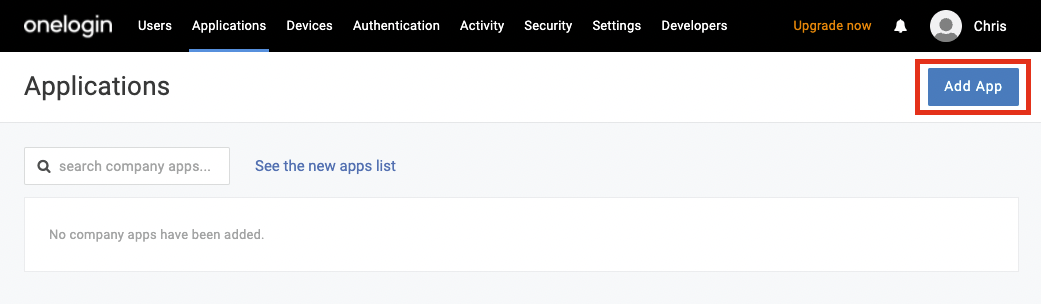
Click the Add App button.
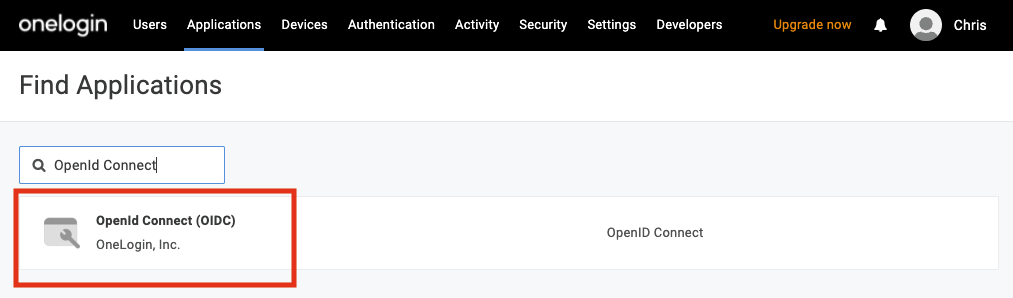
Search for OpenId Connect and select the result as shown.
Give your new OneLogin App a name, Spacelift sounds like a good one.
In regards to "Visible in portal" this is a OneLogin configuration decision that's up to you. In this example, we are enabled this value.

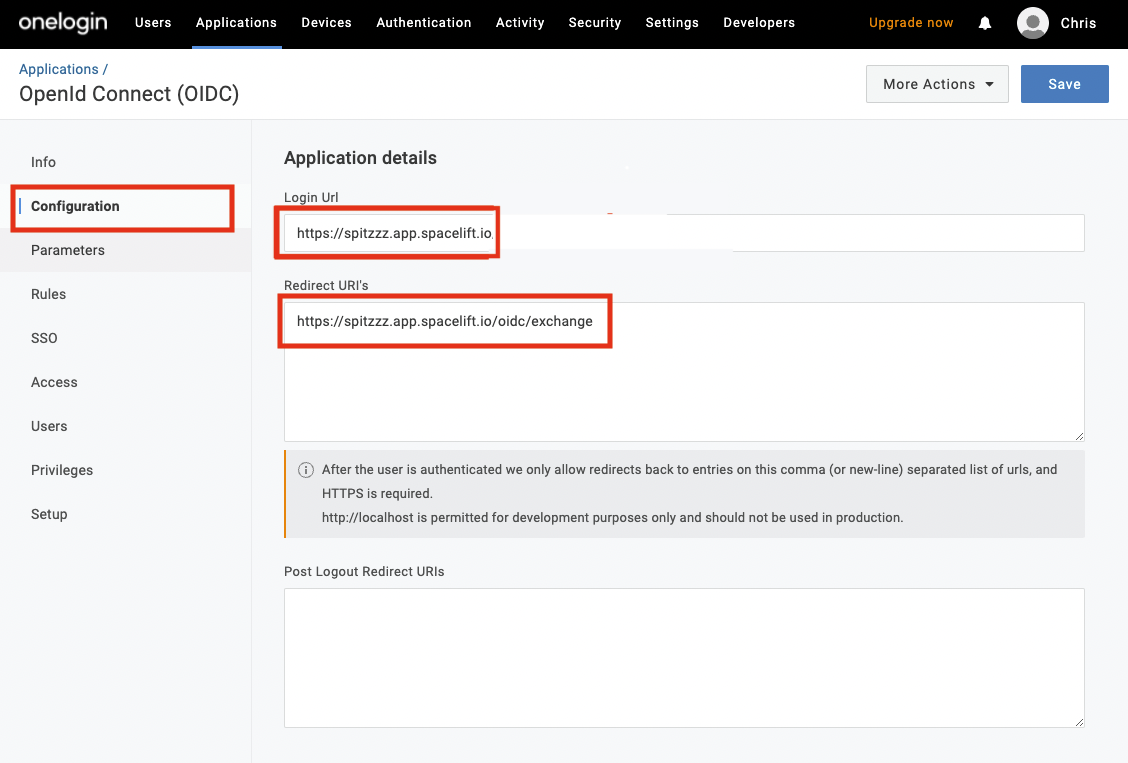
In the app navigation, navigate to the Configuration section. Input your Login URL.
Next, paste the previously copied authorized redirect URL into the Redirect URI's input field. Once done, remember to click on the Save button.
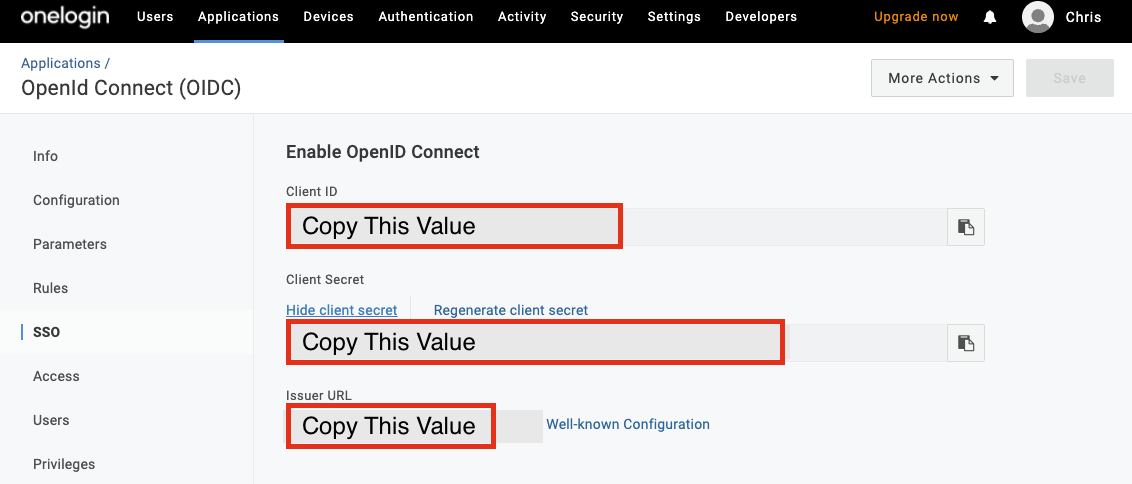
In the app navigation, click on the SSO section. Now that we have the OneLogin App setup, we'll need to take the Client ID, Client Secret, and Issuer URL, to configure the Spacelift OIDC Settings
Info
Important: You'll need to ensure your OneLogin user has access to the OneLogin App you just created, or else you will receive an unauthorized error when clicking save.
OneLogin OIDC Setup Completed»
That's it! OIDC integration with OneLogin should now be fully configured. Feel free to make any changes to your liking within your OneLogin App configuration.
You'll of course need to configure any users/groups within your OneLogin account to have access to this newly created app.