Provider registry»
Info
This feature is only available to Business plan and above. Please check out our pricing page for more information.
Intro»
While the Terraform ecosystem is vast and growing, sometimes there is no official provider for your use case, especially if you need to interface with internal or niche tooling. This is where the Spacelift provider registry comes in. It's a place where you can publish your own providers. These providers can be used both inside, and outside of Spacelift.
Publishing a provider»
Assumptions»
We will not be covering the process of writing a Terraform provider in this article. If you are interested in that, please refer to the official documentation. In this article, we will assume that you already have a provider that you want to publish.
We will also focus on providing step-by-step instructions for GitHub Actions users. If you are using a different CI/CD tool, you will need to adapt the steps accordingly based on its documentation. Note that you don't need to use a CI/CD tool to publish a provider - you could do it from your laptop. However, we recommend using a CI/CD tool to automate the process and provide an audit trail of what's been done, when, and by whom.
Last but not least, we assume you're going to use GoReleaser to build your provider. This is by far the most common way of managing Terraform providers which need to be available for different operating systems and architectures. If you're not familiar with GoReleaser, please refer to the official documentation. You can also check out Terraform's official terraform-provider-scaffolding-framework template repository for an example of using GoReleaser with Terraform providers.
Creating a provider»
To create a provider in Spacelift, you have three options:
Use our Terraform provider (preferable)»
This is the easiest way to do it, as it will let you manage your provider declaratively in the future:
| provider.tf | |
|---|---|
1 2 3 4 5 6 | |
Warning
The type attribute in the spacelift_terraform_provider resource refers to the unique name of the provider within Spacelift account. It must consist of lowercase letters only.
It is possible to mark the provider as public, which will make it available to everyone. This is generally not recommended, as it will make it easy for others to use your provider without your knowledge. At the same time, this is the only way of sharing a provider between Spacelift accounts. If you're doing that, make sure there is nothing sensitive in your provider. In order to mark the provider as public, you need to set its public attribute to true.
Use the API»
To create a Terraform Provider using the GraphQL API, you can use the terraformProviderCreate mutation. This mutation allows you to create a new provider with the specified inputs.
After successfully creating the Terraform Provider, you will receive an output of type TerraformProvider, which contains various fields providing information about the provider. These fields include the ID, creation timestamp, description, labels, latest version number, public accessibility, associated space details, update timestamp, specific version details, and a list of all versions of the provider.
For more detailed information about the GraphQL API and its integration, please refer to the API documentation.
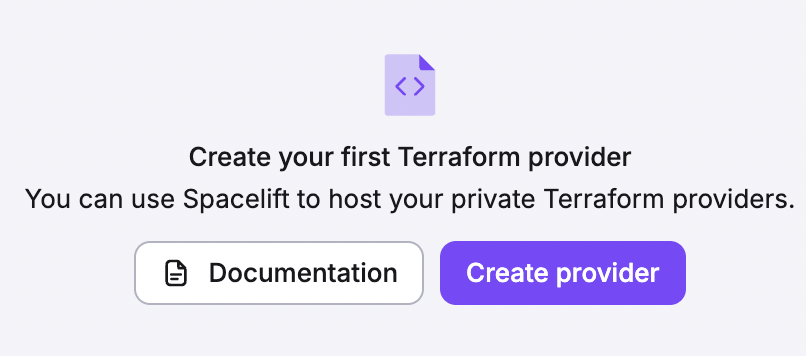
Create the provider manually in the UI»
To create a provider in the UI, navigate to Share Code & Config > Providers and click Create provider:
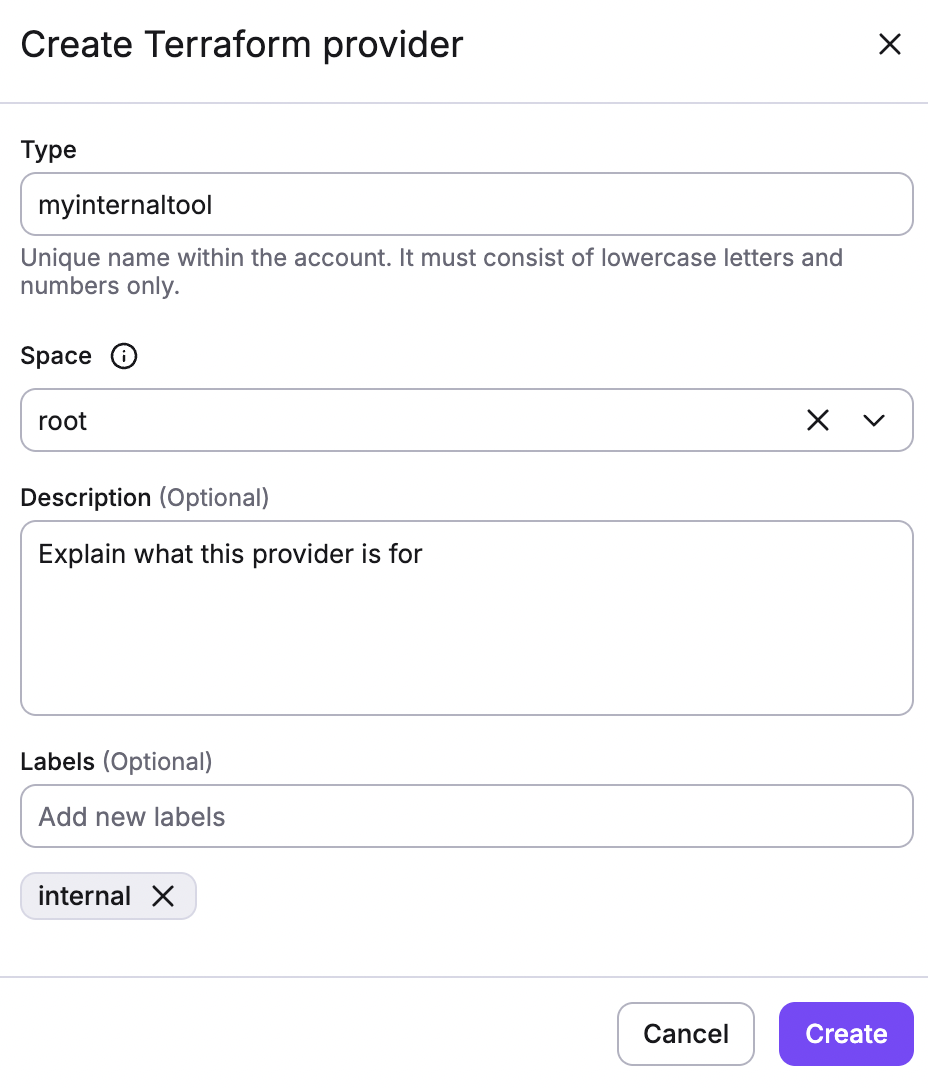
In the Create Terraform provider drawer, fill in the provider's type, space, and optionally a description and/or labels:
Info
Note that we've put the provider in the root space. This is because we want to give everyone access to it. If you want to make it available only to a specific team, you can put it in a team-specific different space. In general, unless providers are made public, they can be accessed by all users and stacks belonging to the same space and its children (assuming they're set to inherit resources).
Register a GPG key»
Warning
Only Spacelift root admins can manage account GPG keys. If you're not a root admin, you will need to ask one to do it for you.
Terraform uses GPG keys to verify the authenticity of providers. Before you can publish a provider version, you need to register a GPG key with Spacelift. Similarly to creating a provider, you have three options to register a GPG key:
Use our CLI tool called spacectl»
One reason we do not want to do it declaratively through the Terraform provider is that it would inevitably lead to the private key being stored in some Terraform state, which is not ideal. spacectl will let you register a GPG key without storing the private key anywhere outside of your system.
If you have an existing GPG key that you want to use, you can use spacectl to register it:
1 2 3 4 | |
Alternatively, spacectl can generate a new key for you. Note that spacectl generates GPG keys without a passphrase:
1 2 3 4 5 | |
You can list all your GPG keys using spacectl:
1 | |
Use the API»
To register a GPG Key using the GraphQL API, you can utilize the gpgKeyCreate mutation. This mutation allows you to register a GPG key with the specified inputs.
After successfully registering the GPG Key, you will receive an output of type GpgKey, which contains various fields providing information about the key. These fields include the creation timestamp, the user who created the key, the optional description, the ID, the name of the key, the revocation timestamp (if the key has been revoked), the user who revoked the key (if applicable), and the timestamp of the last update to the key.
For more detailed information about the GraphQL API and its integration, please refer to the API documentation.
Register the GPG key manually in the UI»
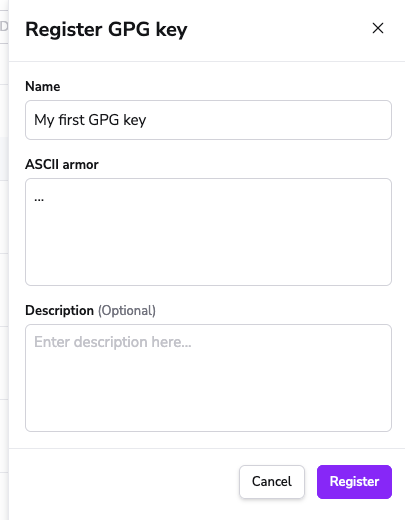
In order to register a GPG key in the UI, navigate to the Terraform registry section of the account view, switch to the GPG keys tab and click the Register GPG key button:

In the Register GPG key drawer, you will need to provide the name, the ASCII-armored public key, and optionally a description:
Verify a provider»
Each provider version can be verified using its associated GPG key. Verification has no impact on the provider's availability. It is merely an indicator that the provider has been signed with the correct key. A failed verification will not prevent the publishing nor the use of the provider. However the provider may be rejected later by Terraform.
New provider versions created using spacectl trigger verification automatically.
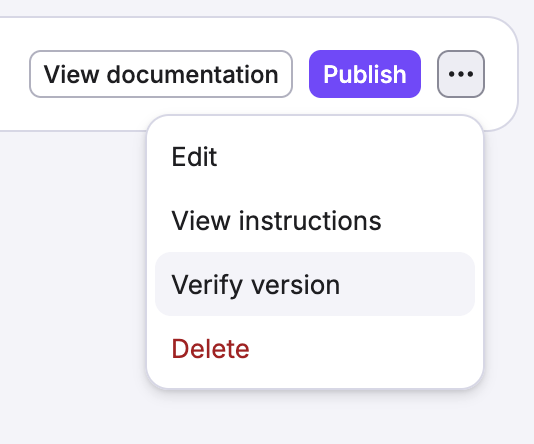
Providers can be manually verified in the UI by clicking Verify version inside the three-dots menu next to the version:
Or by using spacectl:
1 | |
The verification status is displayed in the UI:
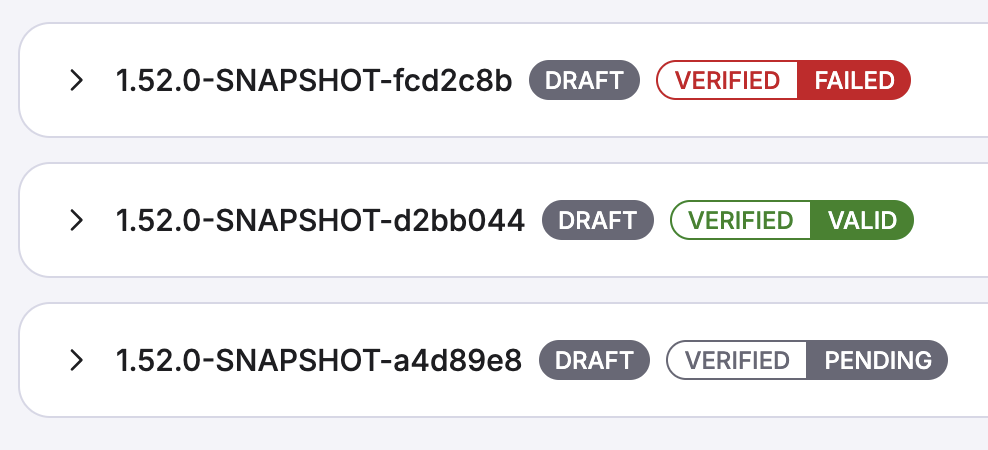
Hovering over the verification badge shows the failure reason if the verification failed.
The verification status is also shown via spacectl when listing provider versions:
- A non-empty
verificationFailurefield always implies a failure. - An empty
verificationFailurefield with a non-nilverifiedAtmeans that the version was successfully verified at the given time.
CI/CD setup»
Now that you have a provider and a GPG key, you can set up your CI/CD tool to publish provider versions. First, let's set up the GoReleaser config file in your provider repository:
| .goreleaser.yml | |
|---|---|
1 2 3 4 5 6 7 8 9 10 11 12 13 14 15 16 17 18 19 20 21 22 23 24 25 26 27 28 29 | |
This setup assumes that the name of your project (repository) is terraform-provider-$name. If it is not (maybe you're using a monorepo?) then you will need to change the config accordingly, presumably by hardcoding the project name.
Next, let's make sure you have an API key for the Spacelift account you want to publish the provider to. You can refer to the API key management section of the API documentation for more information on how to do that. Note that the key you're generating must have admin access to the space that the provider lives in. If the provider is in the root space, then the key must have root admin access.
We can now add a GitHub Actions workflow definition to our repository:
| .github/workflows/release.yml | |
|---|---|
1 2 3 4 5 6 7 8 9 10 11 12 13 14 15 16 17 18 19 20 21 22 23 24 25 26 27 28 29 30 31 32 33 34 35 36 37 38 39 40 41 42 43 44 45 46 47 48 49 50 51 52 53 54 55 56 57 58 59 60 61 62 63 | |
If everything is fine, pushing a tag like v0.1.0 should create a new draft version of the provider in Spacelift. You can list the versions of your provider using spacectl:
1 | |
Warning
The type parameter in the spacectl provider list-versions command refers to the unique name of the provider within Spacelift account. It must consist of lowercase letters only.
Note the version status. Versions start their life as drafts, and you can publish them by grabbing their ID (first column) and using spacectl:
1 | |
Warning
The version parameter in the spacectl provider publish-versions command refers to the unique ID of the provider version within Spacelift account.
Once published, your version is ready to use. See the next section for more information.
Using providers»
Terraform providers hosted by Spacelift can be used the same way as providers hosted by the Terraform Registry. The only difference is that you need to specify the Spacelift registry URL in your Terraform configuration.
| main.tf | |
|---|---|
1 2 3 4 5 6 7 | |
The above example does not refer to a specific version, meaning that you are going to always use the latest available (published) version of your provider. That said, you can use any versioning syntax supported by the Terraform Registry - learn more about it here.
Using providers inside Spacelift»
All runs in any of the stacks belonging to the provider's space or one of its children will be able to read the provider from the Spacelift registry, same as with modules This is because the runs are automatically authenticated to the spacelift.io registry while the run is in progress.
Using providers outside of Spacelift»
If you need to use the provider outside of Spacelift, you will need to authenticate to the registry first, either interactively (eg. on your machine) or using an API key (eg. in automation). This process is the same as with modules, so please refer to that section for more information.
Your access to the required provider will be determined by your access to the space that the provider lives in. If you have read access to the space, you will be able to use the provider.
Other management tasks»
Beyond creating and publishing new versions, there are a few other tasks you can perform on your provider. In this section we will cover the most common ones.
Revoking GPG keys»
If you lose control over your GPG key, you will want to revoke it. Revoking a key has no automatic impact on provider versions already published, but it will prevent you from publishing new versions signed with that key. You can revoke a key using spacectl:
1 | |
... or by using the UI. In order to do that, click the Revoke button inside the three dots menu next to the key you want to revoke:

If you want to also revoke any of the provider versions signed with this key, refer to the section on revoking provider versions.
Deleting provider versions»
You can permanently delete any draft provider version using spacectl:
1 | |
You can also do that in the UI, just navigate to the provider page, find the version you want to delete, and click the Delete button inside the three dots menu next to the version you want to delete:
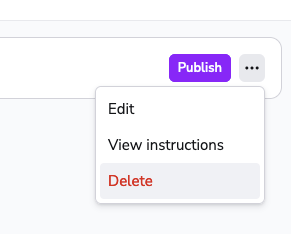
A deleted version disappears from the list of versions, and you can reuse its number in the future.
You cannot delete published versions. If you want to disable a published version, you will need to revoke it instead.
Revoking provider versions»
You can revoke any published provider version using spacectl:
1 | |
Similarly to deleting a draft provider version, you can delete a published one in the UI by clicking the Revoke button inside the three dots menu next to the version you want to revoke:
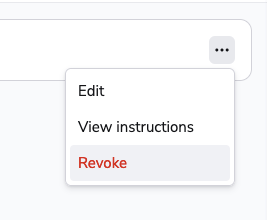
This will prevent anyone from using the version in the future, but it will not delete it. The version will remain on the list of versions, and will never be available again. You will not be able to reuse the version number of a revoked version.