Getting Started with Spacelift»
Spacelift blends a regular CI's versatility with the methodological rigor of a specialized, security-conscious infrastructure tool.
In this guide we will briefly introduce some key concepts that you need to know to work with Spacelift. These concepts will be followed by detailed instructions to help you create and configure your first run with Spacelift.
Main Concepts»
- Stacks: Spacelift's central entity that connects to your source control repository and manages the state of infrastructure. Stacks also facilitate integration with cloud providers (AWS, Azure, Google Cloud) and other important Spacelift components.
- State management: Infrastructure states can be managed by your backend, or (for OpenTofu/Terraform projects) imported into Spacelift. You are not required to manage your state with Spacelift.
- Worker pools: The underlying compute used by Spacelift is called a worker, managed in groups known as worker pools. You need to provision at least one worker pool to use Spacelift. Spacelift provides public (managed by Spacelift) and private (hosted by you) worker pools.
- Policies: Policies provide a way to express rules as code to manage your IaC environment, and help make common decisions for login, access, and execution. Policies are based on the Open Policy Agent project and can be defined using its rule language Rego.
- Cloud integration: Spacelift provides native integration with AWS, Azure, and Google Cloud (GCP). Integration with other cloud providers is also possible via OIDC Federation or programmatic connection with their identity services.
- VCS change workflow: Spacelift evaluates your version control system's (VCS's) pull requests (PRs) to provide a preview of changes being made to your infrastructure. These changes are deployed automatically when PRs are merged.
Create your Spacelift account»

- On the Spacelift home page, click Start for Free.
-
Create your Spacelift account by signing in with your GitHub, GitLab, Google, or Microsoft account.
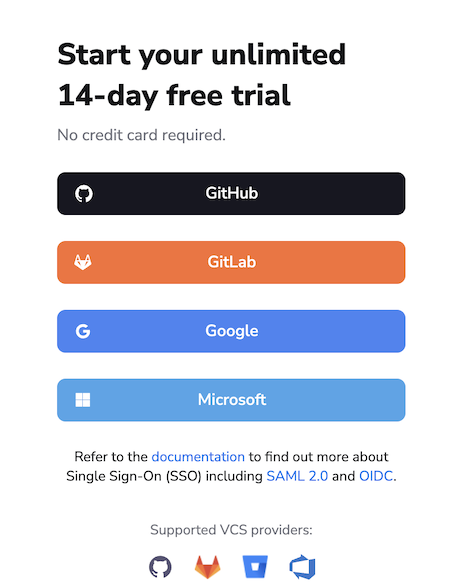
If using GitHub, the selected GitHub organization or account name will be your Spacelift account name.
Note
If using a Microsoft account, you may need to provide admin approval to log in.
Welcome to the LaunchPad»
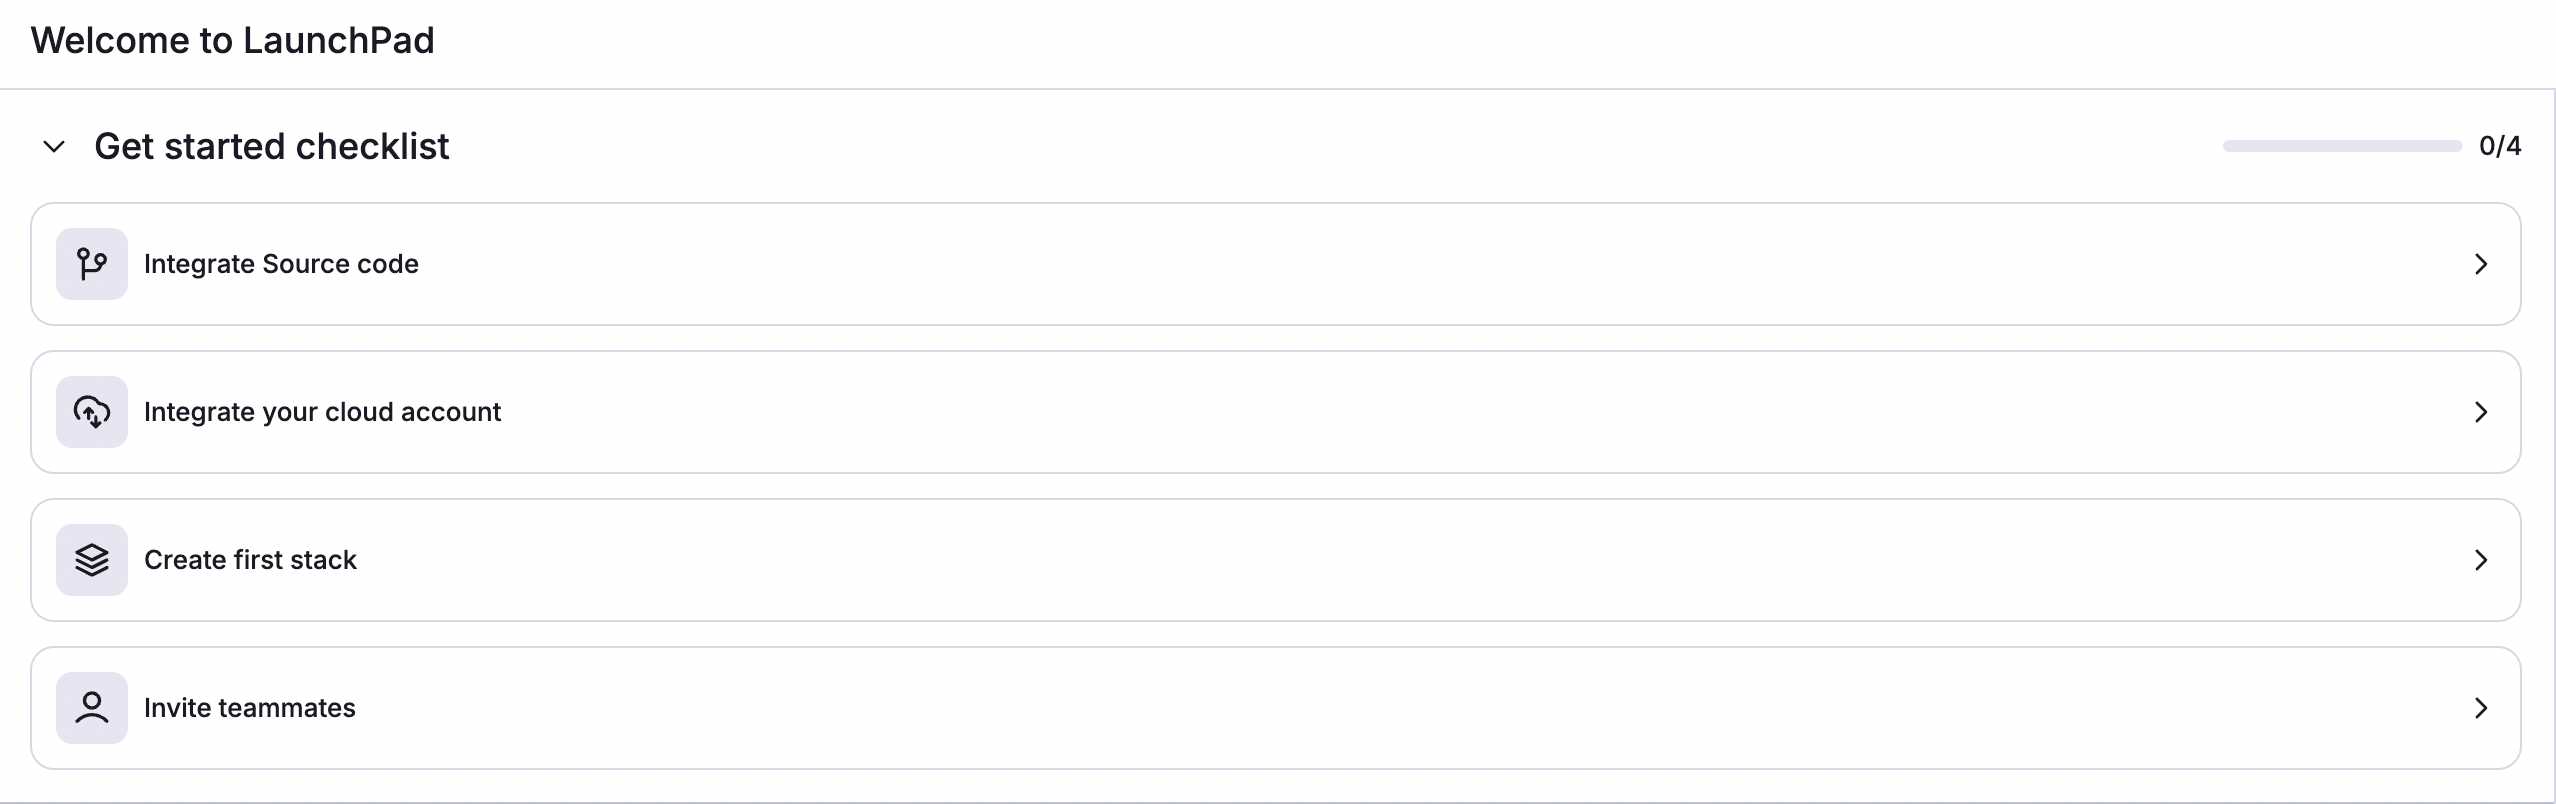
Once you log in to your Spacelift account, you will be brought to the LaunchPad tab to configure your environment. The checklist has four steps to help you get started:
Once your LaunchPad tasks are complete, you can start your first stack run.
Trigger your first run»
Assuming your repository contains your infrastructure (or you're using our provided Terraform starter repository), you can start using Spacelift to start runs.
Tip
If you are using the Terraform starter repository, and you did not sign up for your Spacelift account with GitHub, you may need to add the environment variable TF_VAR_github_app_namespace with the value as your organization name or GitHub handle. You can do this under the Environment tab in the stack.

- Navigate to the Stacks tab.
- Click the name of the stack you want to run.
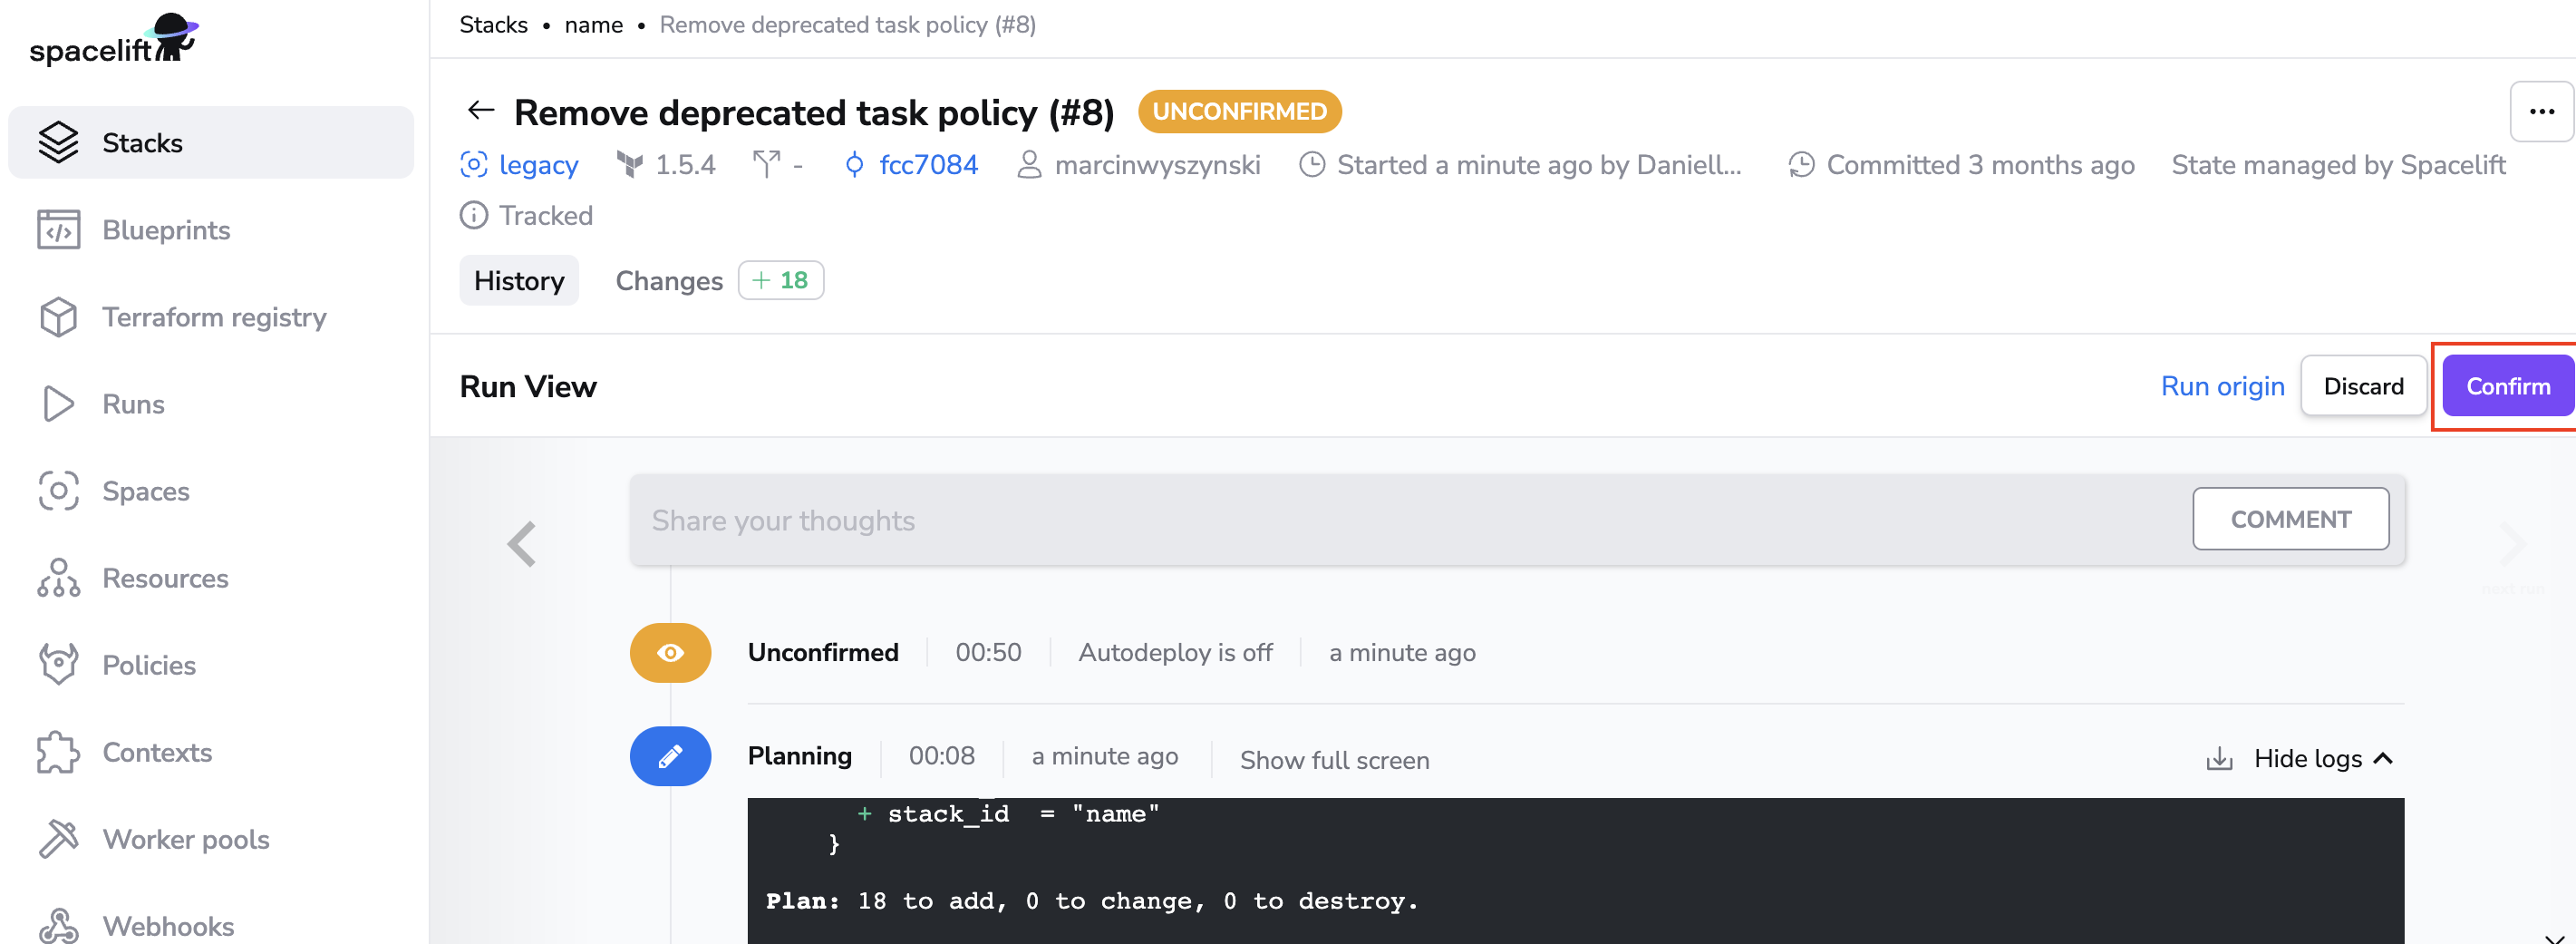
- Click Trigger to start a Spacelift run. This will check the source code and run any commands on it, and you will be taken to the run view.
- Click Confirm to apply your changes.
- Wait for the run to finish.
Your output will look different based on your code repository and the resources it creates. If you used the starter repository, you should have a new stack in your account called Managed stack that can demonstrate the effectiveness of our plan policies. Play with it and see if you can fix the purposeful plan issue.