AWS IAM Identity Center SAML Setup Guide»
Info
Note that SSO Integration with SAML 2.0 is an Enterprise plan feature.
If you'd like to set up the ability to sign in to your Spacelift account using a SAML 2.0 integration with AWS IAM Identity Center (formerly known as AWS SSO), you've come to the right place. This example will walk you through the steps to get this set up, and you'll have Single Sign-On running in no time!
Warning
Before setting up SSO, it's recommended to create backup credentials for your Spacelift account for use in case of SSO misconfiguration, or for other break-glass procedures. You can find more about this in the Backup Credentials section.
Pre-requisites»
- Spacelift account, with access to admin permissions.
- AWS account which is a member of an AWS Organization, with permission to create AWS IAM Identity applications.
Configure the AWS IAM Identity application»
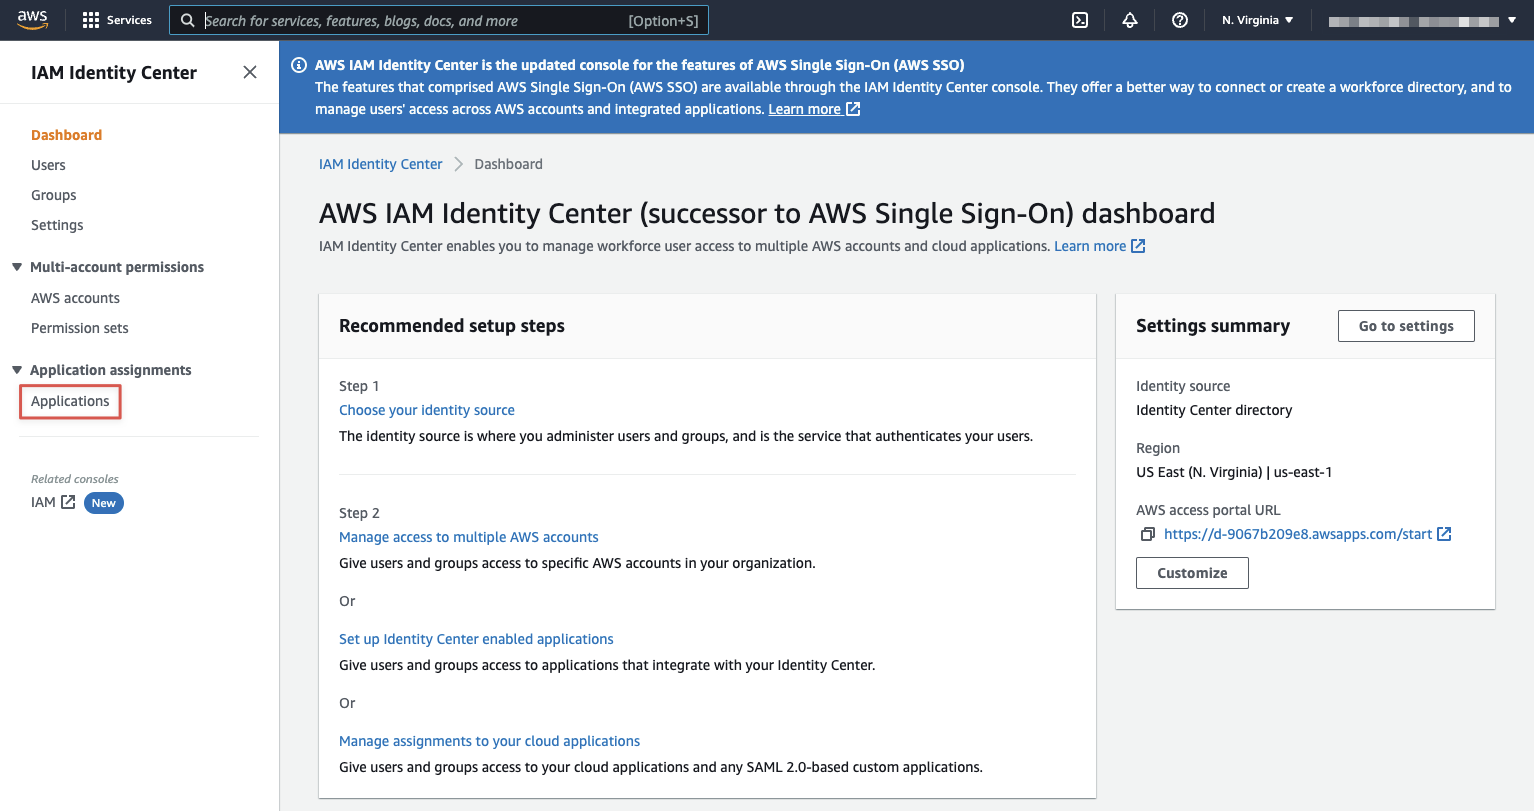
Log into the AWS account, go to the IAM Identity Center home page and finally, click on the "Applications" link.
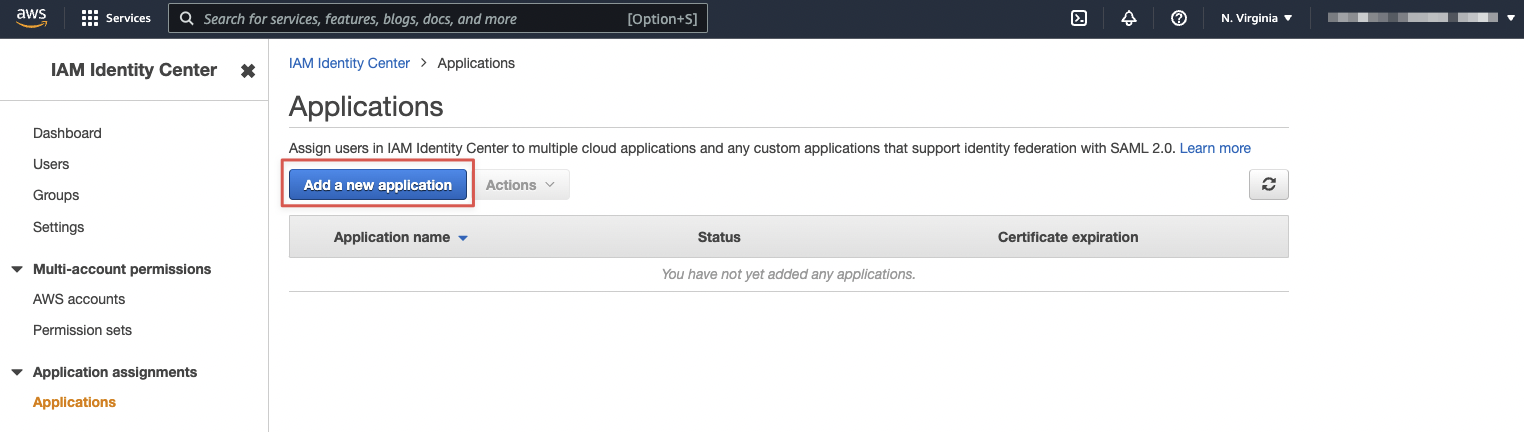
On that screen, click on the "Add a new application" button.
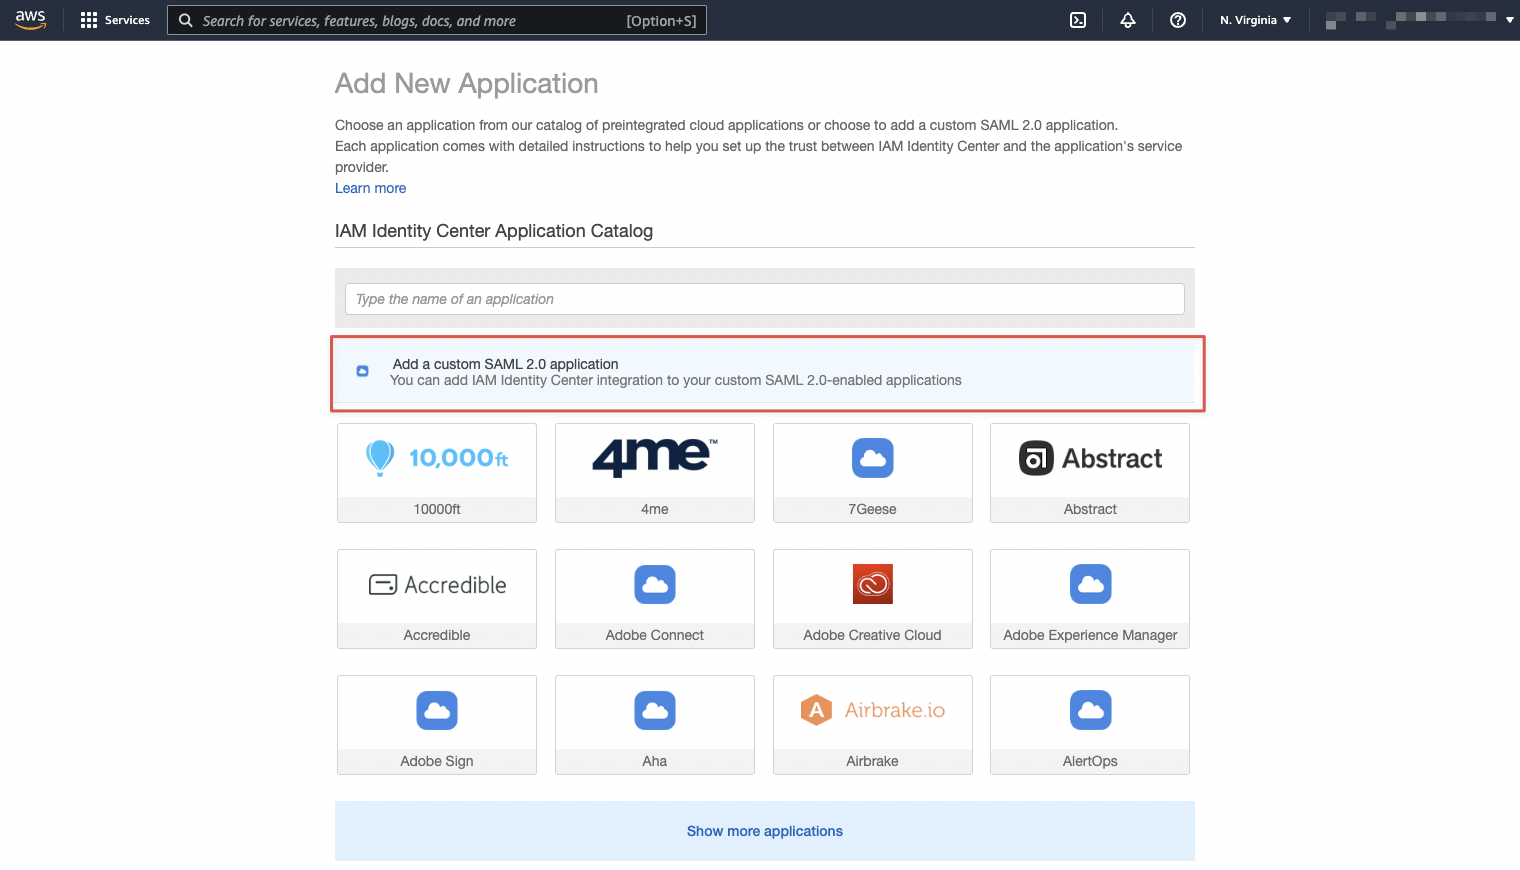
Finally, click on the "Add a custom SAML 2.0 application" button.
Set the "Display name" field to "Spacelift". Then, copy the URL for the "IAM Identity Center SAML metadata file" and head to the settings in your Spacelift account.
Configure Spacelift SAML integration»
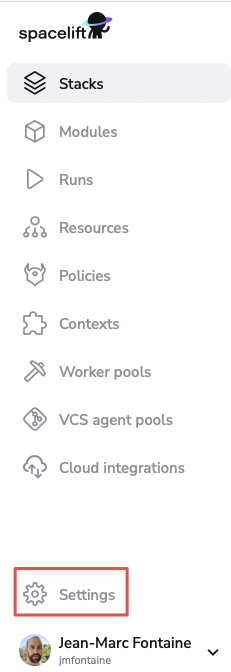
From the navigation side bar menu, select "Settings."
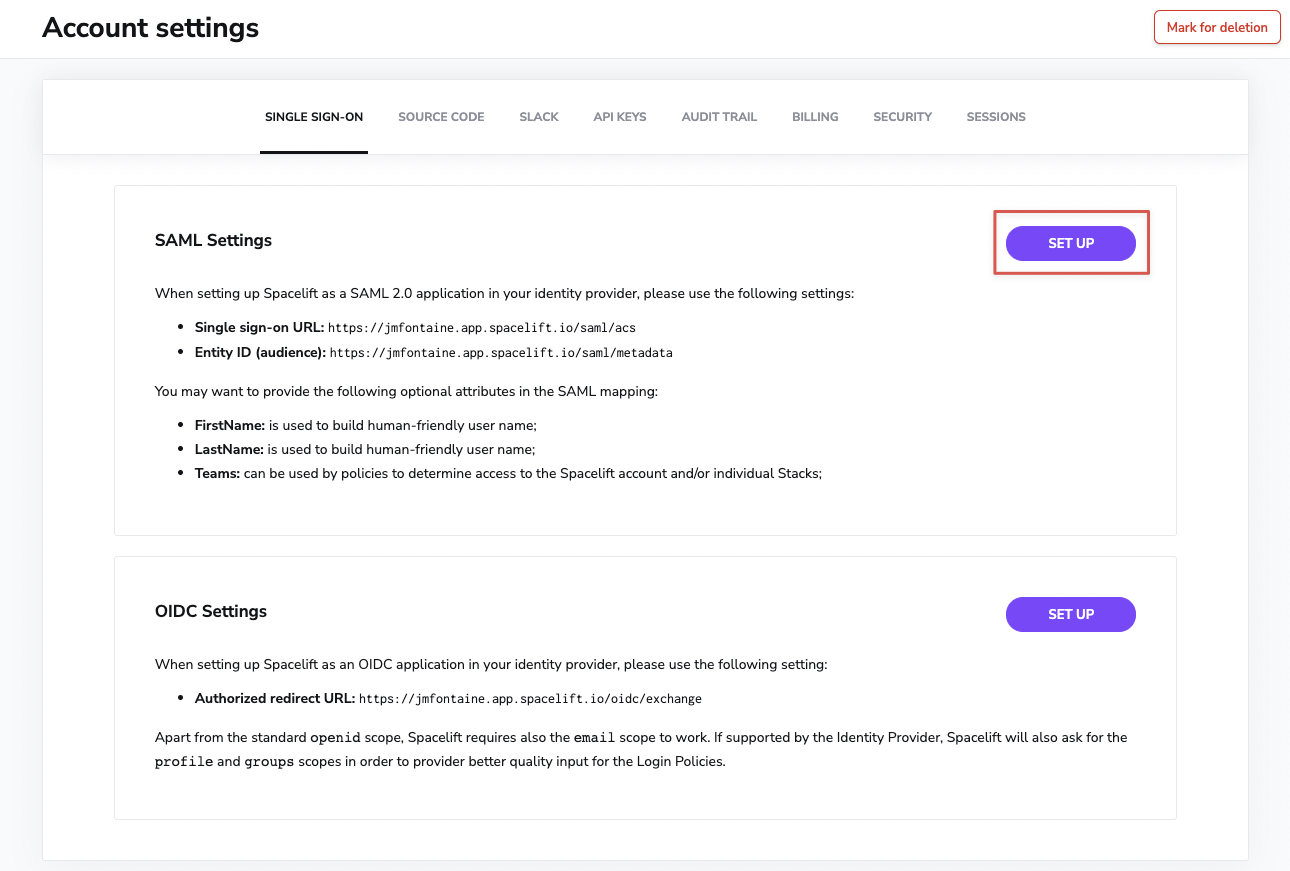
Next, you'll want to click the Set Up button underneath the "SAML Settings" section.
In the SAML settings:
- Set the value for "NameID Format" to "Persistent".
- Enable the "Dynamic configuration".
- Paste the URL you just copied in AWS in the "IdP metadata URL" field.
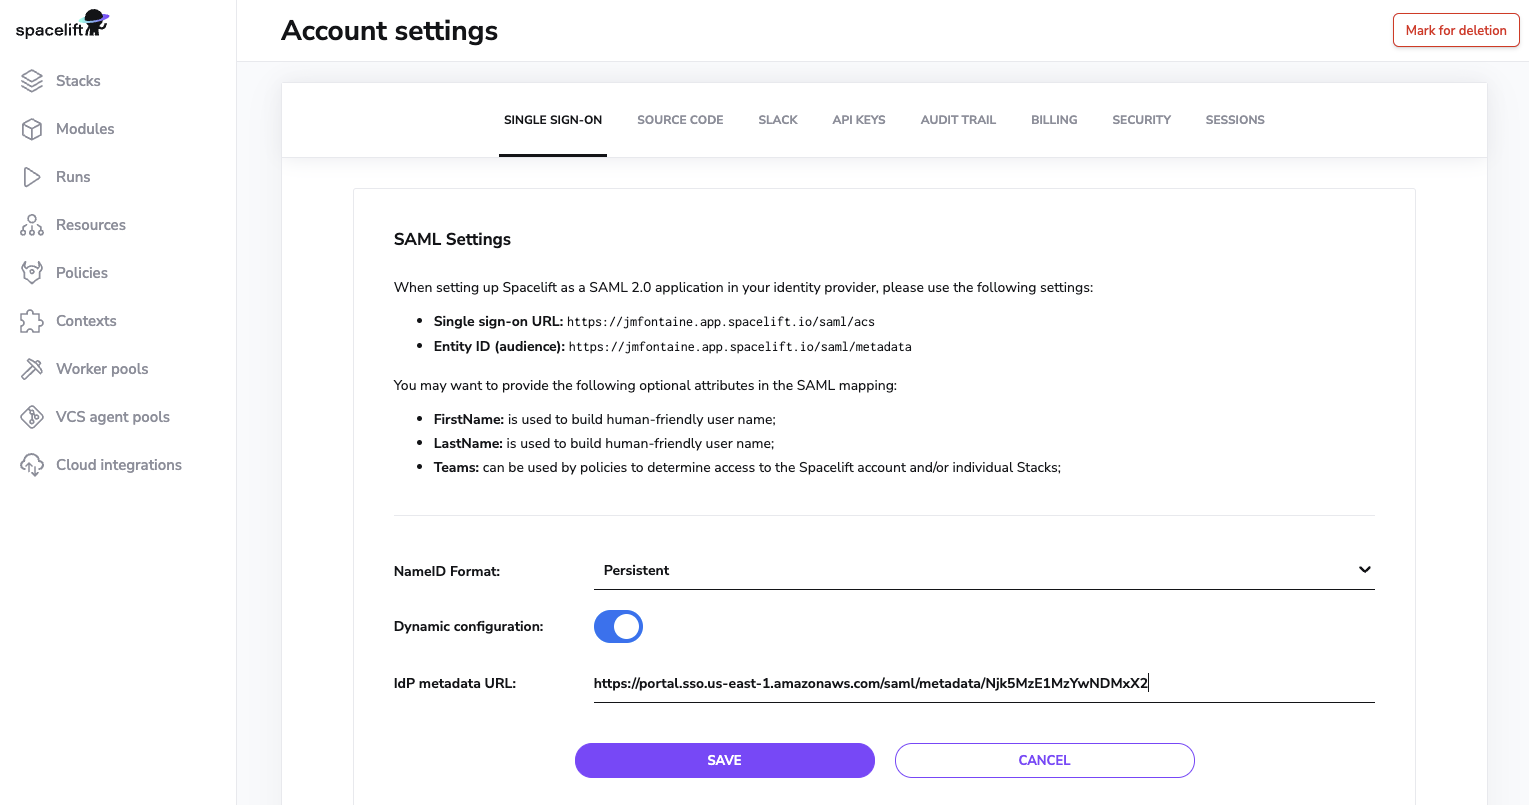
Danger
Do not click on the "Save" button yet, otherwise Spacelift will try to activate SAML integration right away and we are not completely done with the setup yet.
If you clicked on the button anyway, you will be presented with an AWS login page and you will likely be unable to log in at this time. Don't worry. Just open another tab in your browser and go to your Spacelift account. As an administrator, you will be able to log in via the Identity Provider your used to create the account. From there, you will be able to activate the SAML integration once you have completed all the remaining steps documented below.
Configure the AWS IAM Identity application (Continued)»
Go back to the AWS console. In the "Application metadata" section, click on the "If you don't have a metadata file, you can manually type your metadata values." link.

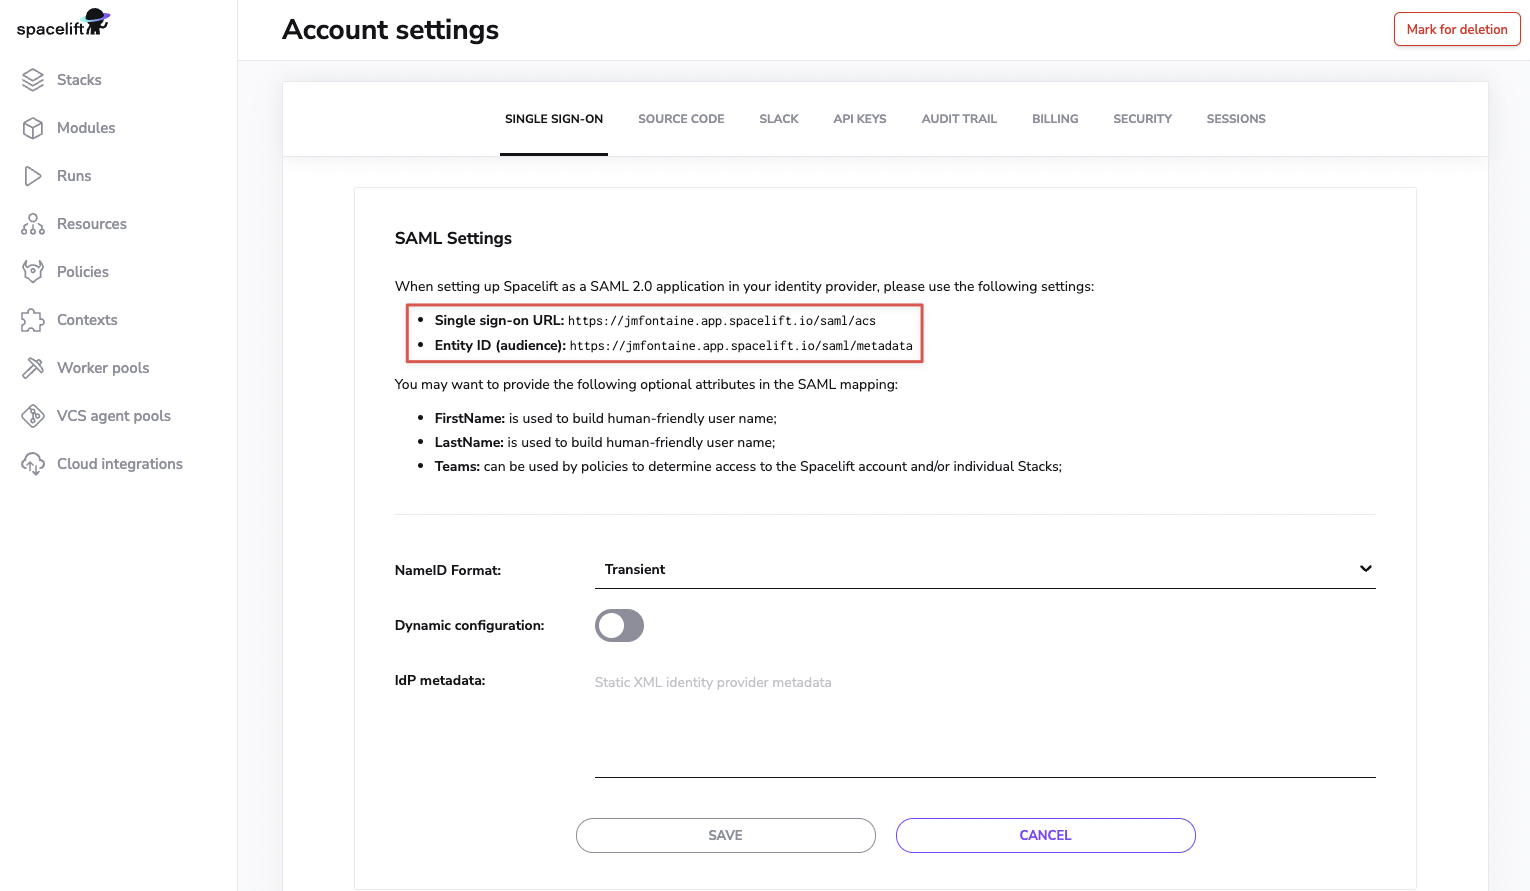
Copy/paste the values for "Single Sign-On URL" and "Entity ID (audience)" from Spacelift to "Application ACS URL" and "Application SAML audience", respectively.
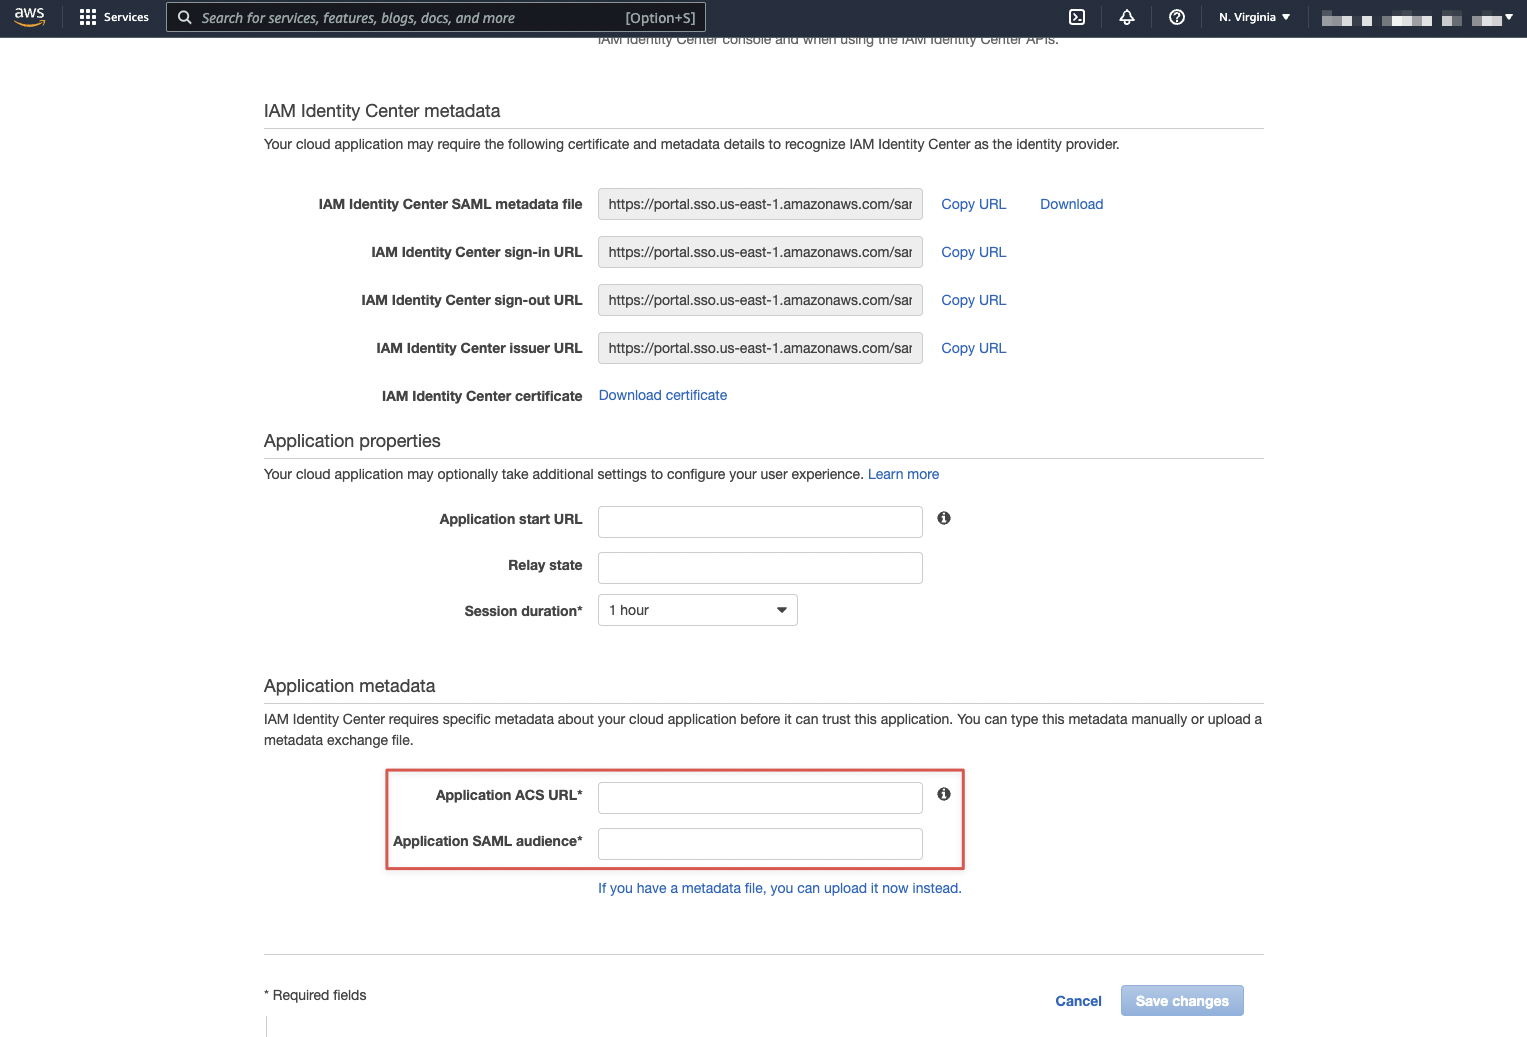
Finally, click on the "Save changes" button.
Set the attribute mappings»
Go to the "Attribute mappings" tab, set the values as described below and click on the "Save changes" button.
| User attribute in the application | Maps to this string value or user attribute in IAM Identity Center | Format |
|---|---|---|
| Subject | ${user:subject} | persistent |
| FirstName | ${user:givenName} | basic |
| LastName | ${user:familyName} | basic |
| Teams | ${user:groups} | basic |
Warning
Please note that while available, ${user:groups} is not officially supported by AWS IAM Identity Center and it will return the group ID (GUID) and not the group name. There is currently no way to get the group name.
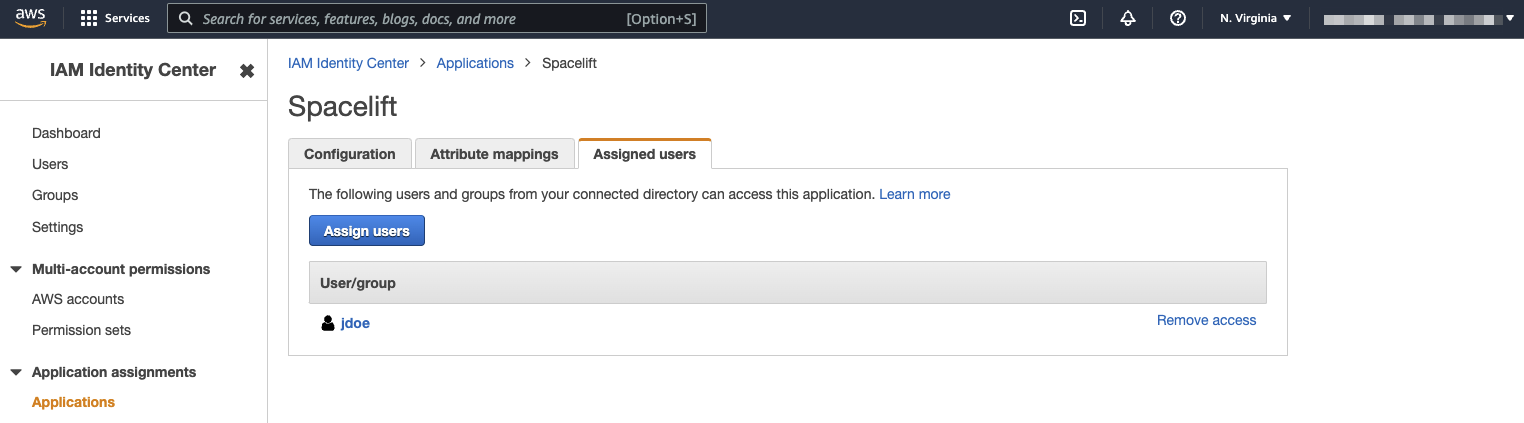
Assign users and groups to the application»
Make sure to assign users and/or groups to the SAML application in the "Assigned users" tab.
Activate the Spacelift SAML integration»
Back to Spacelift for the final step. You can finally click on the "Save" button on the SAML integration page.
The page will reload and the AWS login page will be displayed. Use the credentials for a user that has access to the SAML application and you should be able to log into Spacelift.