🚀 Getting Started»
Hello and welcome to Spacelift! In this guide we will briefly introduce some key concepts that you need to know to work with Spacelift. These concepts will be followed by detailed instructions to help you create and configure your first run with Spacelift.
Introduction to Main Concepts»
Stacks»
A stack is a central entity in Spacelift. It connects with your source control repository and manages the state of infrastructure. It facilitates integration with cloud providers (AWS, Azure, Google Cloud) and other important Spacelift components. You can learn more about Stacks in Spacelift detailed documentation.
State Management»
State can be managed by your backend, or for Terraform projects - can be imported into Spacelift. It is not required to let Spacelift manage your infrastructure state. You can learn more about State Management here.
Worker Pools»
The underlying compute used by Spacelift is called a worker, and workers are managed in groups known as worker pools. In order for Spacelift to operate correctly, you will need to provision at least one worker pool. You can learn more about worker pools here.
Policies»
Spacelift policies provide a way to express rules as code, rules that manage your Infrastructure as Code (IaC) environment, and help make common decisions such as login, access, and execution. Policies are based on the Open Policy Agent project and can be defined using its rule language Rego. You can learn more about policies here.
Cloud Integration»
Spacelift provides native integration with AWS. Integration with other cloud providers is also possible via OIDC Federation or programmatic connection with their identity services. You can learn more about about cloud provider integration here.
Change Workflow»
Spacelift deeply integrates with your Version Control System (VCS). Pull requests are evaluated by Spacelift to provide a preview of the changes being made to infrastructure; these changes are deployed automatically when PRs are merged. You can learn more about VCS integration here.
Step by Step»
This section provides step-by-step instructions to help you set up and get the most out of Spacelift. If you want to learn about core concepts, please have a look at the main concepts section.
First Stack Run»
You can get started with either forking our Terraform Starter repository and testing all Spacelift capabilities in under 15 minutes or you can explore Spacelift on your own by adding your own repository and going from zero to fully managing your cloud resources.
Step 1: Install Spacelift»
Follow the install guide to get Spacelift up and running.
Step 2: Connect your Version Control System (VCS)»
In this section we will be connecting GitHub as our VCS. You can find more information about other supported VCS providers here
- To connect GitHub as your VCS, follow the guide for setting up the GitHub integration.
- Please select any of your GitHub repositories that create local resources (we will not be integrating with any cloud providers to keep this guide simple and quick). If you do not have a GitHub repository of this kind, you can fork our terraform-starter repository (Make sure to allow the installed GitHub app access to the forked repository).
Please refer to the Source Control section of the documentation to connect a different VCS.
Step 3: Create Your First Spacelift Stack»
In this section we will cover creating your first Spacelift Stack. For more detailed instructions on creating your first Spacelift Stack, click here.
Click on the Create Stack button.

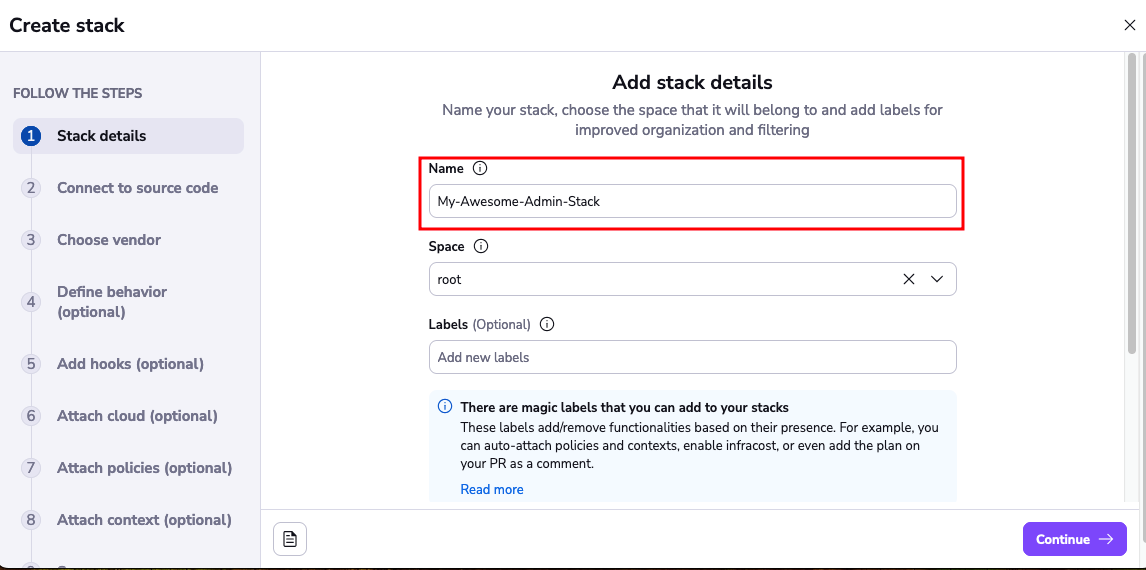
Give your stack a name and click Continue.
Now choose your VCS provider, select the repository that you gave access to Spacelift in the first step and select a branch that you want to be attached with your Stack. You also have the optional choice of selecting a project root.

Click Continue to configure your vendor.
Choose Terraform as your vendor with a supported version. Leave the default option to let Spacelift manage state for this stack. Please refer to the creating a stack section of the documentation for information on using a different backend.
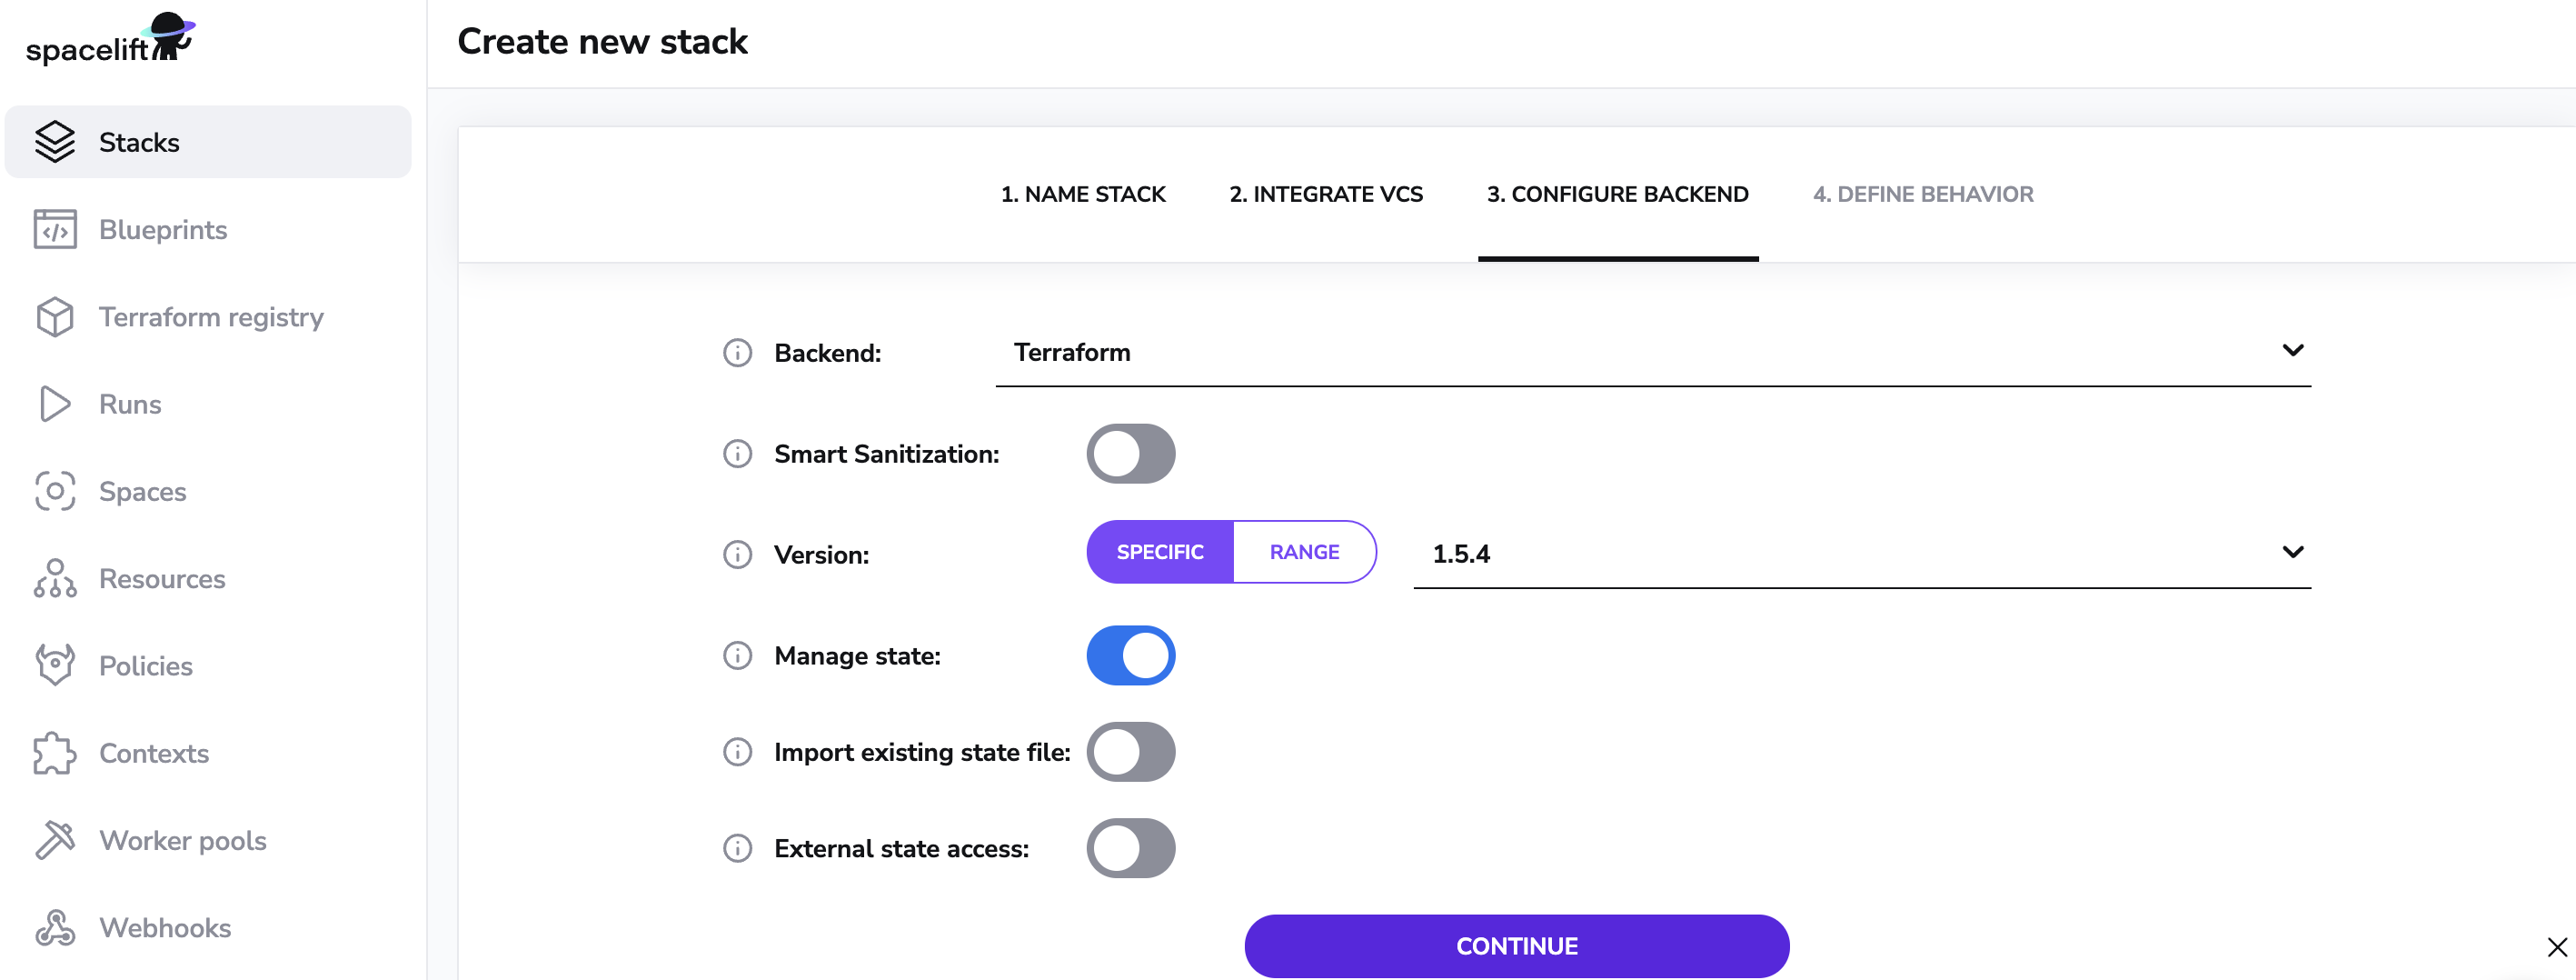
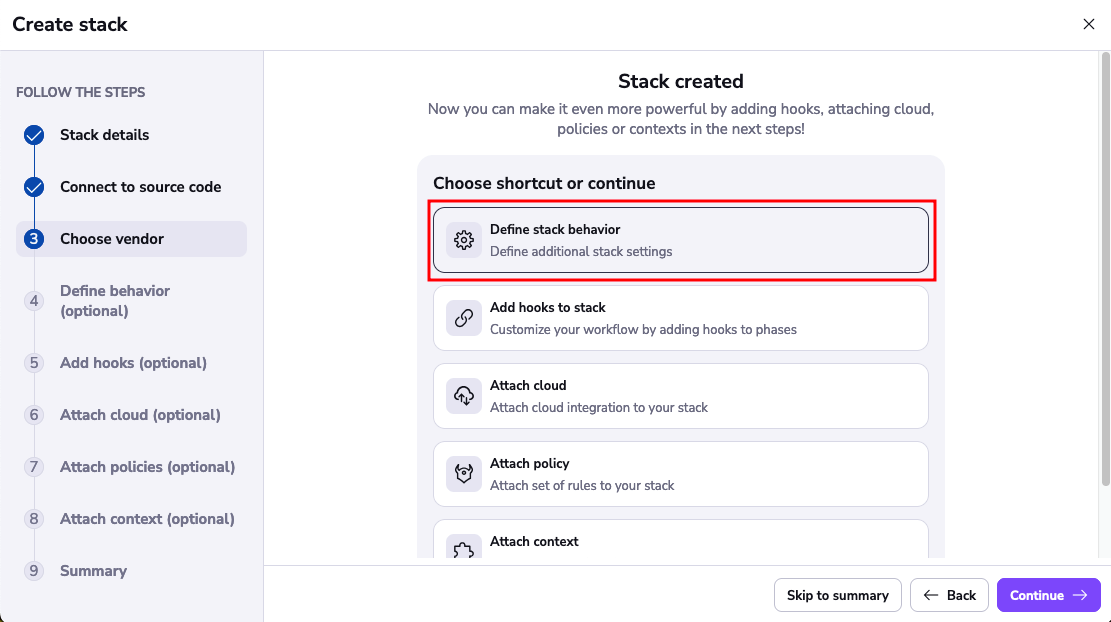
Click Continue and then Define stack behavior.
Enable the Administrative toggle.
This will make the stack an Admin stack, giving it api access to your account.
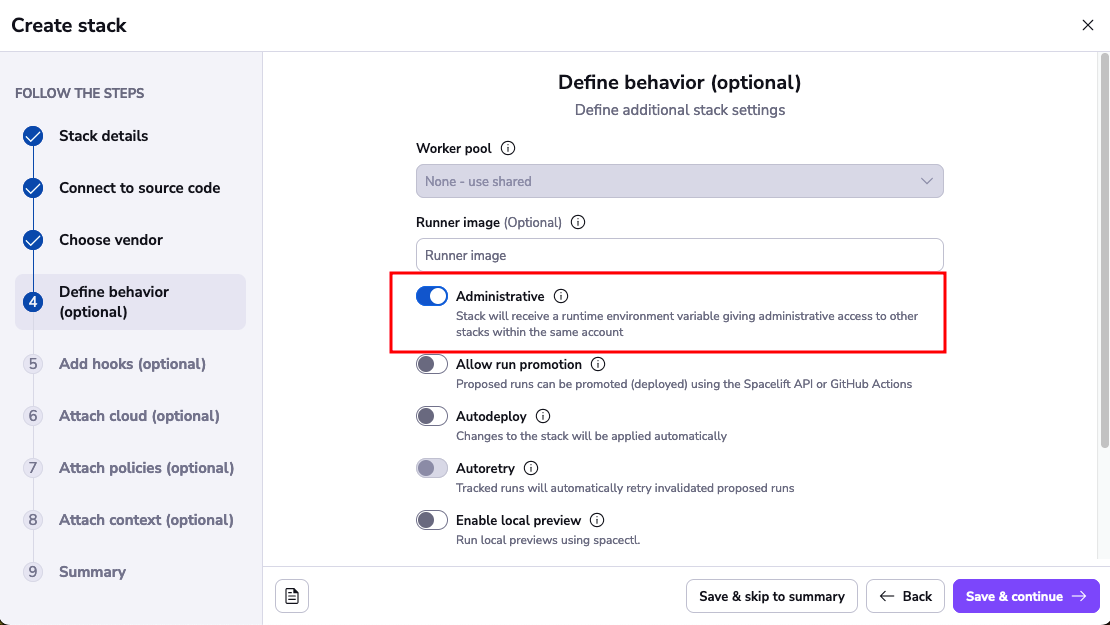
Click Save & skip to summary and then Confirm to create the stack.
Step 4: Trigger your First Run»
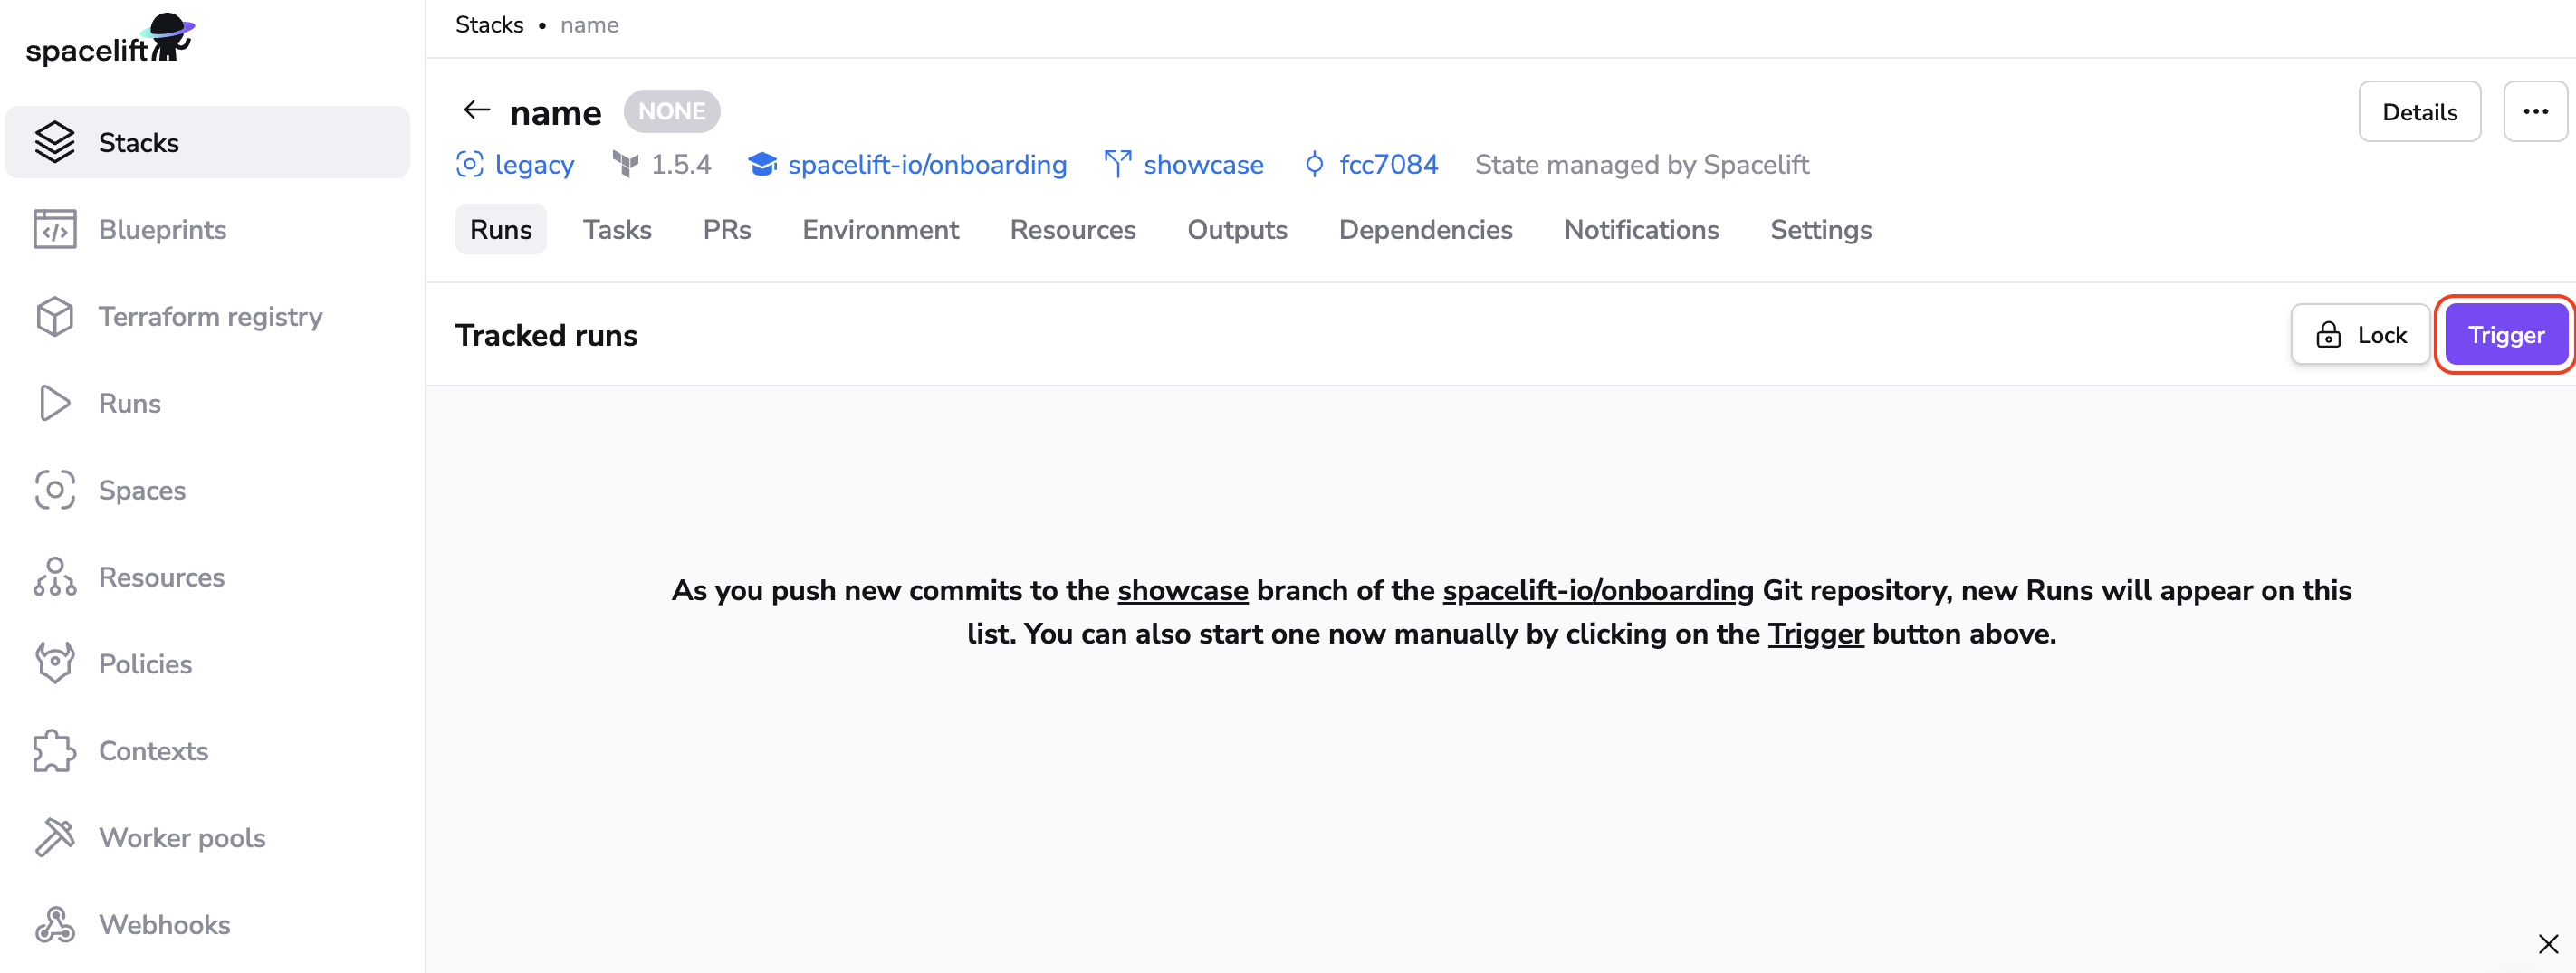
Click on Trigger to kick start a Spacelift run that will check out the source code, run terraform commands on it and then present you with an option to apply (confirm) these changes.
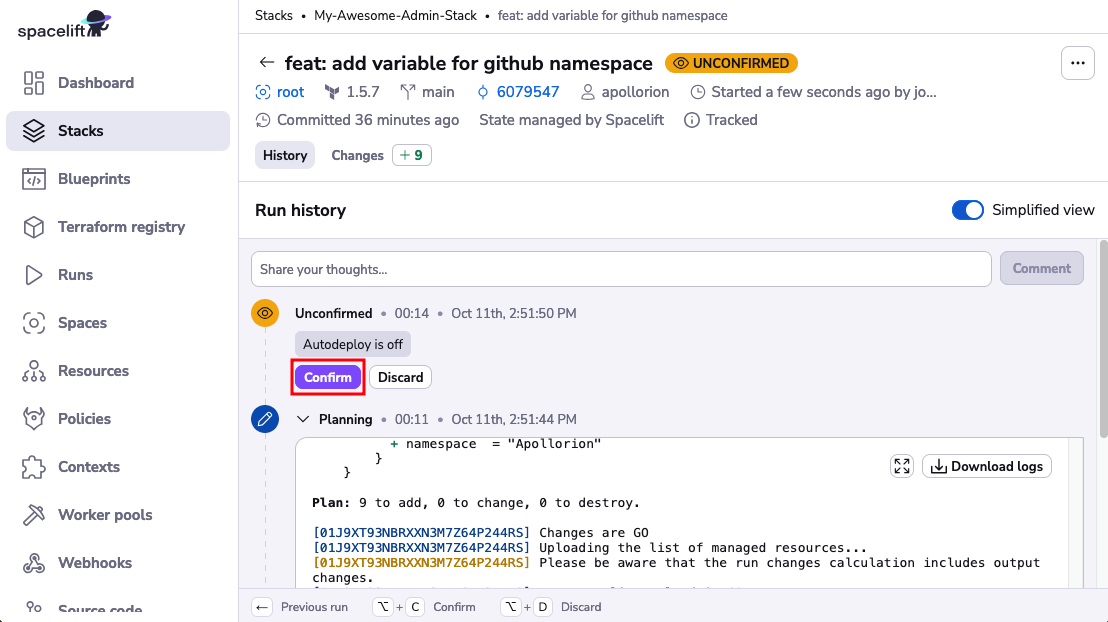
After clicking Trigger, you will be taken directly into the run. Click on Confirm and your changes will be applied. Your output will look different based on your code repository and the resources it creates.
Tip
If you are using the terraform-starter repository, and you did not sign up for your trial account with GitHub, you may need to add the environment variable TF_VAR_github_app_namespace with the value as your organization name or GitHub handle. You can do this under the Environment tab in the stack.
Congratulation! 🚀 You've just created your first Spacelift stack and completed your first deployment!
You should have a new stack in your account called Managed stack that can demonstrate the effectiveness of our plan policies. Play with it and see if you can fix the purposeful plan issue.
Now it is time to add other users to your Spacelift account.
Adding Users»
Now comes the moment when you want to show Spacelift to your colleagues. There are a few different ways to grant users access to your Spacelift account but in the beginning, we are going to add them as single users.
Click on your icon on the bottom left > select Organization settings > click Login policy and click the "Create policy" button in the top-right corner.
Name the policy and click Continue.
Then copy/paste and edit the example below that matches the identity provider you used to sign up for the Spacelift account.
This example uses GitHub usernames to grant access to Spacelift.
1 2 3 4 5 6 7 8 9 | |
Tip
GitHub organization admins are automatically Spacelift admins. There is no need to grant them permissions in the Login policy.
This example uses email addresses to grant access to Spacelift.
1 2 3 4 5 6 7 8 9 10 | |
If you're not using login policy already note that you may need to enable it under your user icon > Organization settings > Management strategy.
Now your colleagues should be able to access your Spacelift account as well!
Note
While the approach above is fine to get started and try Spacelift, granting access to individuals is less safe than granting access to teams and restricting access to account members. In the latter case, when they lose access to your organization, they automatically lose access to Spacelift while when whitelisting individuals and not restricting access to members only, you'll need to remember to explicitly remove them from your Spacelift Login policy, too.
Before you go live in production with Spacelift, we recommend that you switch to using teams in Login policies and consider configuring the Single Sign-On (SSO) integration, if applicable.
Additional Reading»
- Learn how to integrate with AWS as a cloud provider for your infrastructure
- Try creating and attaching policies with stacks for common use cases
- Spacelift workflow with GitHub change requests (PR)
- Setting up Spacelift workers
- Using environment variables and contexts with stacks
- Configuring stack behavior with common settings