Getting Started»
Repository Creation»
Start by creating a new deployment repository and name the file as deployment.yaml with the following code:
1 2 3 4 5 6 7 8 9 10 11 12 13 14 15 16 17 18 19 | |
You can learn more about this example deployment by navigating to the Run a Stateless Application Using a Deployment website from the official Kubernetes documentation.
Looking at the code, you will find that it deploys Nginx with 2 replicas.
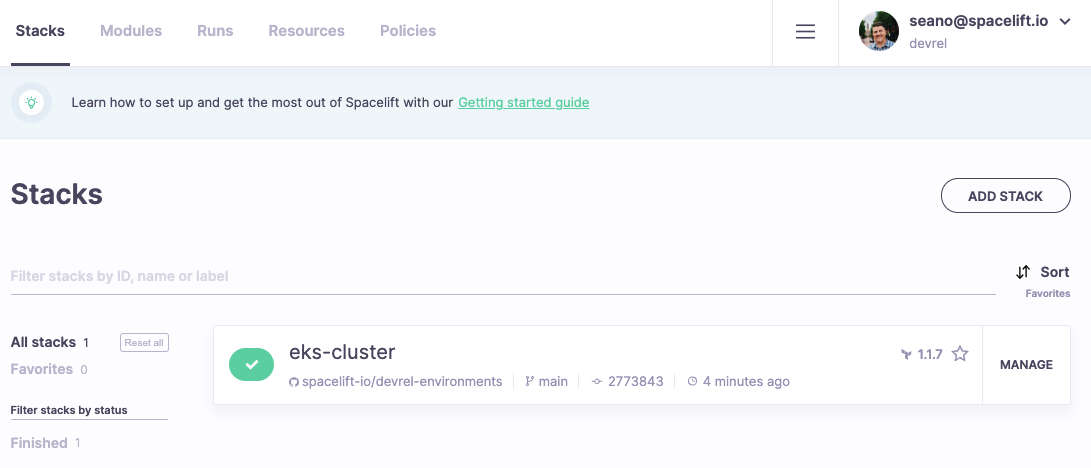
Create a new Stack»
In Spacelift, go ahead and click the Add Stack button to create a Stack in Spacelift.
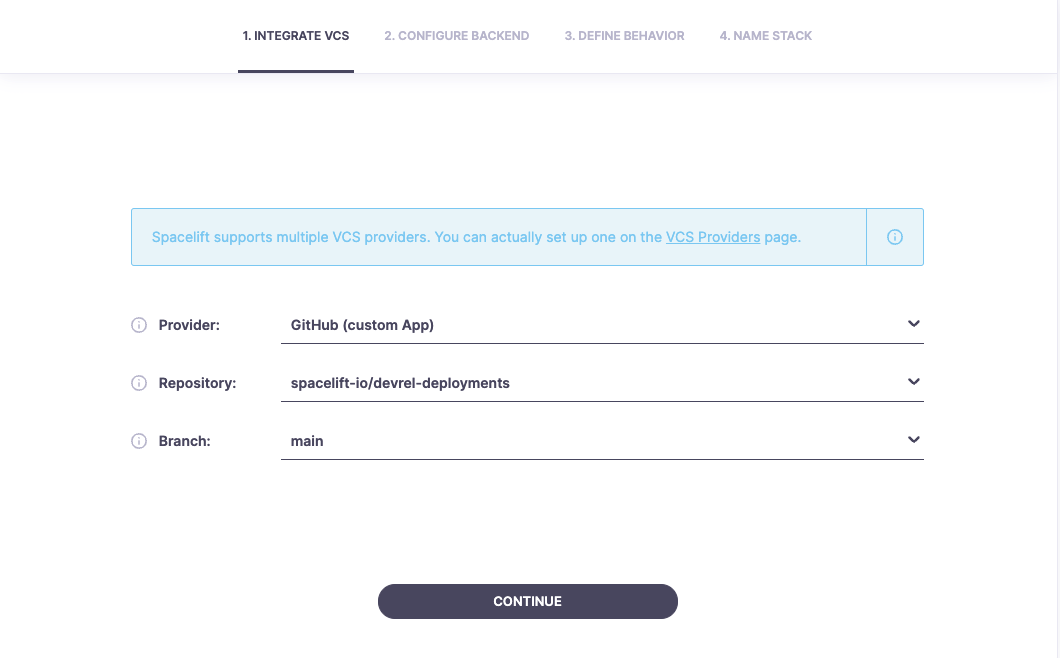
Integrate VCS»
Select the repository you created in the initial step, as seen in the picture.
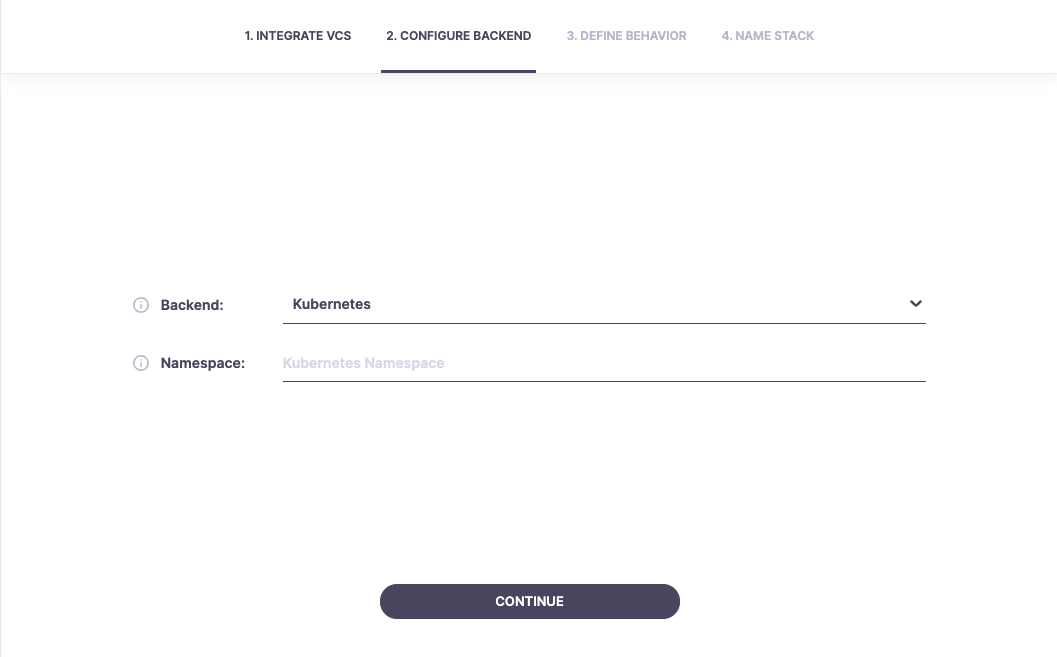
Configure Backend»
Choose Kubernetes from the dropdown list and type out the namespace.
Info
Spacelift does not recommend leaving the Namespace blank due to the elevated level of access privilege required.
Define Behavior»
Select the arrow next to Show Advanced Options to expose the advanced configuration options.
To ensure the success of a Kubernetes deployment, the following options should be reviewed and validated.
- Runner Image: Use a custom one that has
kubectlinstalled. - Customize workflow: During the initialization phase, you must specify the necessary command to ensure kubeconfig is updated and authenticated to the Kubernetes Cluster you will be authenticating against.
Info
Spacelift can authenticate against any Kubernetes cluster, including local or cloud provider managed instances.

In the example above, I am authenticating to an AWS EKS Cluster and used the following command to update the kubeconfig for the necessary cluster.
1 | |
Info
Update the previous variables according to your deployment.
$region-name:AWS region where your Kubernetes cluster resides$cluster-name:Name of your Kubernetes clusters
The above allows the worker to authenticate to the proper cluster before running the specified Kubernetes deployment in the repository that we created earlier.
Warning
Authentication with a Cloud Provider is required.
After you Name the Stack, follow the Cloud Integrations section to ensure Spacelift can authenticate to your Kubernetes Cluster.
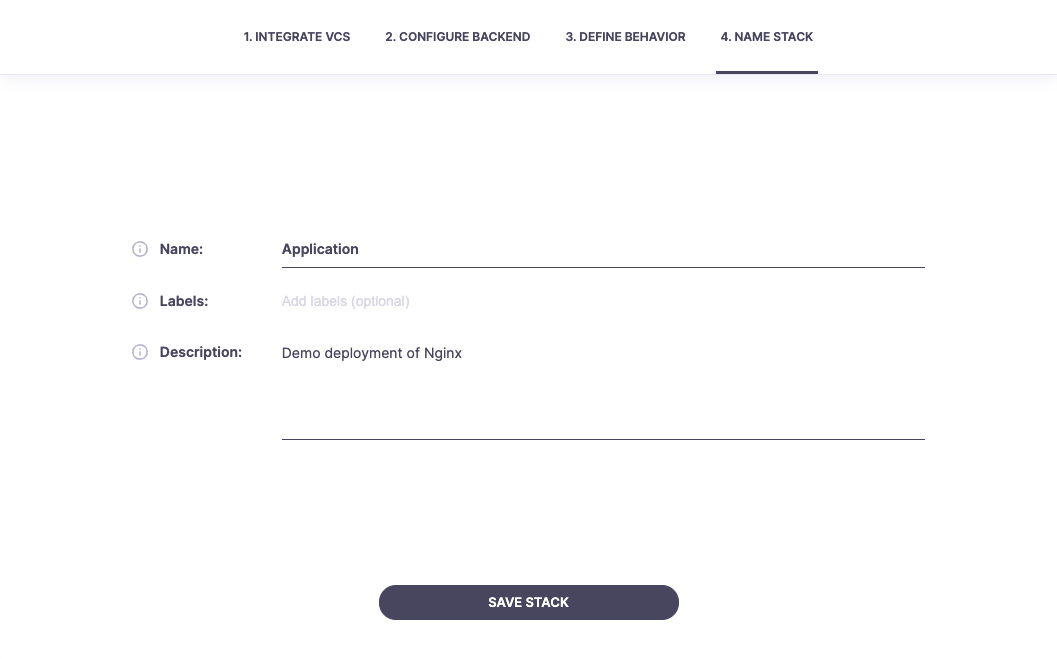
Name the Stack»
Provide the name of your Stack. Labels and Description are not required but recommended.
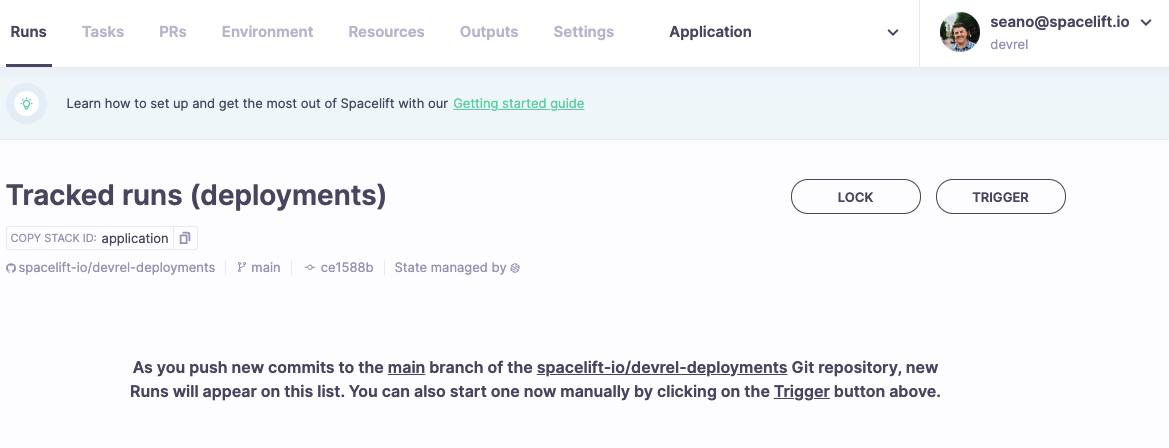
Saving the Stack will redirect you to its Tracked Runs (Deployment) page.
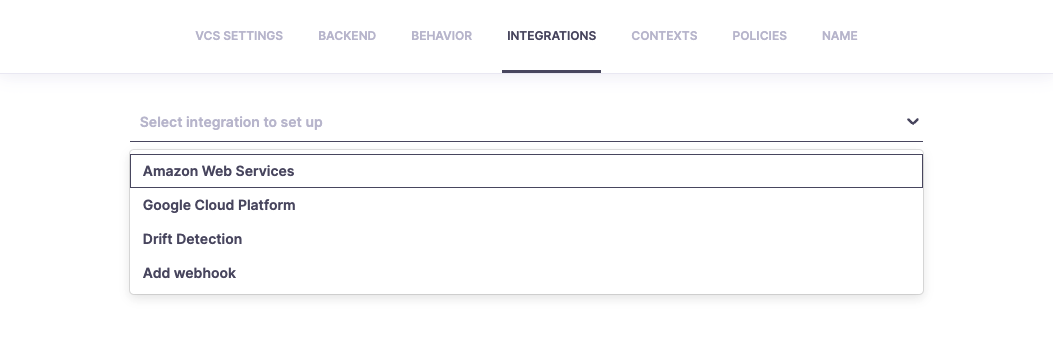
Configure Integrations»
To authenticate against a Kubernetes cluster provided by Cloud Provider managed service, Spacelift requires integration with the associated Cloud Provider.
Navigate to the Settings, Integrations page and select the dropdown arrow to access the following selection screen:
Warning
Necessary permissions to the Kubernetes Cluster are required.
The following links will help you set up the necessary integration with your Cloud Provider of choice.
Once you have configured the necessary integration, navigate the Stack landing page and Trigger a Run.
Trigger a Run»
To Trigger a Run, select Trigger on the right side of the Stacks view.
Spacelift Label
To help identify resources deployed to your Kubernetes cluster, Spacelift will add the following label to all resources: spacelift-stack=<stack-slug>
Triggered Run Status»
Please review the documentation for a detailed view of each Run Phase and Status associated with Kubernetes.
Unconfirmed»
After you manually trigger the Run in the Stack view, Spacelift will deploy a runner image, initialize the Cloud Provider, Authenticate with the Kubernetes Cluster and run the Deployment specified in the repository.
After a successful planning phase, you can check the log to see the planned changes.

Planning Phase
Spacelift utilizes the dry run functionality of kubectl apply to compare your code to the current state of the cluster and output the list of changes to be made.
A slightly different dry run mode depending on the scenario:
--dry-run=server: Utilized when resources are available--dry-run=client: Utilized when no resources are available
To confirm the Triggered run, click the CONFIRM button.
Finished Deployment»
The following screen highlights the Finished Run and output from a successful deployment to your Kubernetes cluster.

Applying
The default timeout is set to 10 minutes (10m). If a Kubernetes Deployment is expected to take longer, you can customize that using the KUBECTL_ROLLOUT_TIMEOUT environment variable.
Review the documentation to find out more about Spacelift environment variables..
Default Removal of Deployments»
Info
By default if a YAML file is removed from your repository, the resources with an attached spacelift-stack=<stack-slug> label will be removed from the Kubernetes cluster.
The --prune flag will be utilized. But you need to be aware that you need at least one YAML file to exist otherwise the run will fail.