Azure AD OIDC Setup Guide»
If you'd like to set up the ability to sign in to your Spacelift account using an OIDC integration with Azure AD, you've come to the right place. This example will walk you through the steps to get this setup, and you'll have Single Sign-On running in no time!
Warning
Before setting up SSO, it's recommended to create backup credentials for your Spacelift account for use in case of SSO misconfiguration, or for other break-glass procedures. You can find more about this in the Backup Credentials section.
Pre-requisites»
- Spacelift account, with access to admin permissions
- Azure account, with an existing Azure Active Directory
- You'll need permissions to create an App Registration within your Azure AD
Info
Please note you'll need to be an admin on the Spacelift account to access the account settings to configure Single Sign-On.
Configure Account Settings»
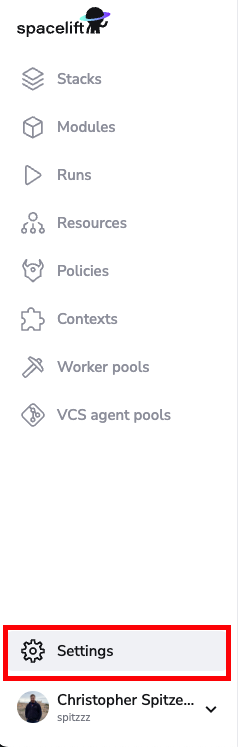
You'll need to visit the Spacelift account settings page to set up this integration, from the navigation side bar menu, select "Settings."
Setup OIDC»
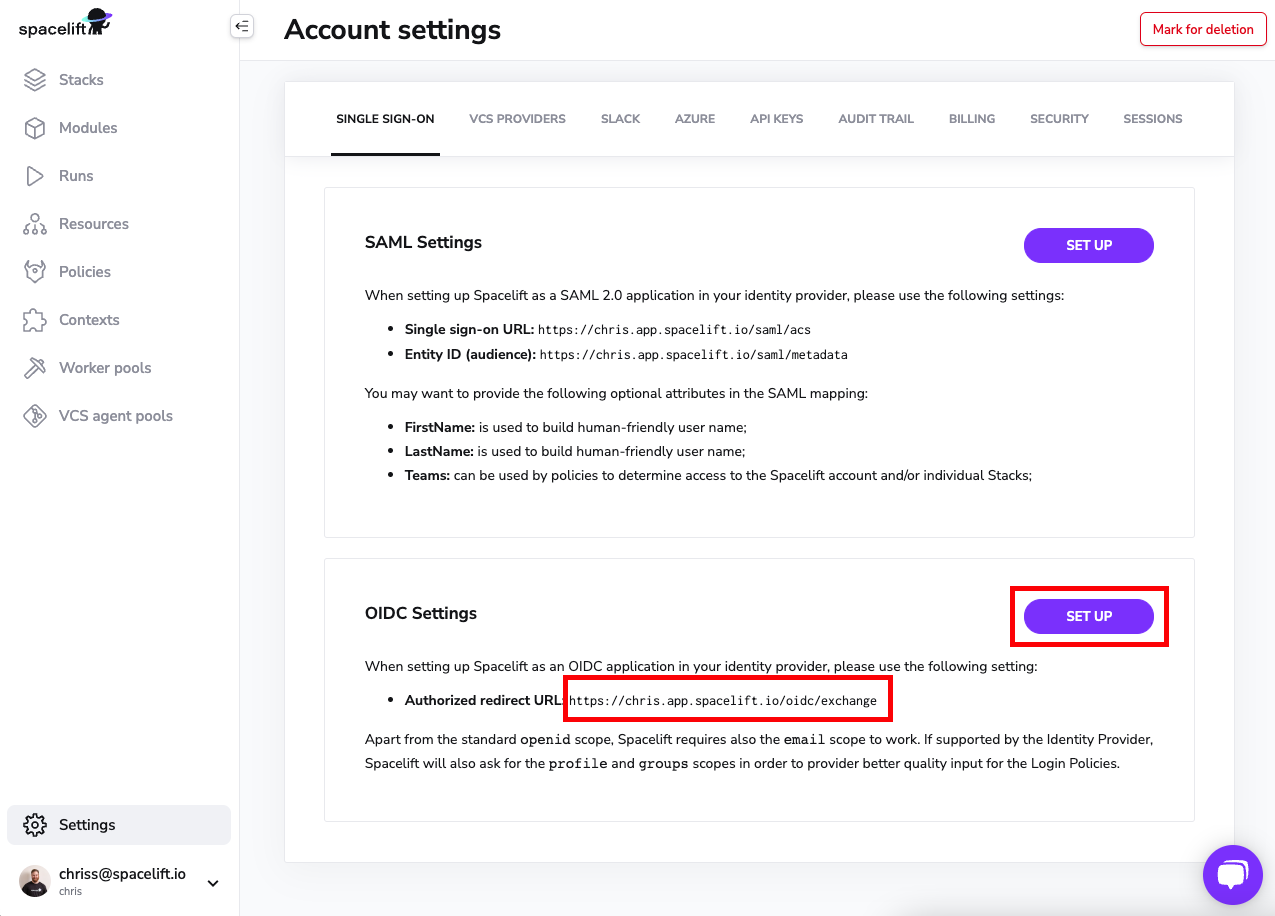
Next, you'll want to click the Set Up box underneath the "OIDC Settings" section. This will expand some configuration we will need to fill out in a few minutes, which we will be obtaining from Azure. For now, copy the authorized redirect URL as we will need to provide Azure this URL when configuring our Azure App Registration within your Azure AD.
Azure Portal: Navigate to Azure Active Directory»
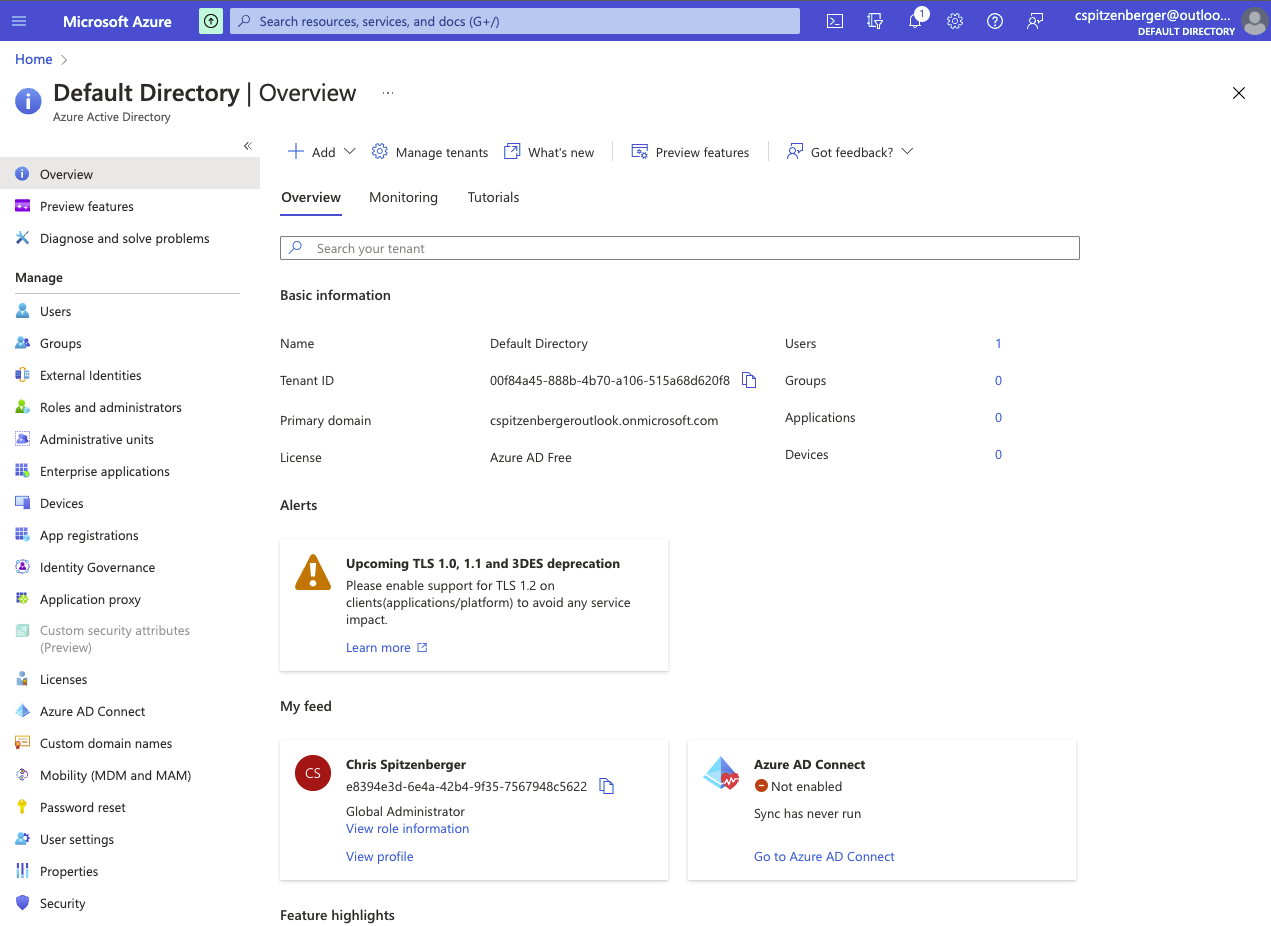
Within your Azure Account, navigate to your Azure Active Directory where you'd like to setup the OIDC integration for. In this guide, we are using a Default Directory for example purposes.
Azure AD: Create an App Registration»
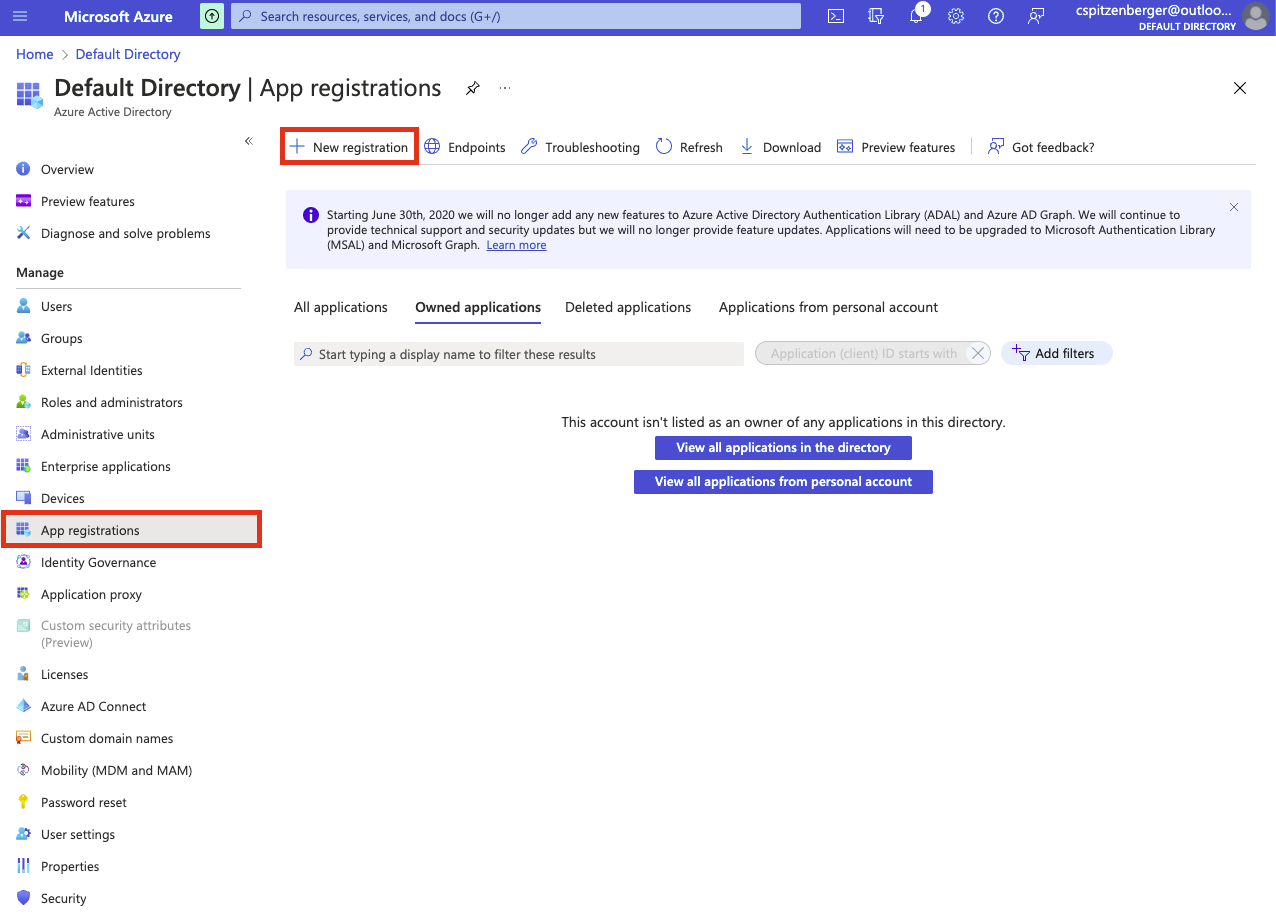
While you are within your Active Directory's settings, click on App registrations from the navigation, and then select New registration.
Azure AD: App Registration Configuration»
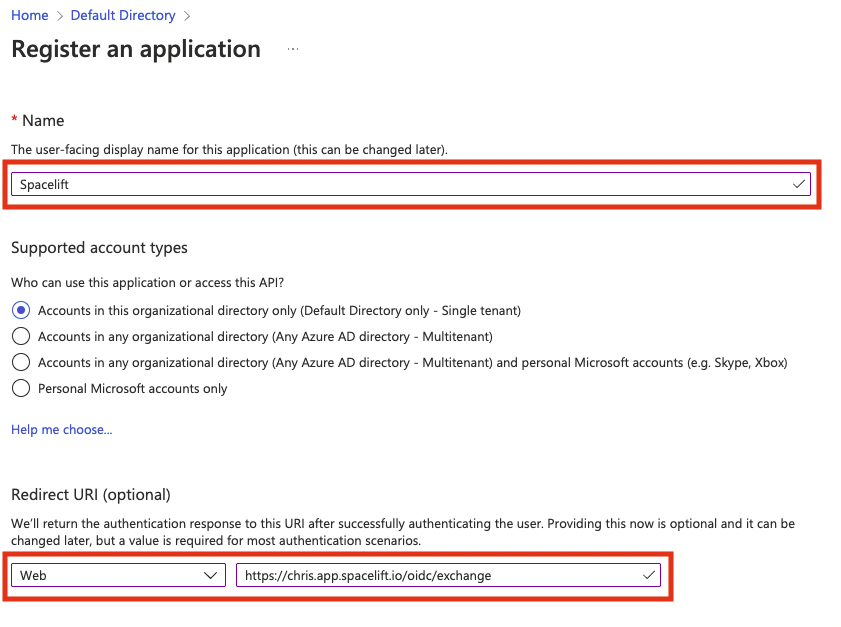
Give your application a name - Spacelift sounds like a good one.
Configure your supported account types as per your login requirements. In this example, we are allowing Accounts in this organizational directory access to Spacelift.
Remember the authorized redirect URL we copied earlier from Spacelift? We'll need that in this step. You'll want to paste that URL into the Redirect URI input as shown. Make sure you select Web for the type.
Click Register.
Azure AD: Add UPN Claim»
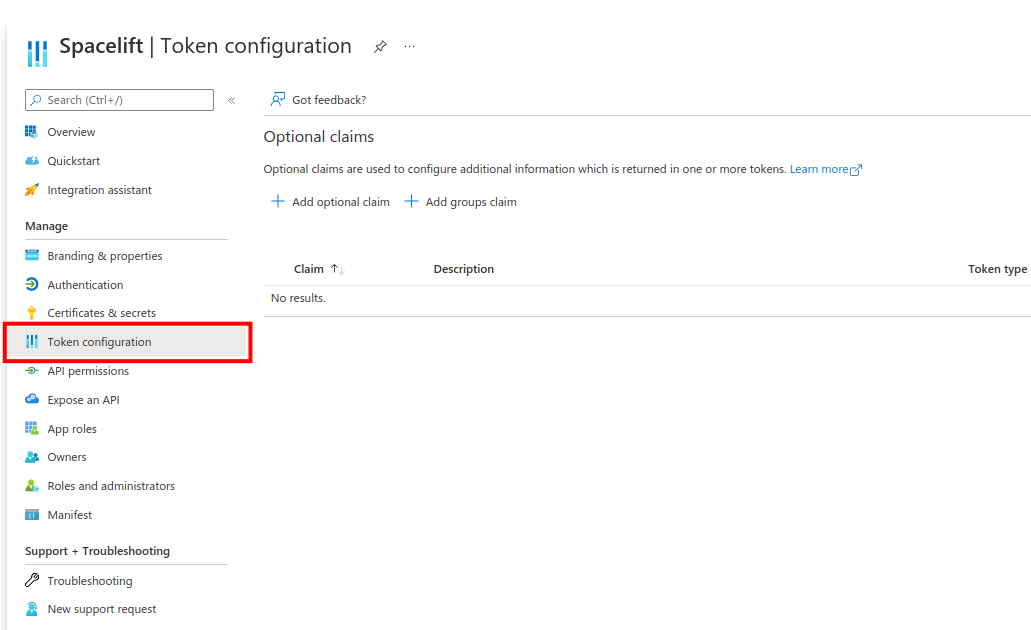
Start by navigating to the Token configuration section of your application.
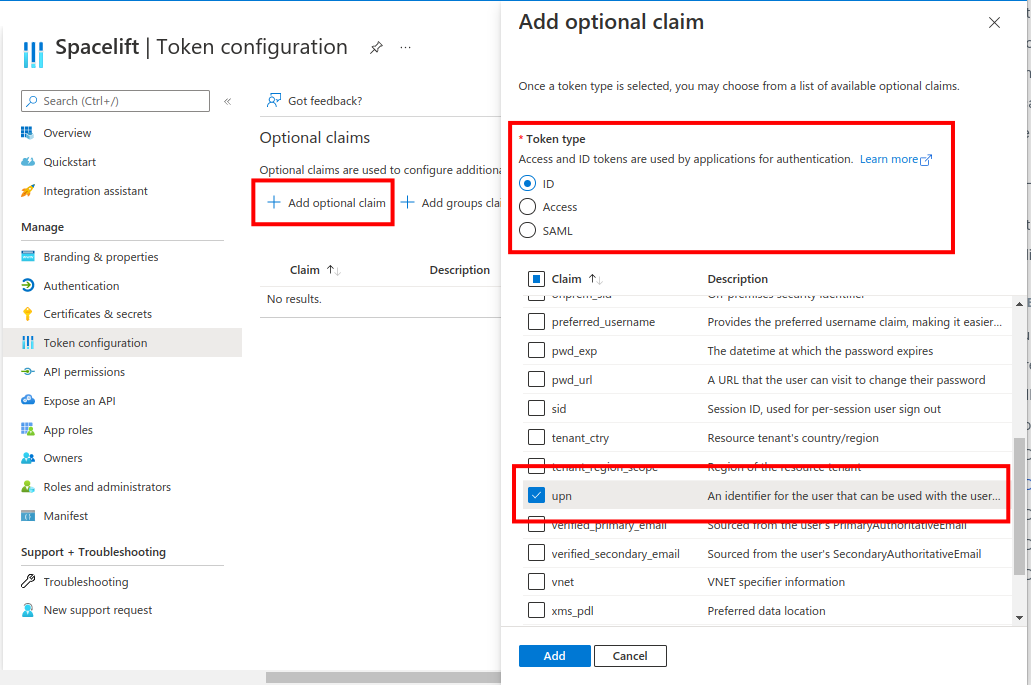
Click the Add optional claim button, choose the ID token type, and select the upn claim:
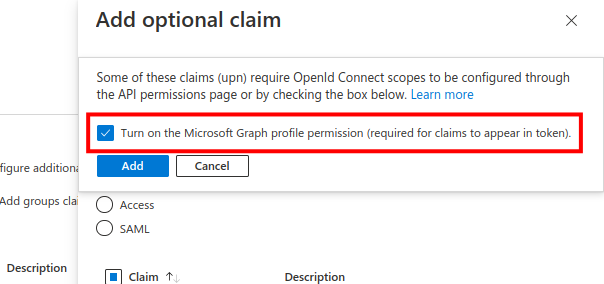
Click the Add button, making sure to enable the Turn on the Microsoft Graph profile permission checkbox on the popup that appears:
Azure AD: Configure App Credentials»
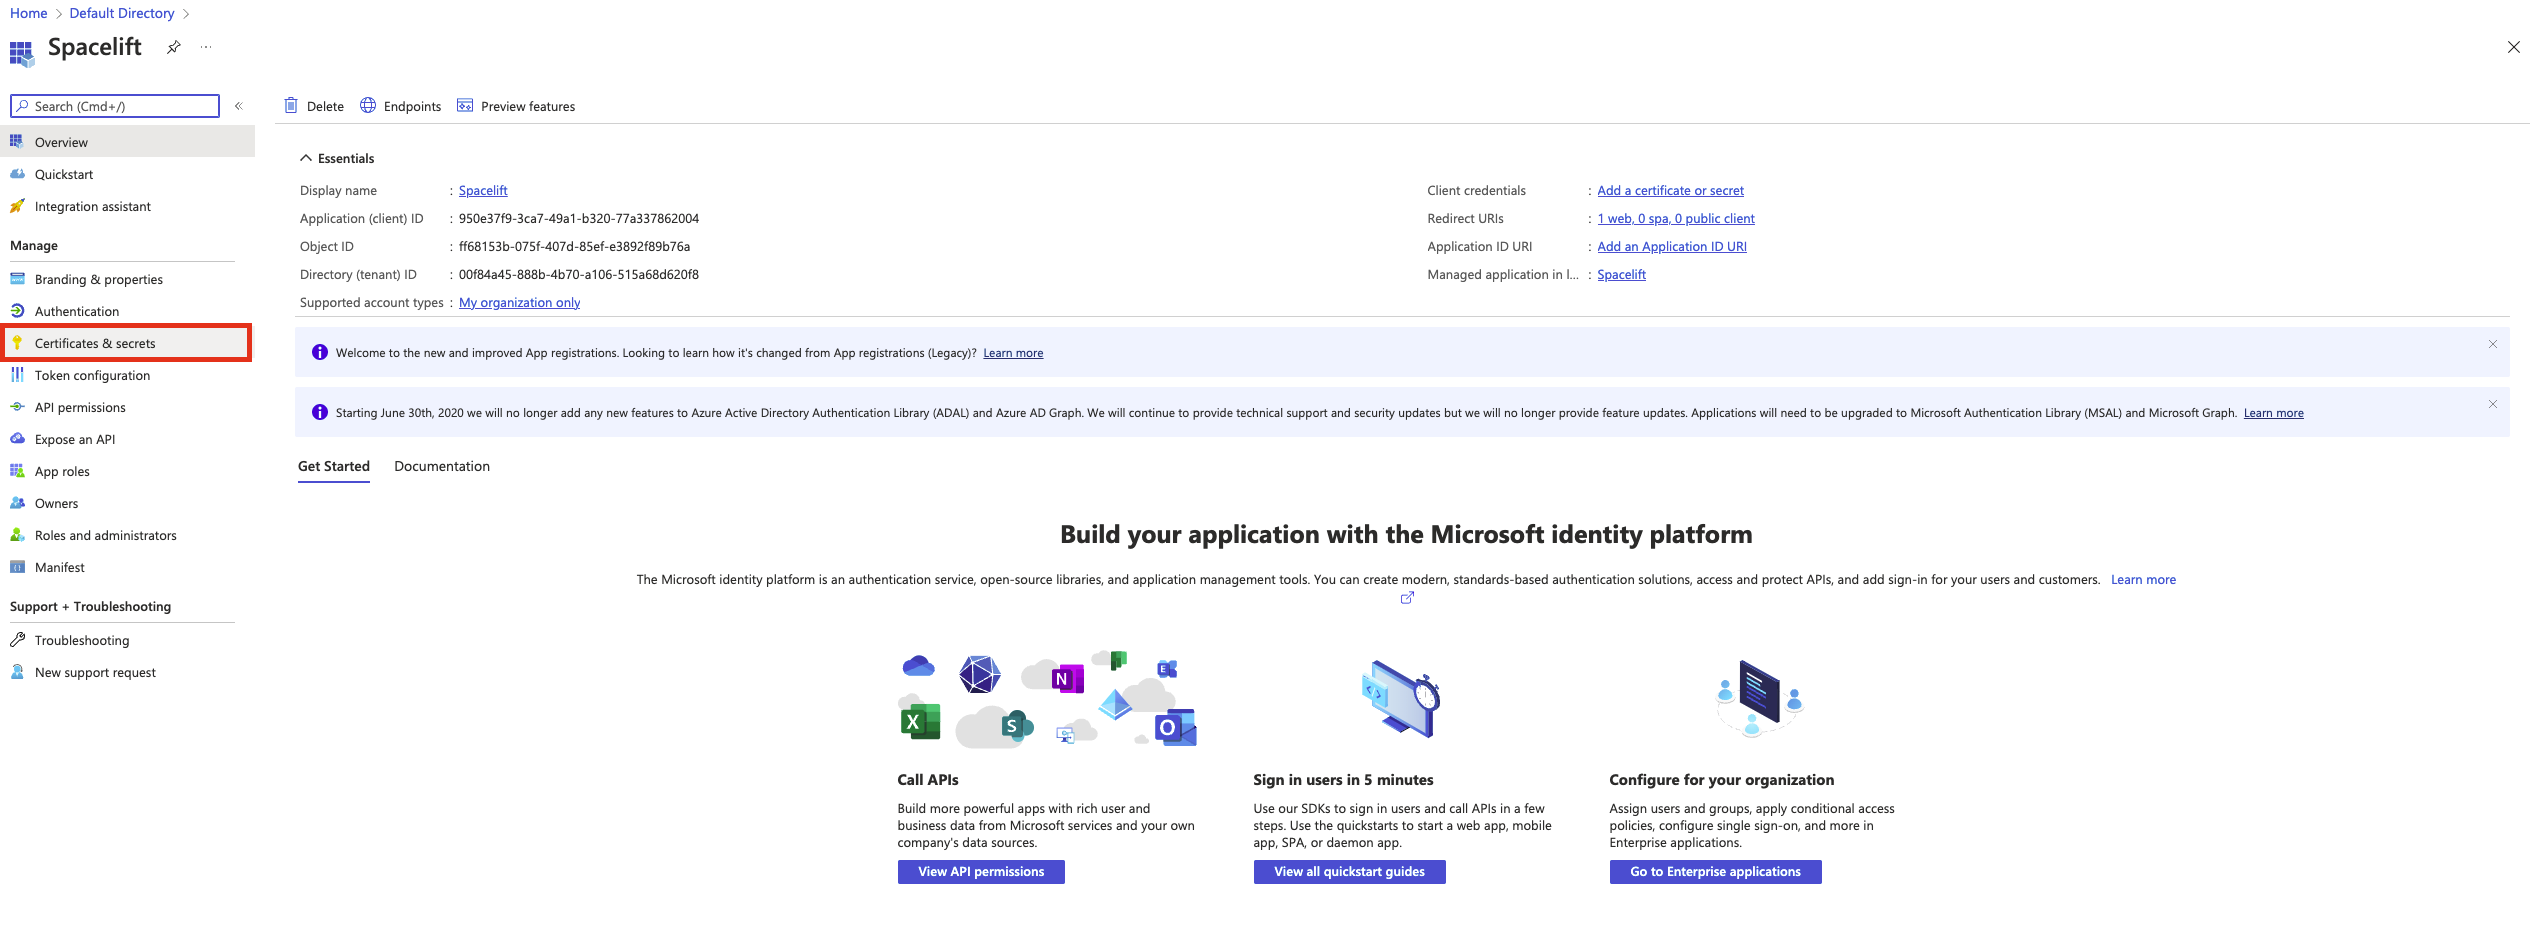
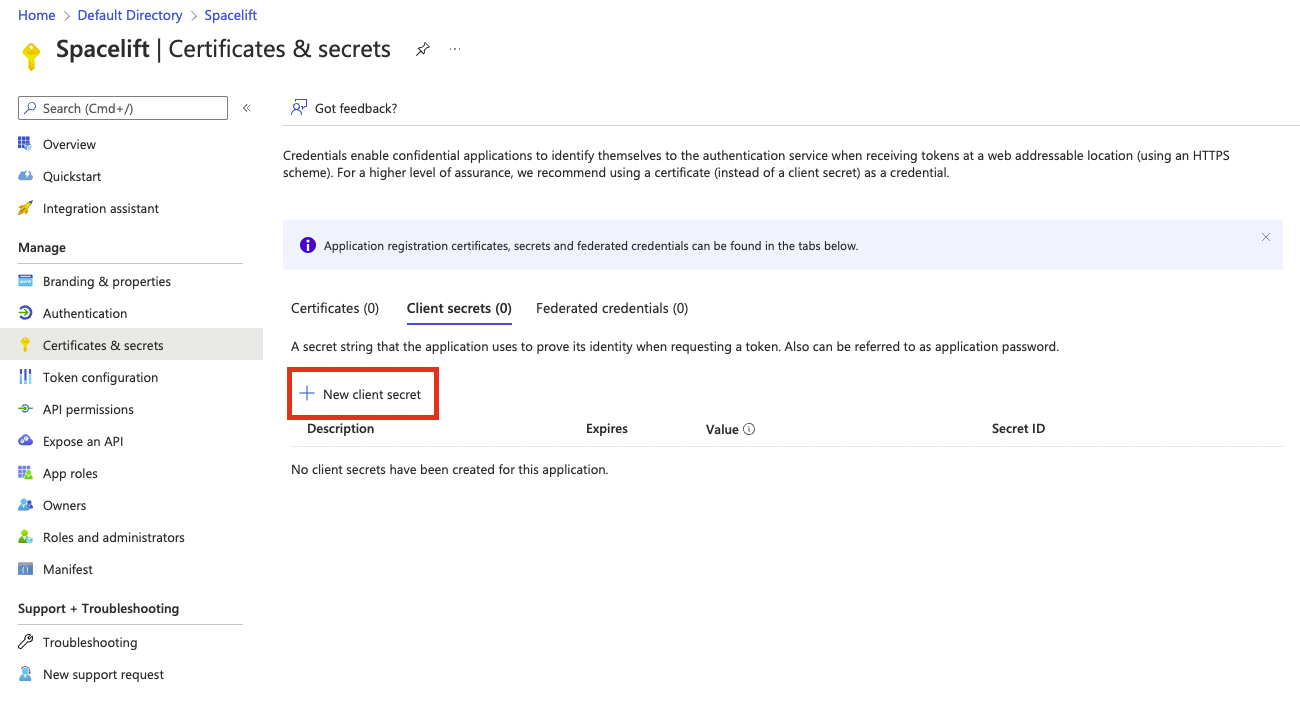
Navigate to the Certificates & secrets section of your application.
Click the New client secret button.
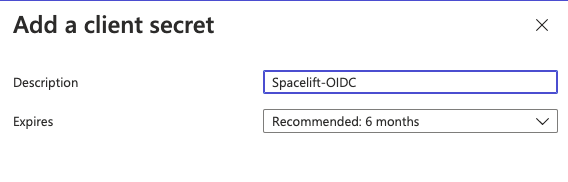
Give your secret a Description.
Define an Expires duration.
Info
In this example, we are using 6 months for Expires. This means you will need to generate a new client secret in 6 months for your OIDC integration.
Click Add.
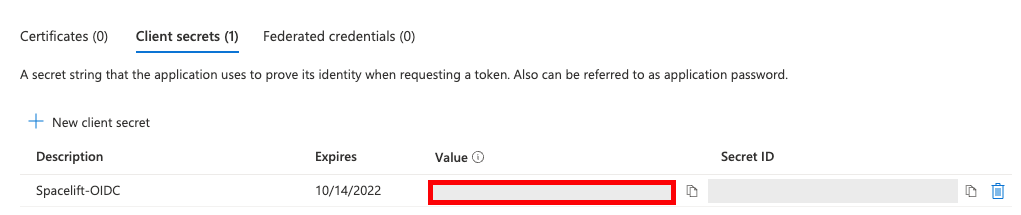
Now that we have the Client secret setup for our application, we'll need to take the Value and copy this into our Spacelift OIDC settings within the Secret input. Value within Azure AD = Spacelift's Secret input.
Info
Don't click Save in Spacelift just yet, we still need to get the Client ID and Provider URL for your application.
The best way we've found to obtain the Client ID and Provider URL is to perform the following steps:
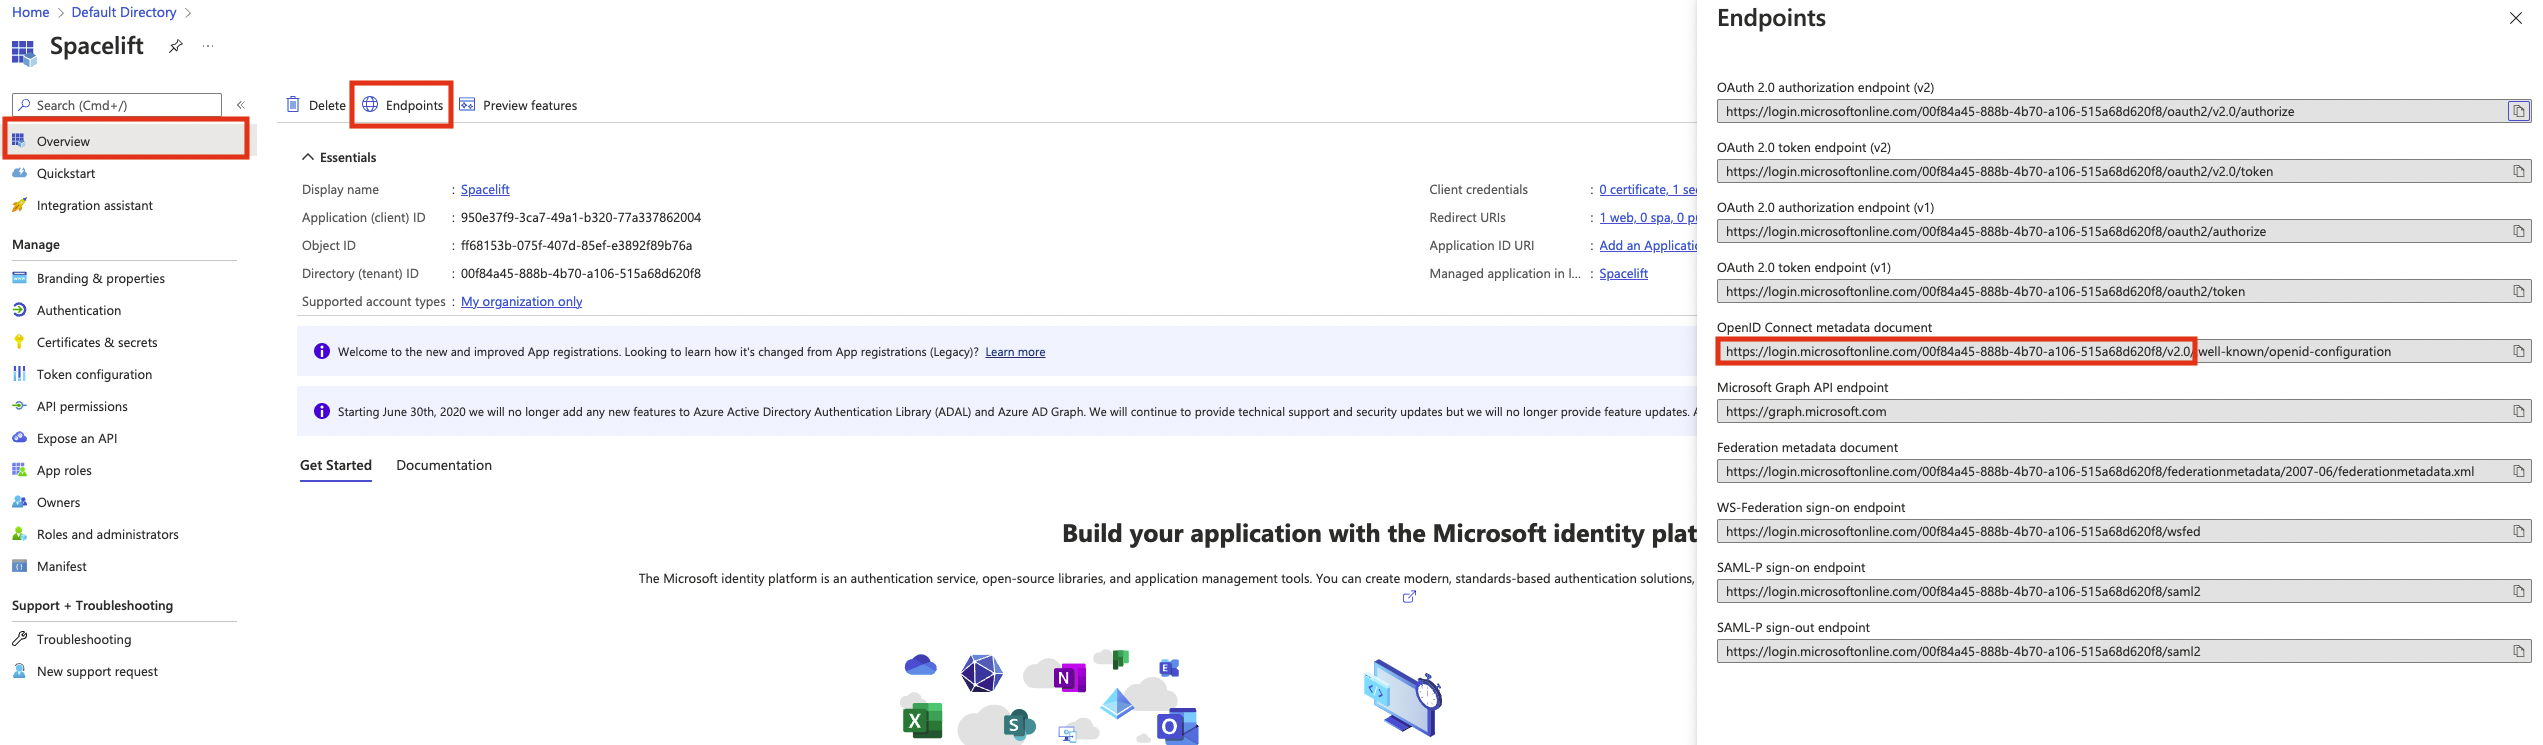
Click on Overview within your Azure App.
On this page Application (client) ID. Copy this value to Spacelift as the Client ID
Next, Click Endpoints which should expand a page with the endpoints for your App.
Copy the portion of the OpenID Connect metadata document URL that is highlighted as shown in the screenshot, and paste the value into Spacelift as the Provider URL.
In summary, here are the values that should be copied over to Spacelift:
- Application (client) ID within Azure AD => Client ID on Spacelift
- Secret Value you generated => Secret input on Spacelift
- OpenID Connect metadata document URL => Provider URL on Spacelift
Click Save.
Azure AD OIDC Setup Completed»
That's it! Your OIDC integration with Azure AD should now be configured (as per this example). Feel free to make any changes to your liking within your Azure AD App Registration configuration for the app that you just created.