Bitbucket Datacenter/Server»
Spacelift supports using an on-premises Bitbucket installation as the source of code for your stacks and modules.
Setting up the integration»
Creating the integration»
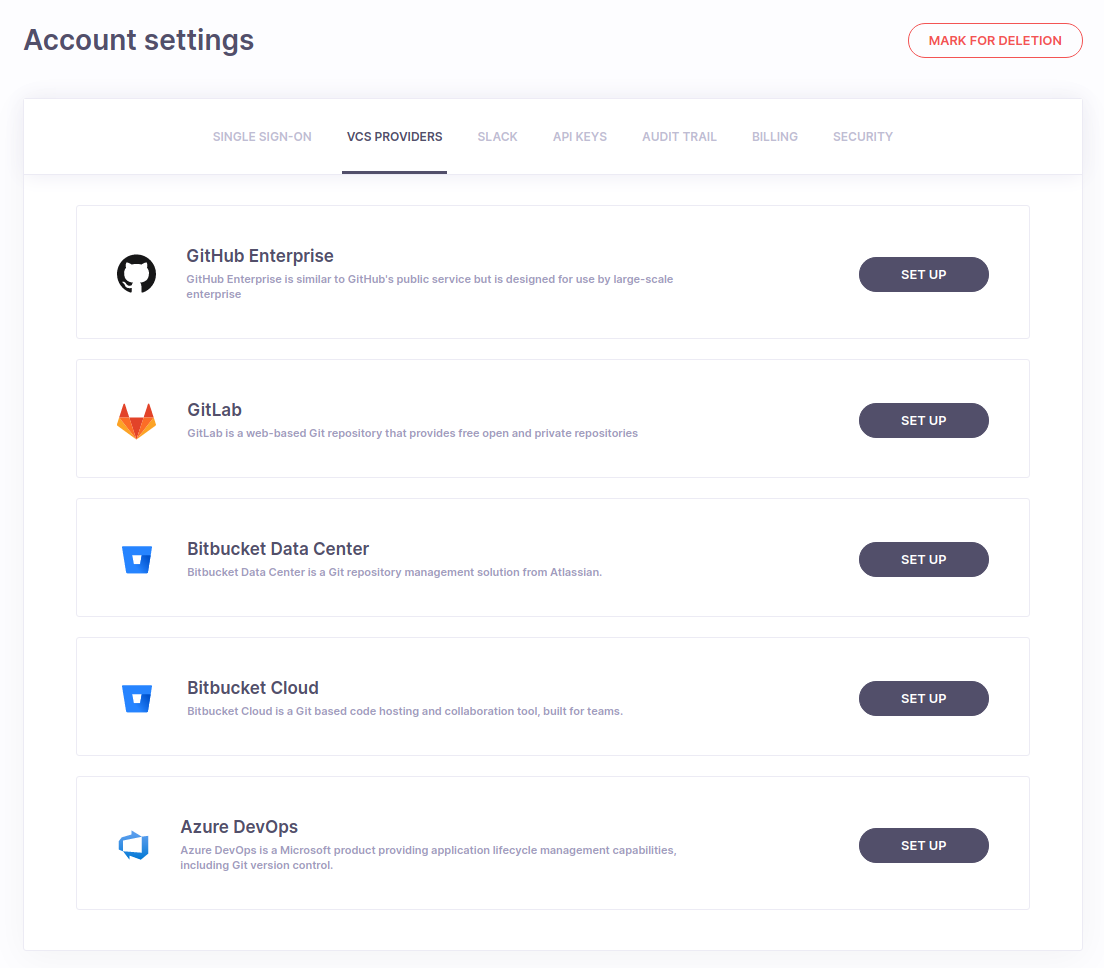
In order to set up the integration from the Spacelift side, please navigate to the VCS Providers section of the admin Settings page and click the Set up button next to the Bitbucket Data Center integration:
This should open a form like this one:
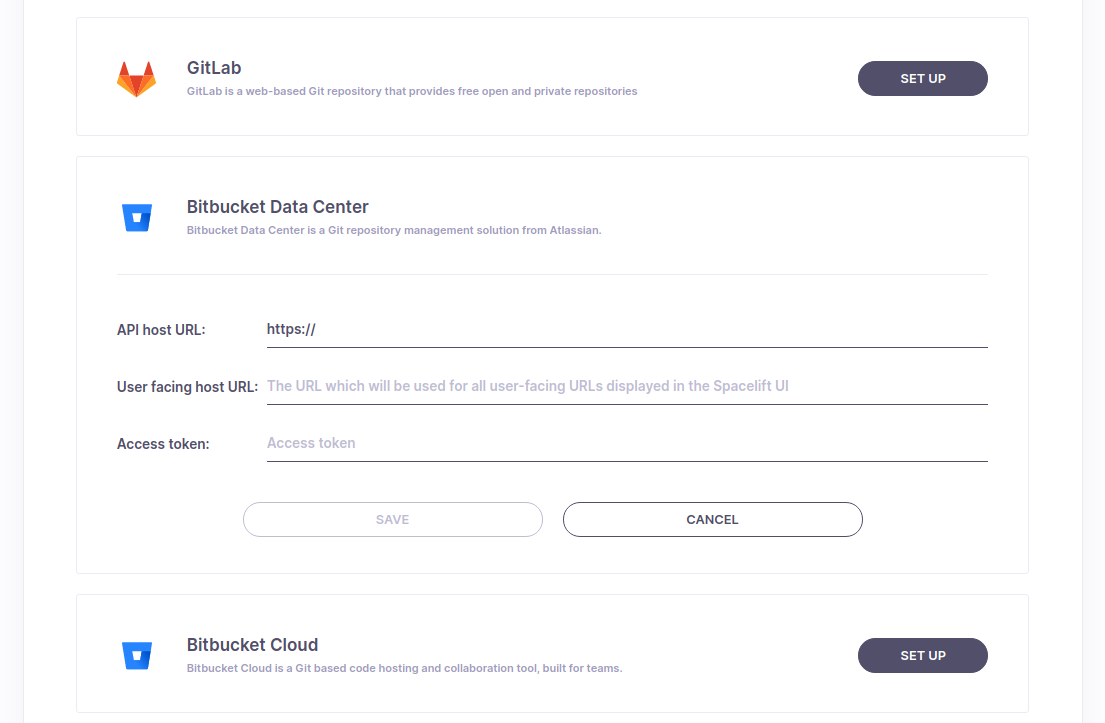
Now you'll have to fill in the API host URL, which is the URL on which Spacelift will access the Bitbucket server.
The user facing host URL is the address on which users of your Bitbucket instance access it. This could be an internal address inside of your company network, but could also be a public address if your Bitbucket instance is publicly available.
Creating an access token»
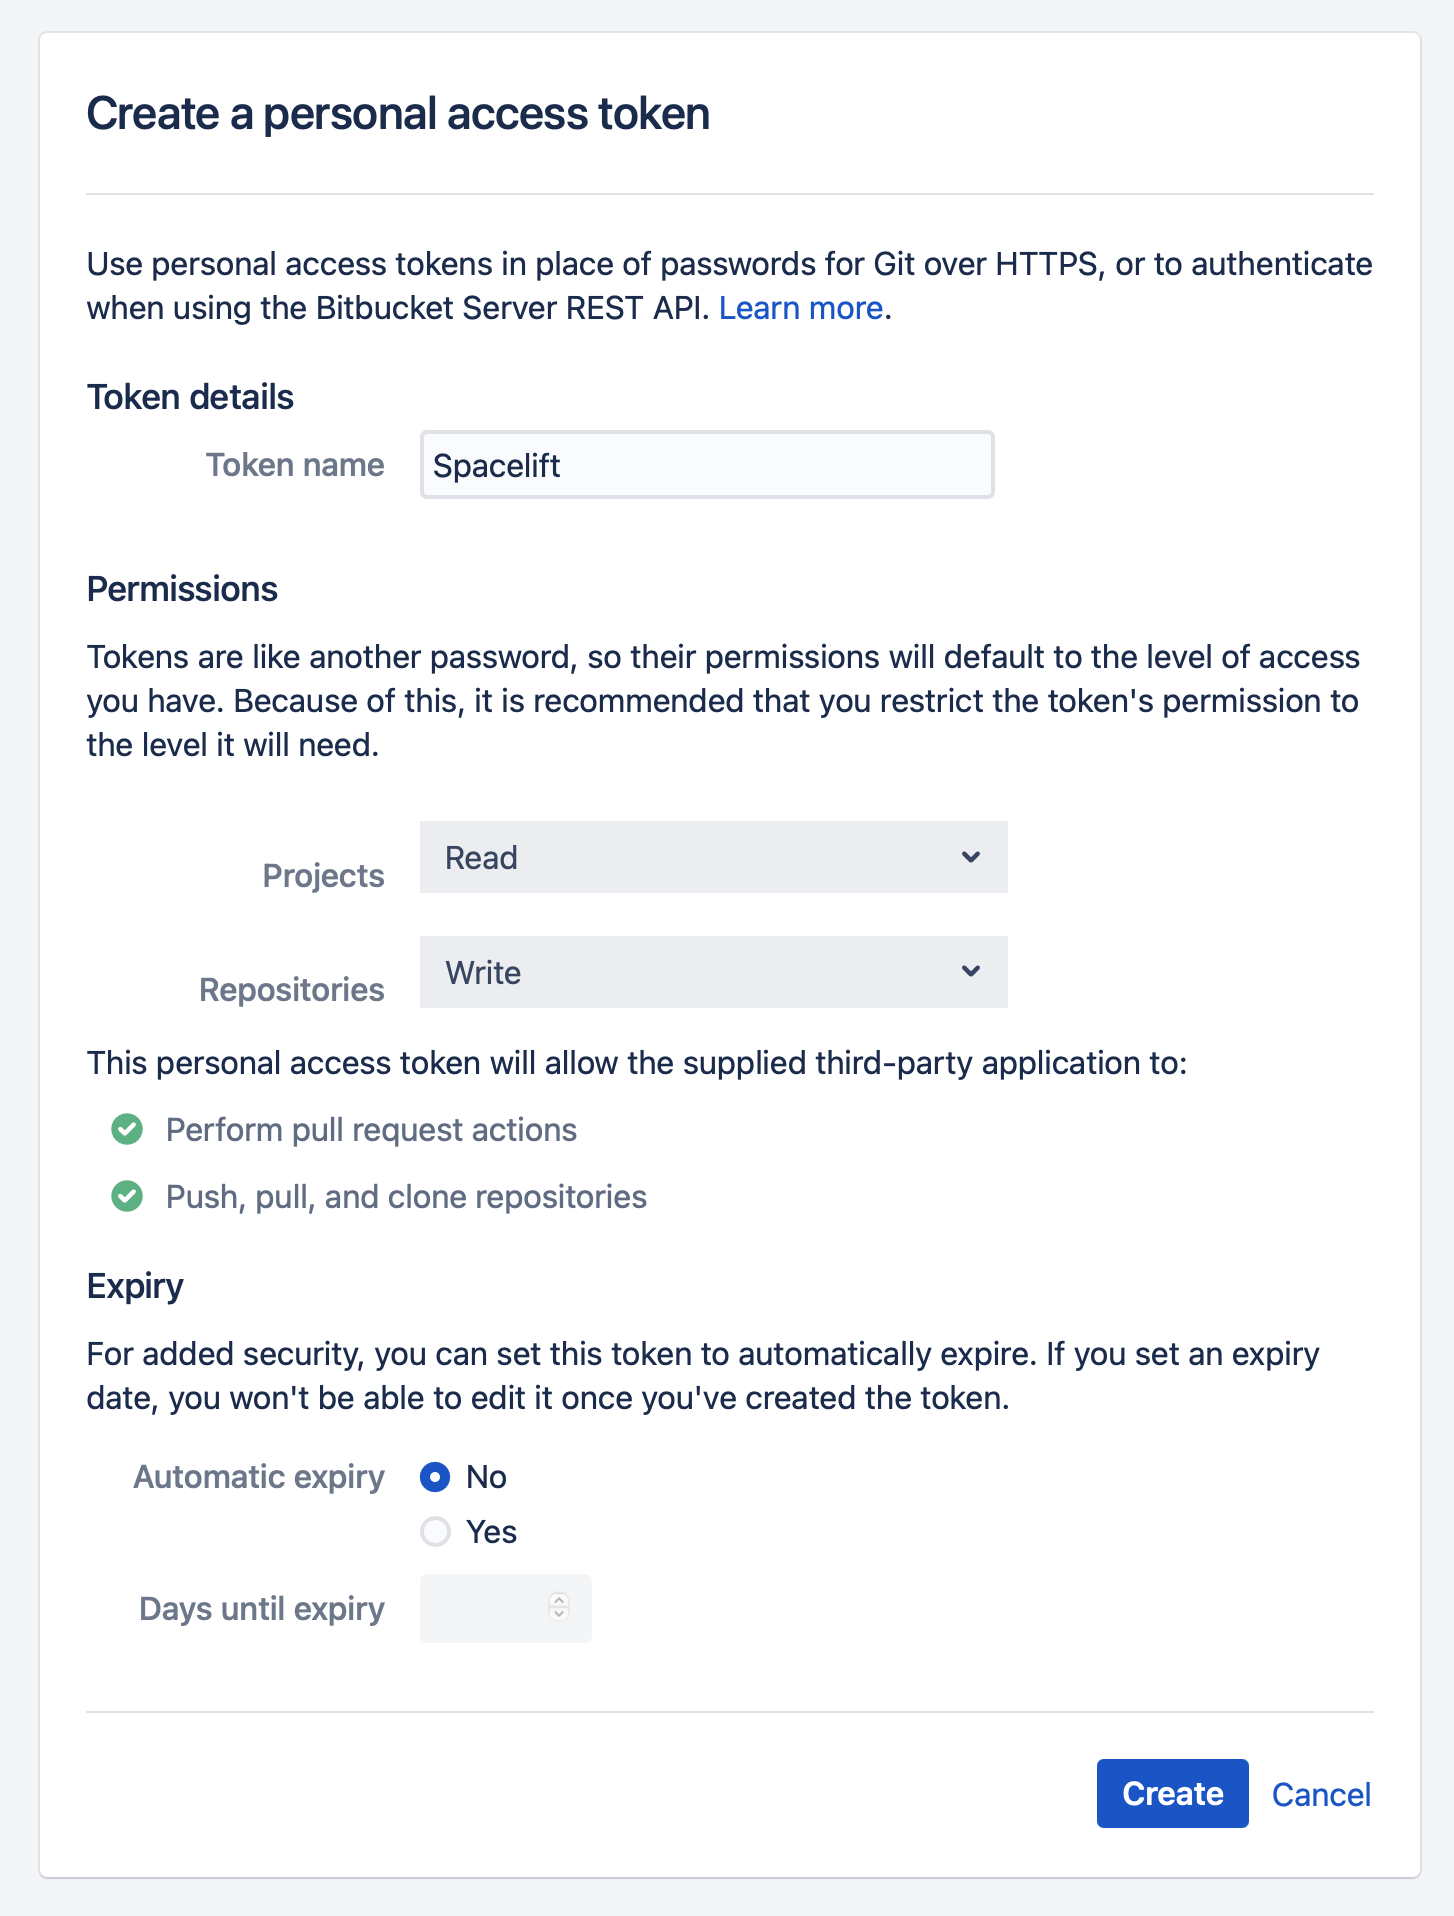
In order to use the integration, you need a user account for Spacelift to use, and you need to generate an access token for that account. The user account requires the following access:
- Read access to any projects Spacelift needs to be able to access.
- Write access to the repositories within those projects that Spacelift should have access to.
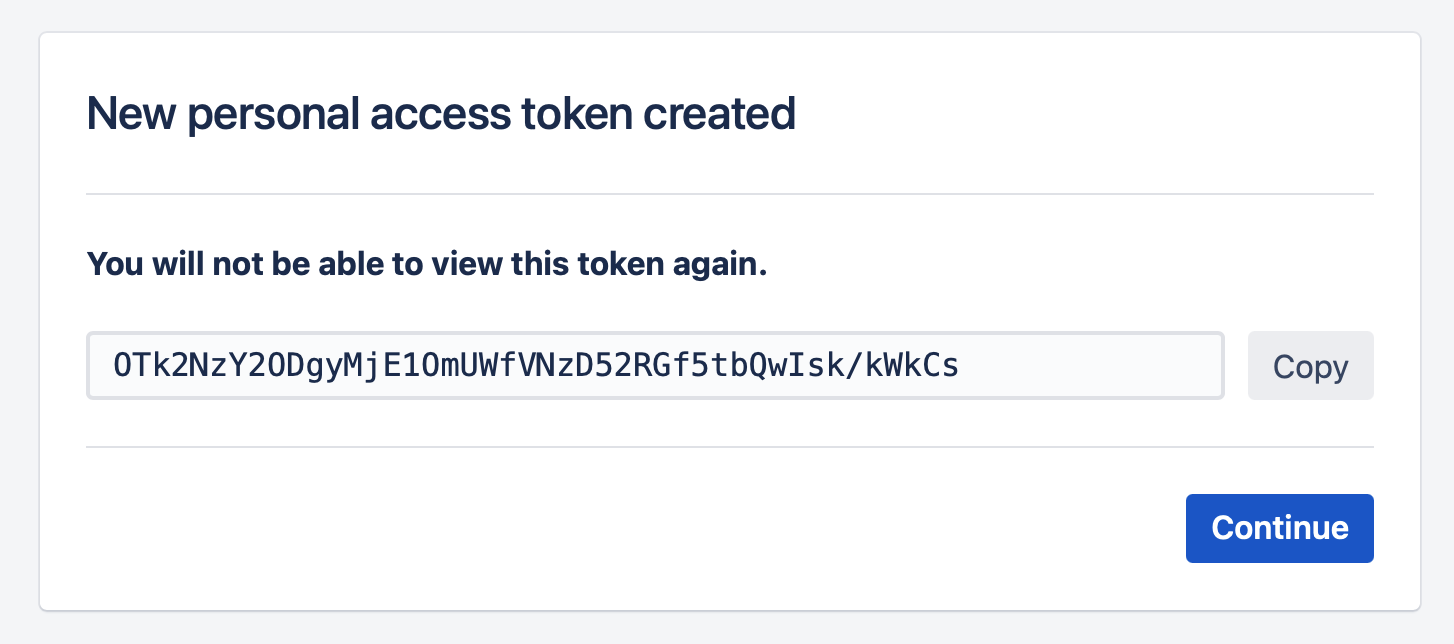
Once you have a user account created, login as that user and go to Manage account -> Personal access tokens -> create. There, you will need to give your new access token a name and give it write access to repositories:
This will give you an access token which you can put into the Access token field in the integration configuration.
Saving the integration»
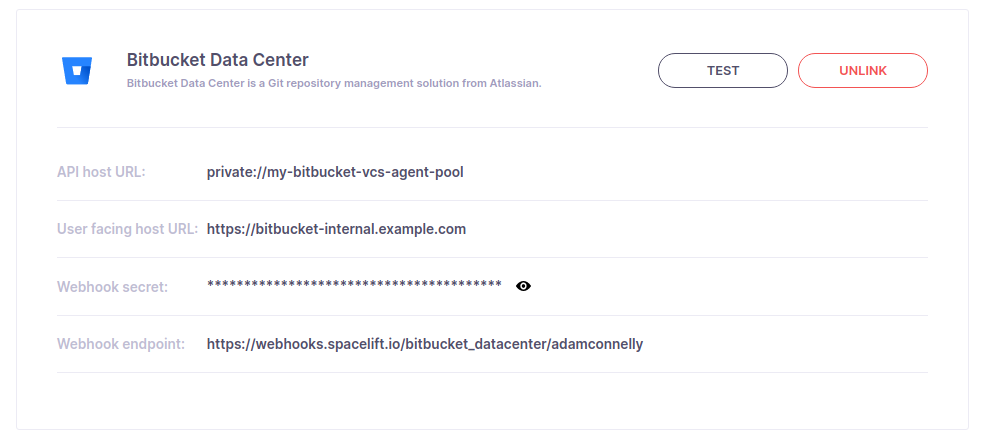
Once you have your access token, enter it into Spacelift. At this point all the fields should be filled out:

You can now save the integration.
Configuring webhooks»
Once you have saved your integration, you'll receive your webhook secret and endpoint:
For each repository you want to use with Spacelift, you need to go into its Repository settings -> Webhooks -> Create webhook, and configure the webhooks accordingly, by activating the following events:
- Repository > Push
- Pull Request > Opened
- Pull Request > Source branch updated
- Pull Request > Modified
- Pull Request > Approved
- Pull Request > Unapproved
- Pull Request > Merged
- Pull Request > Comment added
It should look something like this:

Warning
Don't forget to enter a secret when configuring your webhook. Bitbucket will allow you to create your webhook with no secret specified, but any webhook requests to Spacelift will fail without one configured.
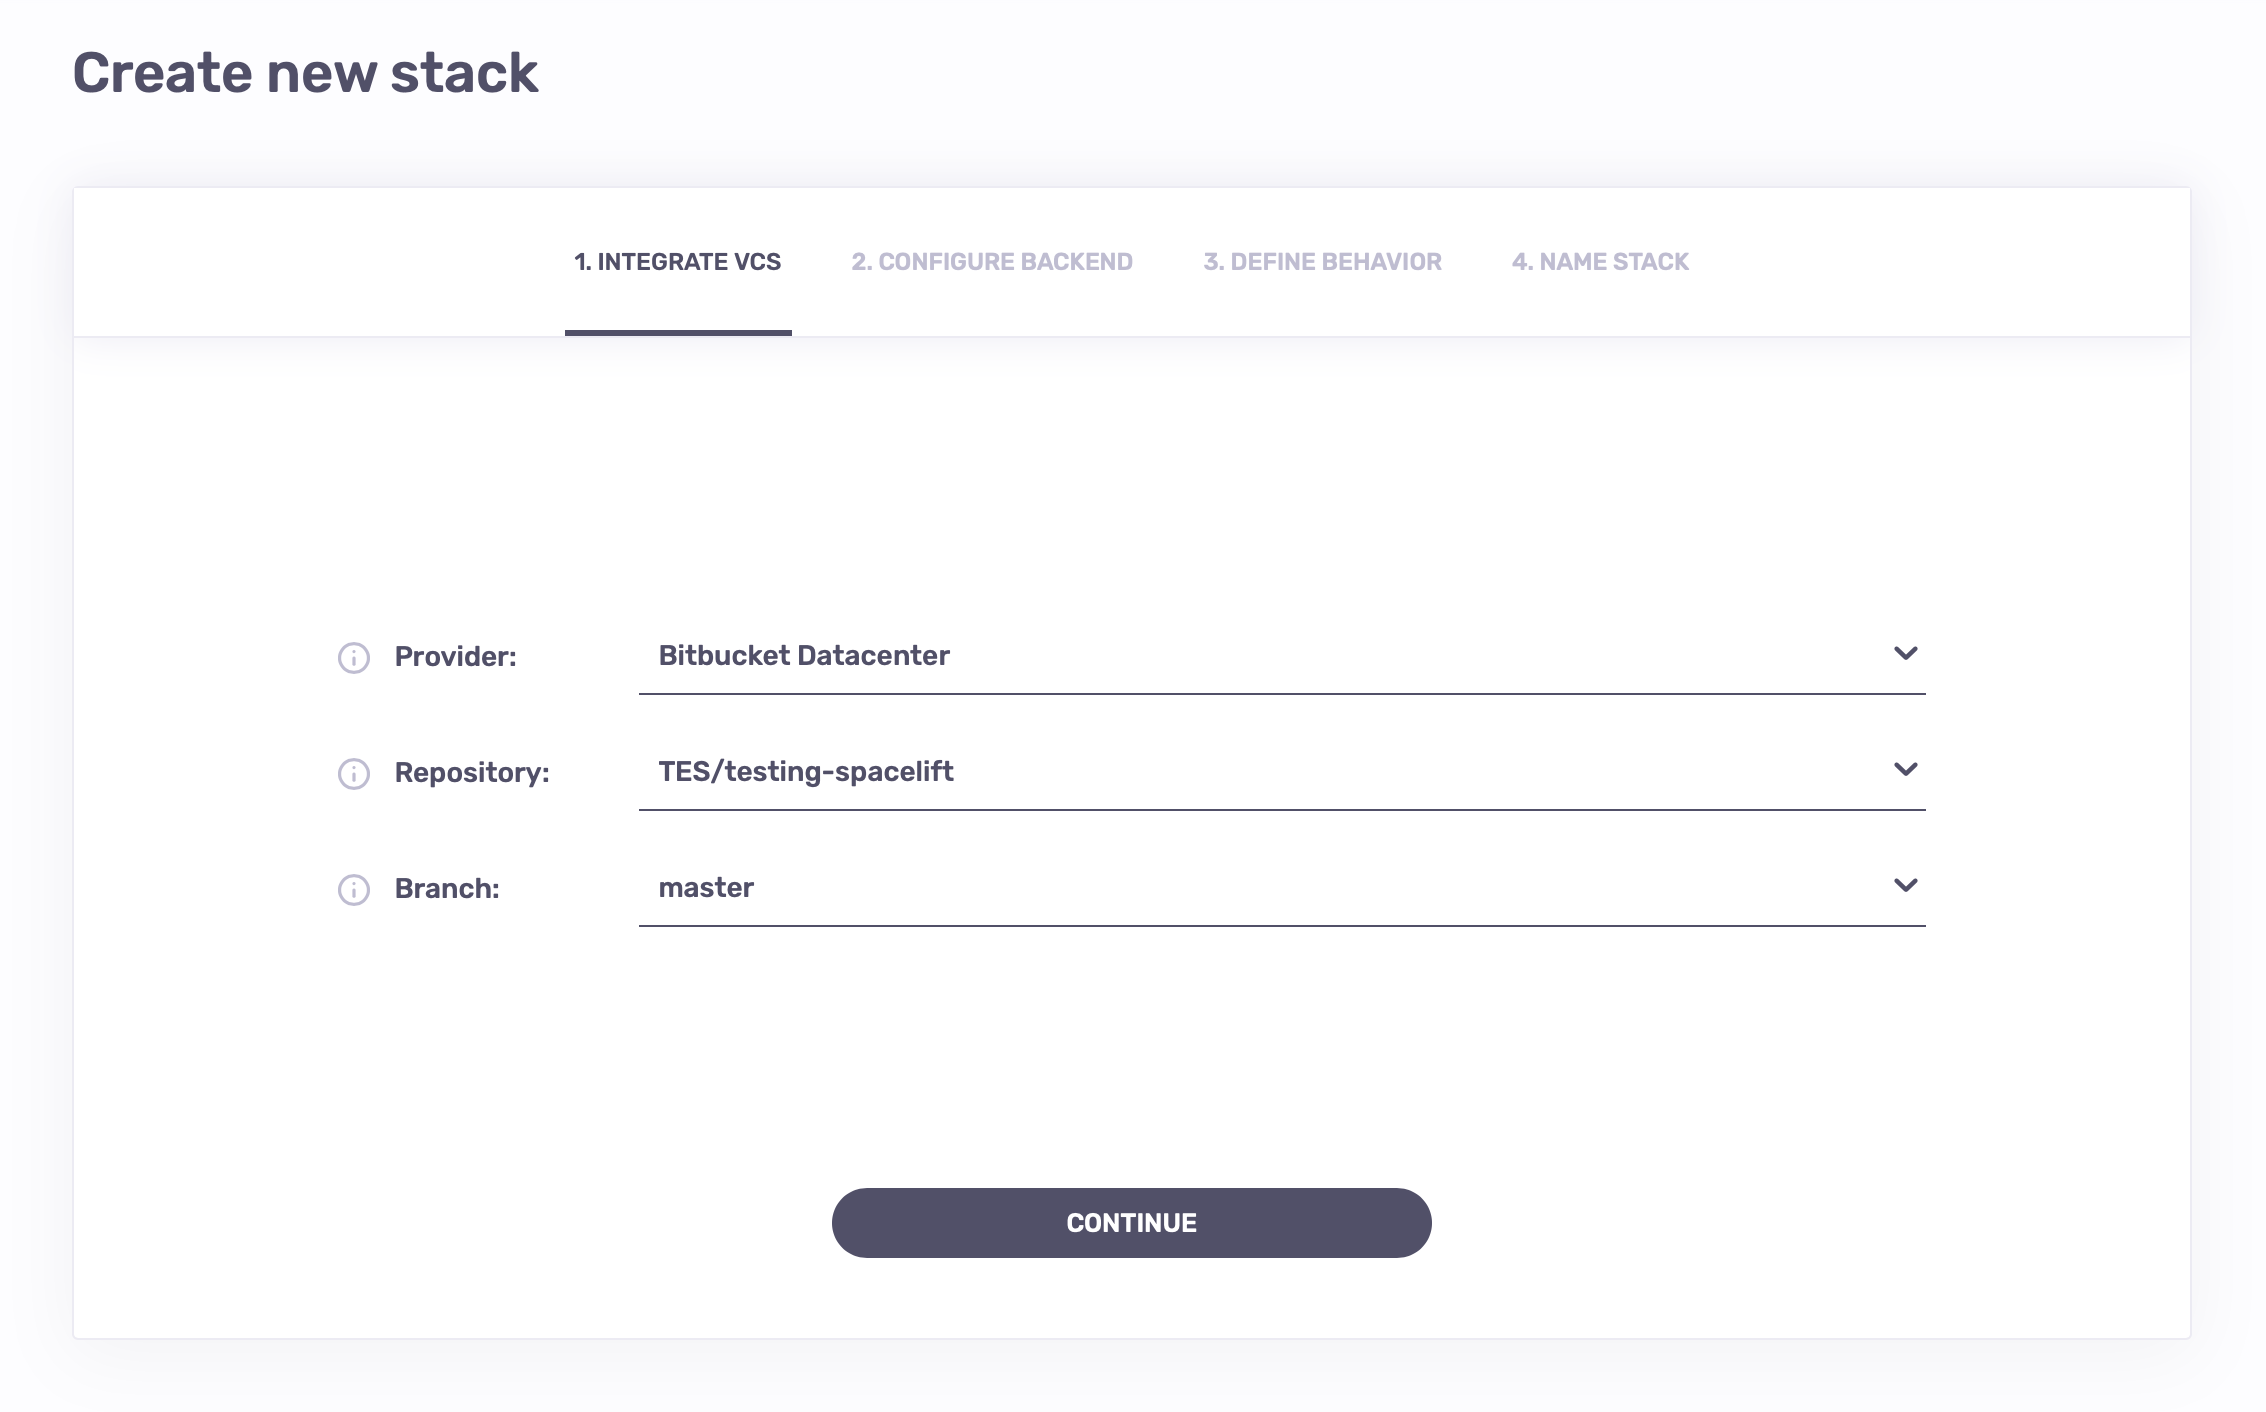
Using the integration»
When creating a Stack, you will now be able to choose the Bitbucket Datacenter provider and a repository inside of it: